
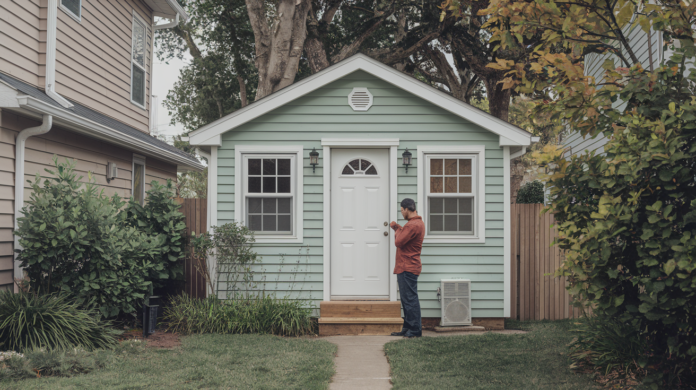
What if your mortgage could pay for itself?
ADU (accessory dwelling unit) house hacking means adding a second living unit and using rent to cover part of your mortgage, often 25 to 75 percent.
It’s a straightforward way to cut your monthly housing cost and build equity.
But costs, permits, and zoning rules can eat gains fast.
This post lays out the real numbers, common financing routes, and a step‑by‑step zoning checklist so you can quickly screen a deal and know the real tradeoffs before you buy.
Core Explanation of ADU House Hacking and How It Works

ADU house hacking means you buy a property with room to add a second living unit, then rent it out to cover part of your mortgage. The ADU (accessory dwelling unit) brings in monthly rent that can knock out anywhere from a quarter to three-quarters of your housing payment, depending on what market rent looks like and how much debt you’re carrying. You get to keep living there, cut your monthly costs, and build equity while a tenant pays down your loan.
ADUs show up in a few different formats, each with its own quirks. An attached ADU shares a wall with your main house and usually has a separate entrance. These cost less because plumbing and electrical runs are shorter. A detached ADU sits on its own somewhere else on the lot and gives you more privacy, but you’re paying for a full foundation, separate utilities, and often a dedicated sewer connection. Garage conversions let you reuse what’s already there and trim costs, though you lose parking unless you rebuild it. Junior ADUs (JADUs) are small interior conversions, like turning a bedroom suite into a studio with a kitchenette. They need the least construction but also pull in the lowest rent. Pick based on your lot size, what you can spend, and how much separation you want from your tenant.
Before you commit, you’ve got to confirm a few non-negotiables. The lot has to meet local zoning for ADUs. Not all do. Your budget needs to cover construction, soft costs, and a cushion for surprises. You’ll be sharing property with a tenant, so think about privacy and noise tolerance. Financing has to work, whether that’s through a renovation loan, HELOC, or cash. And you need to verify your city or HOA won’t block rentals or ADUs outright.
Key things to confirm before you start:
- Zoning allows ADUs on your lot, either automatically or with simple approval.
- Minimum lot size, setbacks, and coverage limits fit the ADU footprint.
- Budget includes construction, permits, utility hookups, and 10 to 20% contingency.
- Your lender or financing source will support the ADU build and counts projected rent if needed.
- Local rental laws, landlord licensing, and HOA covenants permit long-term tenants.
Detailed ADU Cost Breakdown for House Hackers
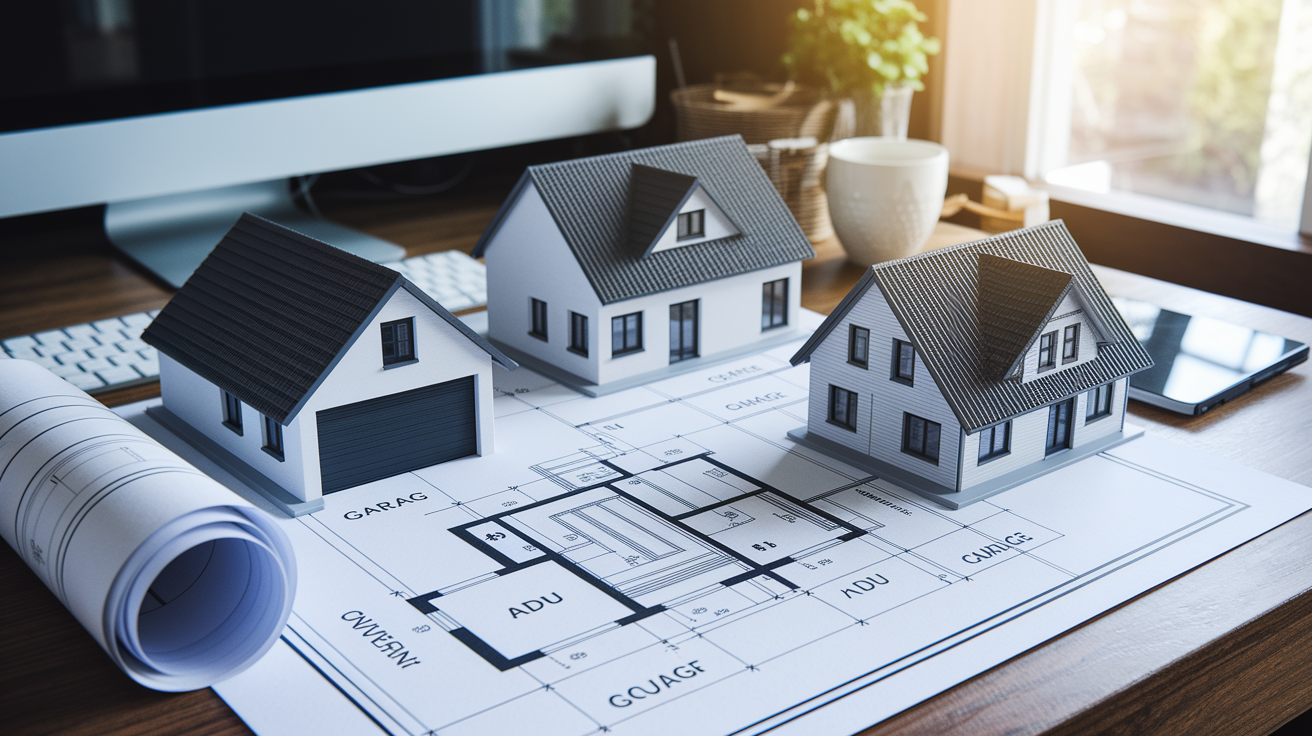
Hard construction costs change depending on ADU type and finish level. A garage conversion typically runs $80,000 to $150,000 because you’ve already got walls, a roof, and a slab. The work centers on insulation, interior framing, plumbing and electrical rough-in, finishes, and HVAC. An attached ADU might cost $120,000 to $250,000, since you’re building new floor area but sharing some utilities and foundation prep. A detached ADU often lands between $150,000 and $350,000 or higher, especially if you need trenching for sewer, a dedicated electrical service, and site grading. Per square foot numbers generally range from $150 to $400. Simple conversions sit on the low end, custom detached builds with high finishes on the top.
Soft costs and hidden expenses add up fast. Architect or designer fees run 5 to 15% of construction cost. Building permits, plan checks, and trade permits (electrical, plumbing, mechanical) can total $3,000 to $10,000 or more depending on where you are. Utility connection fees are a common surprise. Sewer tap fees, meter upgrades, or separate electrical service can add $5,000 to $20,000. If your lot has soil issues, you might need a geotechnical report and foundation upgrades. Fire separation work between units, egress windows for basements, and code-required ventilation or sprinklers can each add thousands. Budget 10 to 20% of your hard cost estimate as a soft cost buffer.
Operating costs change once the ADU is rented. Your property tax assessment will likely go up because you added living space. Expect your annual tax to rise by a few hundred to a few thousand dollars. Homeowners insurance needs updating to cover rental exposure, either a landlord policy endorsement or a separate landlord policy, and liability limits should go up. Maintenance reserves for the ADU should match 5 to 10% of gross rent annually, since you now have two kitchens, two HVAC systems, and more plumbing that can fail. If you hire property management, that’s another 8 to 12% of collected rent.
Cost-saving strategies center on simplicity and reuse. Prefab or modular ADUs can shave 10 to 30% off site-built costs if your city allows them and your lot has good access. Value engineering means choosing standard finishes, simple layouts, and smaller square footage. Every extra bathroom or vaulted ceiling adds cost. Shared utilities, like a single water heater or HVAC system, can cut expenses if code permits. Doing your own project management and hiring separate trades instead of a general contractor can save the GC markup, though it demands your time and construction knowledge.
| Cost Category | Typical Range | Notes |
|---|---|---|
| Hard Construction (Garage Conversion) | $80,000–$150,000 | Reuses existing structure; lower utility tie-in cost |
| Hard Construction (Detached ADU) | $150,000–$350,000+ | New foundation, separate utilities, site work included |
| Soft Costs (Permits, Design, Fees) | 10–20% of hard cost | Architect, permits, utility connections, inspections |
| Utility Upgrades (Sewer, Electric) | $5,000–$20,000 | Separate meter, sewer tap, panel upgrade common |
| Annual Operating Increase (Tax, Insurance, Maintenance) | $2,000–$6,000+ | Property tax reassessment, landlord insurance, reserves |
Financing Options for Building an ADU

The simplest ADU financing route is a home equity line of credit (HELOC), which lets you draw cash as construction moves along and only pay interest on what you use. You need existing equity in the property. Most lenders allow you to borrow up to 80 to 90% of the home’s appraised value minus your current mortgage. A home equity loan works similarly but gives you a lump sum upfront with a fixed rate and repayment term, which can be easier to budget. Cash-out refinancing replaces your existing mortgage with a larger loan and hands you the difference in cash. This works if current rates are near or below your original rate, but it resets your loan term and closing costs run a few thousand dollars. Renovation loans like the FHA 203(k) or Fannie Mae HomeStyle let you finance the purchase and ADU construction in one loan, using the after-repair value to determine the loan amount. These work well if you’re buying the property specifically to add an ADU, though they require more paperwork and the ADU has to be complete (or substantially complete) before you can occupy and rent. Construction loans are short-term loans that convert to a permanent mortgage once the ADU is done. They’re common for larger projects but demand detailed plans, contractor bids, and progress inspections. Some cities or states offer ADU-specific grants, low-interest loans, or PACE financing (Property Assessed Clean Energy) that gets repaid through property tax bills. Eligibility and amounts vary, so check local housing agencies.
Qualification depends on your debt-to-income ratio, credit score, and equity position. For a HELOC or home equity loan, lenders want to see a credit score above 620 (higher is better), a combined loan-to-value under 90%, and proof of income to cover the new payment. Renovation loans count projected ADU rent toward your income in some cases, but lenders apply a percentage reduction (commonly 25 to 30%) and require an appraisal with a hypothetical rental schedule. Closing and funding timelines differ. A HELOC might fund in two to four weeks, while a renovation loan can take 45 to 60 days because of extra underwriting. Construction loans often require architectural plans, a signed contractor agreement, and a detailed budget before approval, adding a few weeks to the process.
Risk and repayment considerations matter for house hacking. A HELOC or home equity loan is a second lien, so you’re making two monthly payments. Your primary mortgage plus the equity line. If ADU construction drags or rent comes in lower than planned, you’re still on the hook. Cash-out refinancing consolidates everything into one payment, but you’ve increased your total loan balance and extended your payoff timeline. Renovation loans fold the ADU cost into your mortgage, which smooths cash flow but means you’re financing soft costs and contingency at mortgage rates for 15 or 30 years. Always stress-test your numbers. If the ADU rents for 10 to 20% less than projected or sits vacant for two months, can you still cover both the mortgage and the equity loan? That cushion determines whether house hacking feels manageable or becomes a monthly scramble.
Zoning and Permitting Essentials for ADU Approval

Zoning rules control whether you can build an ADU, how big it can be, and where it can sit on your lot. Minimum lot size is often the first gate. Some cities allow ADUs on any single-family parcel, while others require at least 5,000 or 6,000 square feet. Setback requirements dictate how far the ADU must sit from property lines. Typical detached ADU setbacks are three to five feet from side and rear lines, though some jurisdictions demand more. Height limits cap ADUs at one story (often 16 to 20 feet) or two stories if the lot and setbacks allow, but neighborhoods with view corridors or fire hazard zones might impose stricter caps. Lot coverage limits set a maximum percentage of your parcel that can be covered by structures, commonly 40 to 60%. If your main house already uses most of the allowance, a detached ADU might not fit. Floor area ratio (FAR) rules, common in denser cities, limit total building square footage relative to lot size. Adding an ADU can push you over the cap unless your city grants an FAR exemption for accessory units. Parking mandates vary widely. Some cities waived ADU parking requirements near transit, others still require one space per ADU, and a few let you convert an existing garage without replacing the lost parking. Owner-occupancy clauses appear in some ordinances, requiring the property owner to live on-site (either in the main house or the ADU). If you plan to rent both units and live elsewhere, confirm your city doesn’t have this restriction.
Permit types stack up through the approval process. A building permit covers the ADU structure itself (foundation, framing, roofing, and finishes) and triggers plan review by the building department. Electrical permits handle service upgrades, panel installation, wiring, and outlets. If you’re adding a separate meter, the utility company coordinates but the electrician pulls the permit. Plumbing permits govern new water and sewer lines, fixtures, and any backflow prevention devices. Mechanical permits cover HVAC installation, duct work, and gas lines if you’re adding a furnace or water heater. Some cities also require a separate grading or drainage permit if you’re changing site contours or adding impervious surface. Larger projects might need a land-use or zoning permit if the ADU requires a variance, conditional use approval, or design review. These trigger public notice and sometimes a hearing, adding weeks or months to the timeline.
Local variations mean you can’t assume one city’s rules apply next door. Coastal California cities operating under state ADU laws (like SB-9 and AB-68) must allow ADUs by right on most single-family lots, but they still enforce objective design standards around height, setbacks, and architectural compatibility. Historic districts often add design review, requiring matching materials, roof pitch, or window styles. Wildfire hazard zones might mandate ignition-resistant construction, wider defensible space, or prohibition of certain siding materials. Flood zones require elevated foundations and special foundation venting. HOAs in some states can still restrict ADUs despite state law, especially if the CC&Rs predate the statute. Always review covenants and get written HOA approval before you spend money on plans.
Approval timelines and sequences vary by jurisdiction and project complexity. A straightforward garage conversion in a permissive city might clear plan review in four to six weeks, while a detached two-story ADU in a historic overlay can take three to six months. The typical sequence starts with a pre-application meeting or zoning confirmation, followed by plan submittal. The city reviews for code compliance and zoning conformance, then issues a correction letter if changes are needed. You resubmit, the city re-reviews, and eventually issues permits. Once permits are in hand, you schedule inspections at key milestones (foundation, framing, rough electrical/plumbing/mechanical, insulation, and final). Each inspection must pass before the next phase starts. After final inspection and any required utility sign-offs, the city issues a certificate of occupancy, which legally allows you to inhabit or rent the ADU. Any step that requires public review, variance approval, or a hearing with a planning commission can add 60 to 90 days.
Common reasons ADU permits get delayed:
- Incomplete or unclear architectural plans that trigger multiple correction cycles.
- Setback or lot coverage violations discovered during plan review, requiring design changes.
- Utility upgrade requirements (sewer capacity, electrical service) not identified until mid-review.
- Historic district or design review board requests for material changes or additional documentation.
- City staffing shortages or high permit volume extending standard review timelines beyond published estimates.
Step‑by‑Step Process for Navigating ADU Regulations

-
Research local ADU ordinances and state laws. Start by reading your city or county’s ADU regulations on the planning department website. Note allowed ADU types, size limits, setbacks, parking rules, and owner-occupancy requirements. If your state has ADU enabling legislation (like California’s SB-9 or Oregon’s HB 2001), confirm which provisions apply and whether local rules align.
-
Verify your parcel’s zoning and constraints. Pull your property’s zoning designation, lot dimensions, and any recorded easements from the city or county GIS system. Check whether your lot meets minimum size, existing lot coverage, and setback clearances for the ADU footprint you’re considering. If the property sits in a historic district, overlay zone, or HOA, identify additional review layers now.
-
Schedule a pre-application meeting with city planning or building staff. Bring a rough site sketch and your questions about setbacks, utility requirements, and permit pathways. Staff can flag issues early (like a needed variance or utility capacity concern) and clarify whether your project is ministerial (automatic approval if it meets standards) or discretionary (requires a hearing).
-
Develop preliminary design and cost estimate. Work with an architect, designer, or design-build contractor to create conceptual drawings that fit zoning rules. Get a rough construction budget and confirm financing options. This is the stage to adjust size, layout, or ADU type if the numbers don’t work.
-
Prepare and submit permit applications. Finalize architectural plans, site plans, and engineering details (structural, electrical, plumbing). Complete the city’s ADU permit application and pay initial fees. Submit all required documents, often including a neighborhood context statement, utility service letters, and HOA approval if applicable.
-
Respond to plan review corrections. The city will issue a correction notice listing code or zoning issues. Address each item with plan revisions or written explanations, then resubmit. Expect one to three correction cycles depending on project complexity.
-
Obtain approved permits and start construction. Once the city approves your plans, pay remaining permit fees and pick up physical permits or inspection placards. Schedule your foundation or demolition inspection to kick off the build, and keep all permits posted on-site as required.
-
Complete inspections and receive certificate of occupancy. Call for inspections at each milestone (foundation, framing, rough-ins, insulation, final). Pass all inspections, finish any punch-list items, and request a final CO inspection. The city issues the certificate of occupancy, legally allowing you to occupy or rent the ADU.
Timeline expectations depend on jurisdiction and project scope. A simple interior conversion in a streamlined city might move from initial application to CO in two to four months. A detached ADU with design review, utility upgrades, and typical correction rounds often takes four to six months before construction even starts, then another three to six months to build and inspect. If your project requires a public hearing, variance, or environmental review, add another two to three months on the front end. Always ask your city for current processing times and build buffer into your financing and move-in plans.
Real‑World Examples of ADU House Hacking
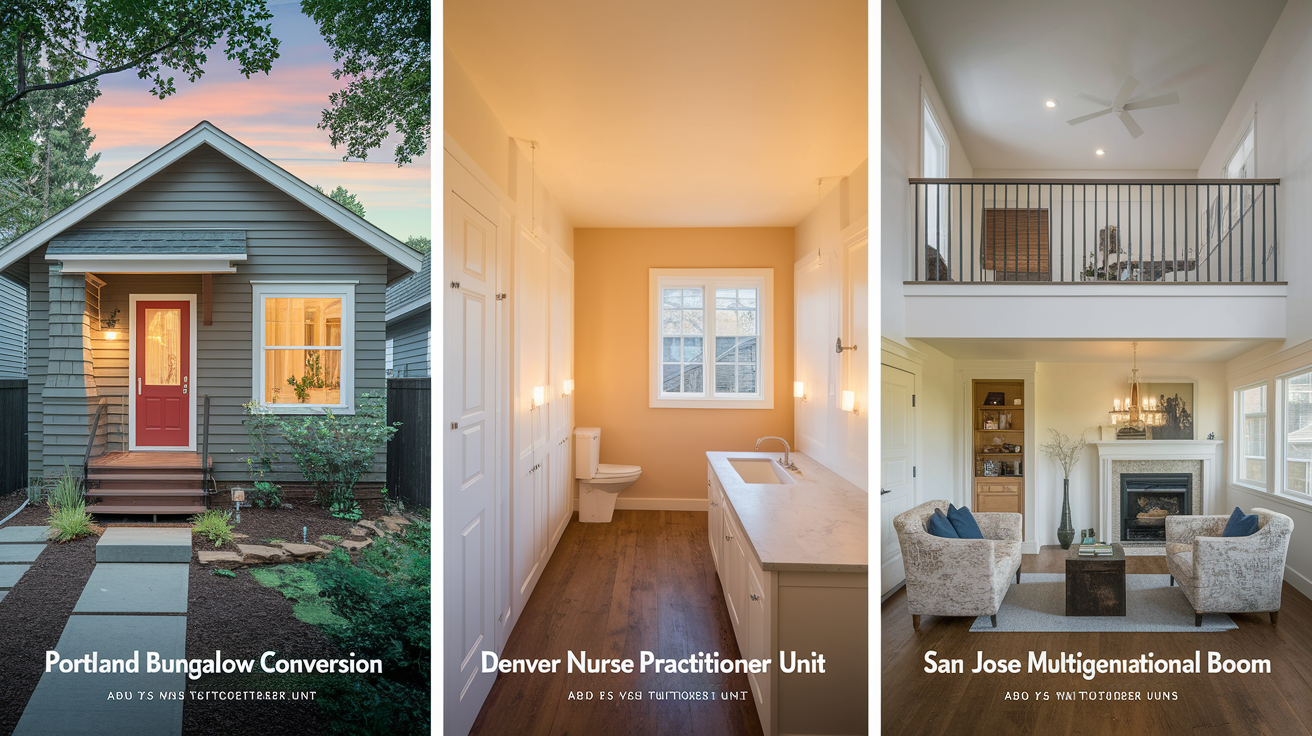
A homeowner in Portland bought a 1950s bungalow with a two-car detached garage and converted it into a 500-square-foot ADU for $95,000. The work included new insulation, drywall, a kitchenette, bathroom rough-in, mini-split HVAC, and exterior siding repair. Permitting took three months, construction took another four. The ADU rented for $1,350 per month to a long-term tenant, covering about 55% of the owner’s $2,450 mortgage payment (principal, interest, taxes, insurance). After accounting for increased property tax ($900/year) and landlord insurance ($600/year), net rental income reduced the owner’s housing cost by roughly $14,000 annually. At that rate, the project’s cash payback period was approximately seven years, not counting equity gains or mortgage paydown from the rental income.
A nurse practitioner in Denver built a 650-square-foot detached ADU behind her main house for $185,000, targeting traveling healthcare workers on three to six month contracts. She used a HELOC to fund construction and finished the unit with mid-grade finishes and furnishings suitable for furnished rentals. The ADU commanded $2,400 per month furnished (utilities included), compared to $1,600 unfurnished, because traveling nurses valued turnkey housing near the hospital. Vacancy ran higher, about 15% annually due to contract gaps, but gross annual income still reached roughly $24,500 after vacancy. Her HELOC payment added $850/month, and operating costs (utilities, insurance increase, management, maintenance reserve) totaled around $500/month. Net monthly benefit was approximately $650, covering a third of her mortgage and giving her flexibility to take lower-paying shifts or save for another property.
A multigenerational household in San Jose converted a 400-square-foot bonus room above the garage into a junior ADU for an aging parent. Total cost was $62,000, covering a wet bar converted to a kitchenette, a three-quarter bathroom addition, separate entrance stairs, and soundproofing. The family avoided paying for assisted living ($4,000 to $6,000/month locally) and instead housed the parent on-site while renting out two bedrooms in the main house to graduate students for $1,100 each. Combined rental income of $2,200/month offset the family’s $3,800 mortgage, cutting their net housing cost nearly in half. The arrangement lasted four years until the parent moved to full-time care, at which point the family rented the JADU separately for $1,400/month and continued renting the main-house bedrooms, effectively living mortgage-free. The project paid for itself in cash savings within three years and provided non-financial benefits around family care and flexibility.
Downloadable ADU House Hacking Checklist

The ADU house hacking checklist is a step-by-step planning tool that walks you from initial feasibility through rental readiness. It’s designed to prevent expensive surprises and keep the project on track by surfacing zoning conflicts, budget gaps, and regulatory steps before you commit money. Each section includes yes/no checkboxes, space for notes, and reminders to gather key documents like surveys, contractor bids, and lender pre-approvals.
Use the checklist in order. Start with feasibility and zoning verification to confirm the project is legal and physically possible on your lot, then move to budgeting and financing to lock down your funding plan, next tackle design and permitting to get approvals in hand, and finish with construction oversight and rental preparation so you can lease the unit as soon as the CO arrives. Revisit earlier sections if your design changes or costs shift. Real projects rarely move in a straight line, and the checklist helps you catch downstream impacts when you adjust one variable.
Main checklist sections:
- Feasibility and zoning confirmation: Verify ADU allowance, lot size, setbacks, parking, owner-occupancy rules, HOA covenants, and utility capacity before spending on design.
- Budget and cost estimation: List hard construction costs, soft costs (permits, design, utility fees), contingency (10 to 20%), and ongoing operating cost increases (tax, insurance, maintenance).
- Financing and lender coordination: Compare HELOC, home equity loan, cash-out refinance, and renovation loan options. Confirm how lender counts ADU income, get pre-approval and align draw schedule with construction milestones.
- Design, permitting, and approvals: Prepare site plan, architectural drawings, and engineering. Submit applications, track correction cycles, schedule pre-construction meeting, obtain all required permits and inspections.
- Construction management: Monitor progress, change orders, and budget. Coordinate inspections, maintain contingency reserve, document completion and request certificate of occupancy.
- Rental readiness and operations: Set market rent using local comps, draft lease and screening criteria, update insurance and register rental if required, establish maintenance systems and reserve accounts for future repairs.
Final Words
You’ve seen the essentials: how ADU house hacking generates rent to offset a mortgage, typical cost ranges, financing choices, zoning musts, the permit workflow, and a ready checklist.
Take the checklist, run the quick financial screen, confirm zoning early, and price out realistic timelines and reserves. Ask the practical questions: if rent is 10% low or rehab is delayed, are you still comfortable?
Download the house hack with ADU costs and zoning checklist, start small, and you’ll be in a much better position to move forward.
FAQ
Q: What are the common mistakes when building an ADU?
A: The common mistakes when building an ADU are underestimating total costs and permit hurdles, poor layout choices, ignoring utility upgrades, insufficient reserves, and weak tenant or market vetting.
Q: What is the cheapest option for an ADU?
A: The cheapest option for an ADU is usually converting existing space like a garage or creating a JADU (junior ADU); these reuse infrastructure and avoid detached construction costs.
Q: How much does it cost to build a 1000 sq ft ADU in California?
A: The cost to build a 1,000 sq ft ADU in California typically ranges from $150,000 to $350,000 or more, depending on location, finishes, utility hookups, and permitting.
Q: What are the disadvantages of ADUs?
A: The disadvantages of ADUs include zoning and permit hurdles, significant upfront cost, reduced yard or privacy, possible higher property taxes or insurance, and landlord duties if rented.