

Think you can price a rehab from a handful of photos?
Most investors get that wrong and overpay.
When a deal is off-market, you can’t rely on a full walkthrough, so you need a repeatable method that keeps you conservative.
This post gives a room-by-room breakdown system to estimate rehab costs fast: remote checks, unit costs for each space, soft costs, and a contingency guardrail.
Use it to make offers that protect your downside and save time.
Rapid Rehab Cost Estimation Framework for Off-Market Properties

When you find an off-market property, you don’t get the luxury of a traditional showing. Maybe the seller’s halfway across the country, the house is tenant-occupied, or the lead came through a wholesaler with just a handful of drive-by photos. You need a structured framework to estimate rehab costs quickly and conservatively so you can make an offer that protects your downside.
The foundation of remote rehab estimating is collecting every scrap of verifiable data before you commit. Start by assembling the address, any exterior photos, interior photos or video walkthroughs, tax and permit records, satellite imagery, and Street View captures. These inputs let you perform a quick cost per square foot triage: light cosmetic work typically runs $15–$30 per square foot, mid-level rehabs with kitchen and bath updates land in the $30–$60 range, and heavy gut jobs climb past $60 and sometimes top $150 per square foot. From there, you’ll build a line item estimate room by room, add your soft costs like permits and dumpster fees, layer in holding costs for however many months the project will take, apply a contingency buffer of 10–20 percent depending on access and unknowns, and finally plug those numbers into your Maximum Allowable Offer formula. Often that’s ARV times 0.70 minus estimated rehab minus closing and holding costs minus your desired profit.
This isn’t about getting the estimate perfect. It’s about getting it conservative enough that you can walk into a property blind and still sleep at night. The workflow leans on remote verification, contractor input, and checklist-driven discipline to turn scattered clues into actionable numbers.
Here’s the complete estimation workflow for off-market properties when you can’t do a full walkthrough:
-
Collect remote data: address, exterior and interior photos, video walkthroughs, tax/permit records, and Street View images to establish baseline condition.
-
Run cost per square foot triage: multiply property square footage by light ($15–$30), mid ($30–$60), or heavy ($60–$150+) cost tier to get a ballpark total and decide whether to pursue further.
-
Build room by room line items: break down major components like kitchens ($5,000–$25,000), baths ($3,000–$15,000), flooring ($2–$8 per sq ft), paint ($1–$3 per sq ft), roof ($5,000–$15,000), and HVAC ($3,000–$10,000) with unit costs and quantities.
-
Add soft costs and holding costs: include permits ($200–$5,000), disposal ($300–$1,500), and monthly carrying costs (mortgage, taxes, insurance, utilities) multiplied by estimated rehab months.
-
Apply contingency: set 10 percent for light cosmetic jobs, 15 percent for typical flips, and 20 percent or higher for heavy rehabs or limited access properties where surprises are more likely.
-
Calculate MAO and verify with contractors: use your rehab total in an ARV-based offer formula, then send photo packs to two or three local contractors for line item bids to cross check your remote estimate before you close.
Remote Estimating Techniques for Off-Market Rehab Evaluations

Remote estimating only works if you know exactly what information to collect and how to verify it. The seller or wholesaler might hand you a dozen cell phone snapshots and call it a day, but that’s not enough to underwrite a flip. You need high resolution photos of every major system, measured dimensions or tax recorded square footage, videos that show ceiling stains and window condition, and permit history pulled directly from the county. If the seller resists or can’t produce these materials, that itself is a signal. Either the property has hidden issues or the lead isn’t serious enough to warrant your time.
Most investors start by requesting a complete exterior walk around video in daylight, interior room by room walkthroughs at a slow pace, close up shots of the electrical panel and labels, furnace and AC nameplate data, water heater age stickers, visible plumbing under sinks, attic framing and insulation, crawlspace or basement shots looking for moisture or cracks, and roof shingles from ground level or drone if available. You’ll also want to see the kitchen and bathrooms in detail: cabinet condition, countertop material, tile or flooring type, and whether fixtures are original or updated. Every one of those data points helps you assign a cost or rule out a deal before you waste money on a site visit.
Remote Photo & Video Collection Standards
When you can’t walk the property yourself, you have to train the seller, agent, or local contact on what angles and systems matter. Clear documentation standards reduce the guesswork and give your contractors enough information to bid line items remotely.
Exterior four-sided walk: continuous video showing all walls, roof lines, siding condition, gutters, downspouts, grading near the foundation, and driveway or walkway cracks.
Mechanical systems close ups: electrical panel with breaker labels visible, furnace and air conditioner model/serial plates, water heater manufacturing date sticker, and any visible ductwork or plumbing manifolds.
Interior structural and finish shots: ceiling corners in every room to check for water stains, window frames and sills, flooring transitions, visible cracks in drywall or plaster, and under sink cabinet interiors.
Attic and crawlspace access: short clips showing roof sheathing, insulation type and depth, any signs of leaks or mold, and foundation walls or piers if a crawlspace exists.
Roof and drainage details: zoomed photos of shingle condition, flashing around chimneys or vents, and ground level shots of how water drains away from the house or pools near the foundation.
Cost Per Square Foot Benchmarks to Estimate Rehab Costs Quickly

Cost per square foot shortcuts are the fastest way to decide whether an off-market deal is worth a deeper look. You take the property’s square footage, assign it to a light, mid, or heavy condition tier based on the remote data you’ve collected, and multiply. If the resulting rehab total puts your Maximum Allowable Offer below the asking price, you move forward. If not, you pass and save yourself hours of detailed estimating.
These tiers are national averages and shift based on local labor rates and material costs, but they give you a reliable starting range. Light cosmetic rehabs (paint, trim, basic flooring, and fixture swaps) typically cost $15–$30 per square foot. Mid-level rehabs that include a kitchen refresh, one or two updated bathrooms, and some mechanical work run $30–$60 per square foot. Heavy rehabs involving structural repairs, full system replacements, or gut renovations start at $60 per square foot and can climb past $150 if you’re rebuilding major components.
| Condition Tier | Cost per Sq Ft | Sample Total at 1,500 Sq Ft |
|---|---|---|
| Light Cosmetic | $15–$30 | $22,500–$45,000 |
| Mid-Level Rehab | $30–$60 | $45,000–$90,000 |
| Heavy/Full Gut | $60–$150+ | $90,000–$225,000+ |
Room by Room Rehab Cost Breakdown for Off-Market Properties
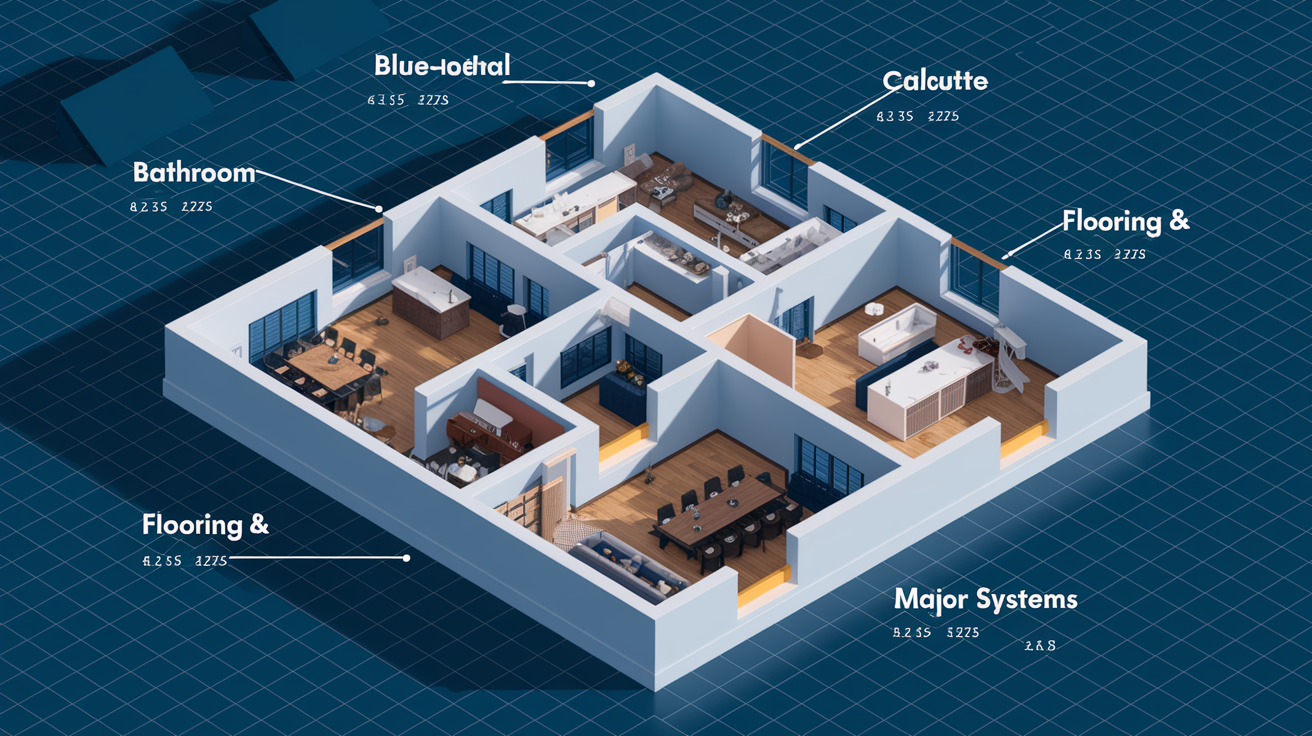
Once you’ve triaged the property with a cost per square foot estimate, the next step is building a line item budget that breaks down each room and system. This is where national averages meet real scope decisions. You’re not guessing anymore. You’re assigning unit costs to specific quantities so you can hand the list to a contractor and ask for verification.
Kitchen
Kitchens are the biggest value driver and the biggest cost variable. A basic cosmetic update (new cabinet hardware, paint or reface, countertop overlay, and builder grade appliances) starts around $5,000. A mid-range remodel with new cabinets, quartz or granite counters, tile backsplash, and stainless appliances runs $12,000–$18,000. Full custom kitchens with high end finishes, layout changes, or structural work can push $25,000 and higher. For remote estimating, look at cabinet condition in photos. If the boxes are solid and the layout works, budget for cosmetic updates. If the cabinets are particle board or the layout is dysfunctional, plan for replacement.
Bathroom
Bathrooms follow a similar tiered model. A basic refresh (new vanity, toilet, tub surround, fixtures, and paint) costs $3,000–$5,000 per full bath. A mid-range remodel with tile shower, new tub or walk in setup, upgraded vanity, and better finishes lands in the $8,000–$12,000 range. High end or primary suite bathrooms with custom tile, frameless glass, freestanding tubs, and luxury fixtures climb to $15,000 or more. Half baths are cheaper, usually $1,500–$3,000 for a basic update. Count the number of bathrooms in the property and assign each one a scope based on condition shown in the video or photos.
Flooring & Paint
Flooring cost depends on material and labor rates. Vinyl plank is the most cost effective at $2–$4 per square foot installed, engineered hardwood runs $4–$8, and tile varies from $3–$10 depending on size and pattern. For remote estimates, measure total square footage minus bathrooms and kitchen if those are getting separate treatments, then multiply by your chosen material cost. Interior paint is simpler: $1–$3 per square foot for walls and ceilings combined, with lower rates for open layouts and higher rates for detailed trim or multi-color schemes. Always assume you’re painting the entire interior unless photos show recent, neutral paint in good condition.
Major Systems (HVAC, Electrical, Plumbing)
HVAC replacement ranges from $3,000 for a basic furnace or AC unit to $10,000 for high efficiency dual fuel systems or full ductwork replacement. Electrical panel upgrades cost $1,500–$5,000 depending on whether you’re going from 100 amp to 200 amp service and how much rewiring is involved. Water heaters run $600–$2,000 installed. Major plumbing work (re-piping a house from galvanized to PEX, for example) starts around $3,000 and climbs depending on access and scope. For off-market properties, assume you’re replacing any system over 15 years old unless you have documentation proving recent upgrades.
Here are six costly hidden items that should trigger deeper investigation or higher contingency:
Foundation cracks or settling: repairs range from $5,000 to $25,000 or more depending on severity and fix method.
Roof leaks or structural damage: if sheathing or trusses are compromised, costs jump from simple shingle replacement ($5,000–$12,000) to full decking and framing work.
Mold, asbestos, or lead paint: remediation can add $2,000–$10,000+ depending on extent and local regulations, especially in homes built before 1978.
Knob and tube or aluminum wiring: full rewiring costs $8,000–$15,000 for a typical single family home and is often required for insurance.
Galvanized or polybutylene plumbing: re-piping the house runs $3,000–$8,000 and is a common lender or inspection red flag.
Unpermitted additions or major alterations: bringing work into code or obtaining after the fact permits can delay closing and add thousands in fees, inspections, and corrections.
Soft Costs, Holding Costs, and Permit Fees in Rehab Estimates

First time flippers almost always underestimate soft costs because they’re focused on the visible work (cabinets, paint, flooring). But permits, disposal, financing fees, and the monthly carrying costs during construction add up fast and can turn a projected $40,000 rehab into a $50,000 reality. Soft costs are everything that doesn’t show up in the finished house but still comes out of your budget.
Permit fees vary widely by jurisdiction, from $200 for a simple cosmetic permit in a low regulation county to $5,000 or more in cities that require engineered plans, multiple inspections, and impact fees. If your rehab includes structural changes, electrical panel upgrades, or HVAC replacement, you’re almost certainly pulling permits. Budget conservatively and ask local contractors what the typical permit package costs in that market. Dumpster rental and debris disposal typically run $300–$1,500 depending on the size of the job and how many loads you generate. For gut rehabs, plan on the higher end or multiple dumpster cycles.
Holding costs are the silent budget killer. Every month the property sits, you’re paying the mortgage or hard money interest, property taxes, insurance, and utilities. A typical carrying cost is $200–$1,200 per month depending on loan size, tax rate, and whether you’re keeping heat or AC running for contractors. Multiply your estimated rehab duration in months by your monthly carrying cost and add that to the total project budget. If your rehab stretches from three months to five because of permit delays or weather, those extra two months cost you real money.
Financing and closing fees also count as soft costs if you’re using transactional funding, hard money, or private money. Expect 2–5 percent of the purchase price in loan origination, points, closing attorney fees, title work, and recording costs. These aren’t part of the renovation, but they do affect your cash to close and your Maximum Allowable Offer.
Here are the four main soft cost categories to include in every off-market rehab estimate:
-
Permits and inspections: building permits, electrical/plumbing/mechanical permits, final inspection fees, and any re-inspection charges if work fails.
-
Disposal and site prep: dumpster rental, hazardous material disposal, debris hauling, and temporary fencing or utilities if needed.
-
Carrying costs: mortgage or hard money interest, property taxes, insurance, and utilities for the duration of the rehab.
-
Financing and transactional costs: loan origination fees, points, closing attorney, title insurance, and recording fees on the purchase.
Contingency Planning for Uncertain Off-Market Rehab Conditions

Contingency is the line item that separates investors who can handle surprises from investors who run out of cash halfway through demo. When you’re buying off-market and you haven’t seen the inside of the house, your contingency percentage needs to reflect that uncertainty. A 10 percent buffer works for light cosmetic jobs where you’ve walked the property, verified all the systems, and know exactly what you’re getting into. But for remote purchases, limited access, or older homes with unknowns, 15–20 percent is the floor and 25 percent isn’t unreasonable if the property was built before 1970 or has obvious deferred maintenance.
Contingency isn’t padding or wishful thinking. It’s a mathematical acknowledgment that hidden issues exist and will surface once you open walls or pull up flooring. Structural cracks discovered during foundation inspection, roof sheathing rot found when shingles come off, mold behind shower tile, old wiring that doesn’t meet code, galvanized plumbing that’s rusted through. Each of these can add $2,000 to $10,000 to your budget in a single afternoon. If you price your offer with zero contingency, you’re betting the seller showed you every problem and nothing got missed. That’s not a bet you want to make.
| Hidden Issue | Typical Added Cost Impact |
|---|---|
| Foundation cracks or settlement | $5,000–$25,000+ |
| Major roof deck or truss damage | $3,000–$12,000 |
| Mold remediation (moderate scope) | $2,000–$8,000 |
| Full electrical rewiring | $8,000–$15,000 |
| Galvanized or poly plumbing replacement | $3,000–$8,000 |
Contractor Bidding Processes for Off-Market Property Rehab Estimates

Getting accurate contractor bids remotely is harder than walking a property together, but it’s not impossible if you structure the process correctly. The key is sending a complete information packet (photos, videos, measured floor plans or tax square footage, and a preliminary scope list) so contractors can bid line items instead of guessing at lump sums. Request at least two, ideally three, written bids that break out labor, materials, disposal, and permits separately. When bids come back as ranges, always use the maximum number for your budget. If one contractor says $8,000–$12,000 for a kitchen and another says $10,000–$15,000, plan on $15,000 until you have signed contracts and fixed pricing.
Verify every contractor’s license, insurance, and references before you even send the information packet. Ask for certificates of liability and workers’ comp insurance, check online reviews, and call at least two recent clients who had similar scope projects. If you’re estimating remotely, you’re already taking on extra risk. Don’t compound that by hiring an uninsured contractor who disappears after the first draw. Structure payment schedules around milestones (deposit at contract signing, progress payments tied to completed phases like demo, rough-ins, and finishes, and a final holdback released only after final inspection and lien releases). Cap change orders in your contract so scope creep doesn’t blow your budget. A good contractor will include contingency allowances for unforeseen conditions and give you a not to exceed total that protects both sides.
Bid Comparison and Red-Flag Checklist
When comparing bids from multiple contractors, use a standardized checklist to make sure you’re evaluating apples to apples and catching any red flags before you sign.
Line item detail: bid should list every major component with separate labor and material costs, not a single lump sum with no breakdown.
Allowances and exclusions: contractor should specify what’s included and what’s not, like “owner supplies appliances” or “electrical permit by owner.”
Payment schedule tied to milestones: deposits should be reasonable (10–20 percent), progress payments match work completed, and final payment held until inspection and lien releases.
Change order limits: contract should state hourly rates or markup percentages for changes and require written approval before additional work begins.
Insurance and license verification: confirm active general liability and workers’ comp, verify state license number, and get certificates naming you as additional insured.
Timeline and penalty clauses: bid should include start date, substantial completion date, and any agreed penalties or bonuses for early/late delivery if timeline matters to your hold costs.
ARV, MAO, and Profit Modeling Based on Estimated Rehab Costs

Once you have a conservative rehab estimate, the next step is translating that number into an offer price that protects your profit. The most common formula for off-market deals is the 70 percent rule or Maximum Allowable Offer: MAO equals ARV times 0.70 minus estimated rehab costs minus closing and holding costs. That 0.70 factor isn’t magic. It’s a risk buffer that accounts for carrying costs, buyer closing costs when you sell, and your profit. Some investors tighten it to 0.65 or 0.75 depending on market conditions, competition, and risk tolerance, but 0.70 is the standard starting point.
Here’s how the math works in practice. If comparable sales show an after repair value of $250,000, multiply that by 0.70 to get $175,000. Subtract your estimated rehab of $50,000 and your closing and holding costs of $10,000, and you land at a Maximum Allowable Offer of $115,000. If the seller or wholesaler is asking $130,000, the deal doesn’t work at your numbers unless you can negotiate down or find ways to cut rehab costs. If they’re asking $100,000, you have room to move and still protect your margin. The formula forces discipline and keeps you from overpaying in competitive markets where emotions or FOMO can push prices past profitable levels.
Profit isn’t what’s left over after all the bills are paid. Profit is the number you bake into the deal from the start. Use the formula in reverse: ARV minus purchase price minus rehab minus closing and holding costs equals profit. If that profit number is less than your minimum acceptable return (whether that’s $20,000, $40,000, or a percentage of ARV) you walk. The rehab estimate is the most uncertain variable in the equation, which is why conservative estimating and contingency buffers matter. If your rehab estimate is off by 20 percent because you missed a foundation issue, that $10,000 error comes straight out of your profit unless you priced the deal with enough margin to absorb it.
When you’re building your ARV estimate, choose comparables carefully. They need to match the subject property in key ways to give you a realistic post rehab value.
-
Location and school district: comps should be in the same neighborhood or school zone, ideally within half a mile unless you’re in a rural area.
-
Bedroom and bathroom count: a three-bed, two-bath house should comp against other three-bed, two-bath homes, not four-bed or one-bath properties.
-
Square footage and lot size: stay within 10–15 percent of the subject property’s size and use comps with similar lot dimensions and features like garages or pools.
-
Age and condition: choose comps that are fully updated or recently renovated, not fixer-uppers, because you’re estimating value after your rehab is complete.
Red Flags and High-Risk Cost Drivers in Off-Market Rehab Deals
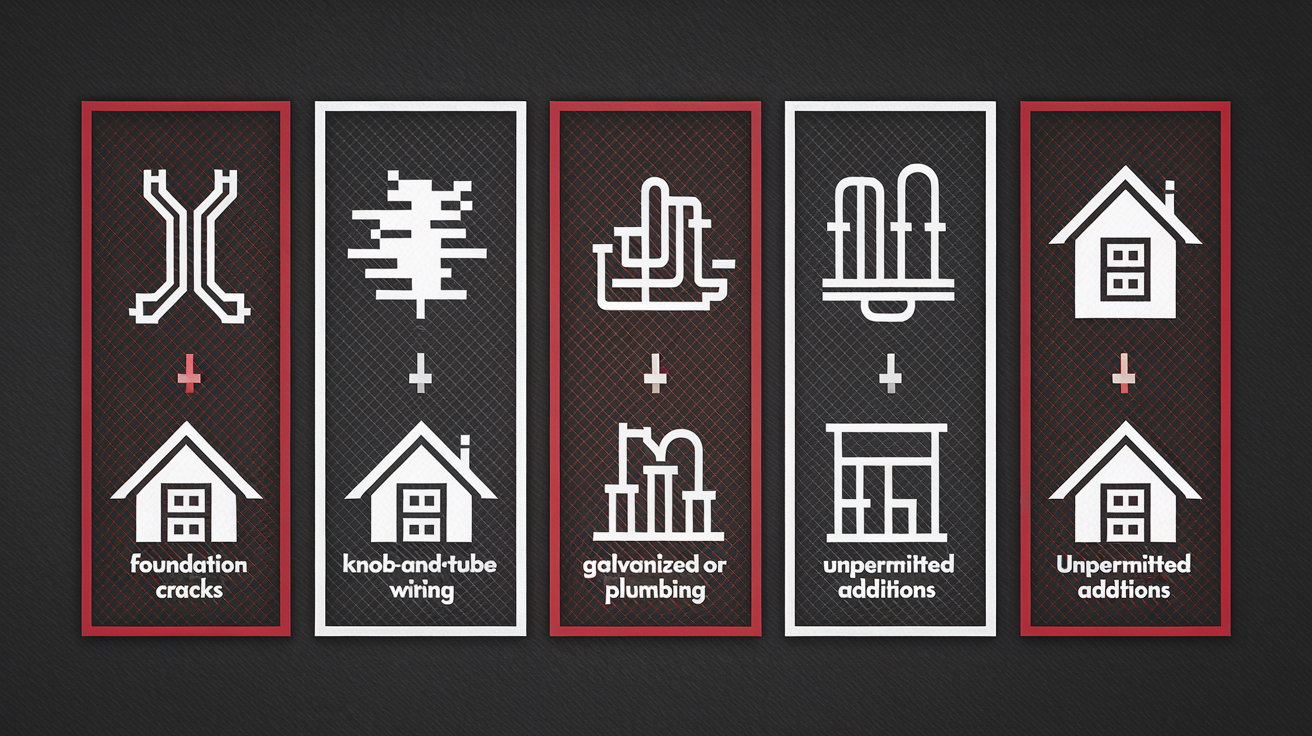
Some repair categories have the power to kill a deal or double your rehab budget overnight. These are the items that don’t show up in drive-by photos or even basic interior videos, but they’re always lurking under the surface of distressed properties. The faster you learn to spot the warning signs remotely, the more bad deals you’ll avoid before you waste time and earnest money.
Foundation and structural issues are the most expensive surprises. Cracks in basement walls, uneven floors, doors that don’t close, or visible settling can mean foundation repairs starting at $5,000 for minor fixes and climbing past $25,000 for underpinning, helical piers, or full perimeter work. If your remote photos show any of these signs, get a structural engineer’s opinion before you make an offer or build a massive contingency into your estimate. Water intrusion and mold are closely related to foundation problems and just as costly. Remediation for moderate mold starts around $2,000 and reaches $10,000 or more if it’s throughout the house or involves asbestos containing materials. Homes built before 1978 carry lead paint risk, and any disturbance during rehab can trigger testing, containment, and certified removal requirements that add thousands to your budget.
Termite damage, old wiring, and outdated plumbing are the next tier of red flags. Active termite infestations or structural damage from past infestations can require wood replacement, chemical treatment, and expensive repairs to floor joists or sill plates. Knob and tube wiring, aluminum branch circuits, or overloaded electrical panels often need complete replacement to meet code and satisfy insurance underwriters, adding $8,000–$15,000 to your budget. Galvanized or polybutylene plumbing is a ticking time bomb. Most lenders and insurers won’t touch it, so you’re re-piping the house for $3,000–$8,000. Unpermitted additions or major alterations create title and financing risk and can force you to bring work up to code retroactively, with costs that vary wildly depending on what was done and what the local jurisdiction requires. Sewer lateral issues (the pipe from the house to the street main) can cost $3,000–$8,000 to replace if it’s collapsed or root damaged, and you usually don’t discover this until you run a sewer scope during inspection.
Here are five major red flags that should trigger deeper investigation or an immediate contingency increase:
Foundation cracks wider than hairline or accompanied by uneven floors and sticking doors.
Visible water stains on ceilings or walls, especially near plumbing or in basements and crawlspaces.
Knob and tube wiring, aluminum branch circuits, or electrical panels with rust, scorch marks, or double tapped breakers.
Galvanized or polybutylene plumbing visible under sinks or in basement ceilings.
Unpermitted additions, room conversions, or major structural changes with no record in county permit files.
Final Words
In the action we moved from remote triage to quick cost-per-square-foot tiers, room-by-room line items, and soft/holding costs. You got the contingency rules and a simple workflow to turn those numbers into MAO and ARV checks.
Use the step-by-step checks, photos, permits, contractor line items, and contingency to make faster, lower-risk bids. Practice the quick screens until they fit your local market.
When you need a fast, sensible answer on how to estimate rehab costs for off-market properties, use this framework and err on reserves. You’ll be better prepared and calmer at the closing table.
FAQ
Q: How much does it cost to rehab a property / What are rehab costs in real estate / How to estimate the cost of renovating a house?
A: The cost to rehab a property depends on scope: light cosmetic $15–$30/sq ft, mid $30–$60, heavy $60–$150+; add room drivers (kitchen $5k–$25k), permits, and 10–20% contingency.
Q: How to calculate after renovation value?
A: After renovation value (ARV) is calculated by averaging comparable sold properties in similar condition, adjusting for size and features, or using local price-per-square-foot multiplied by the subject home’s area.