
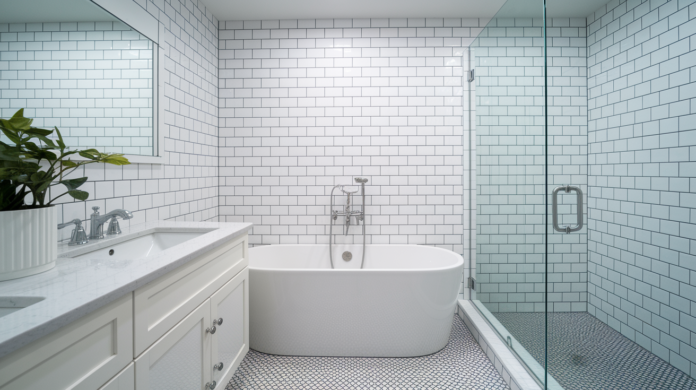
Controversial take: spending on pretty tile and designer faucets usually doesn’t help your BRRRR refinance the way you think.
A better approach balances durability to survive tenant turnover, tight rehab budgets so your refinance math works, and finishes that lift ARV (after repair value) and rents without blowing your contingency.
This post walks you step by step through the bathroom renovation sequence for BRRRR rentals, plan, demo, rough-in, waterproofing, tile or prefab, fixtures, and final punch list, with quick screens, cost guardrails, and the tradeoffs you need to hit your refinance target and redeploy capital faster.
ROI‑Focused Overview of the BRRRR Bathroom Renovation Process
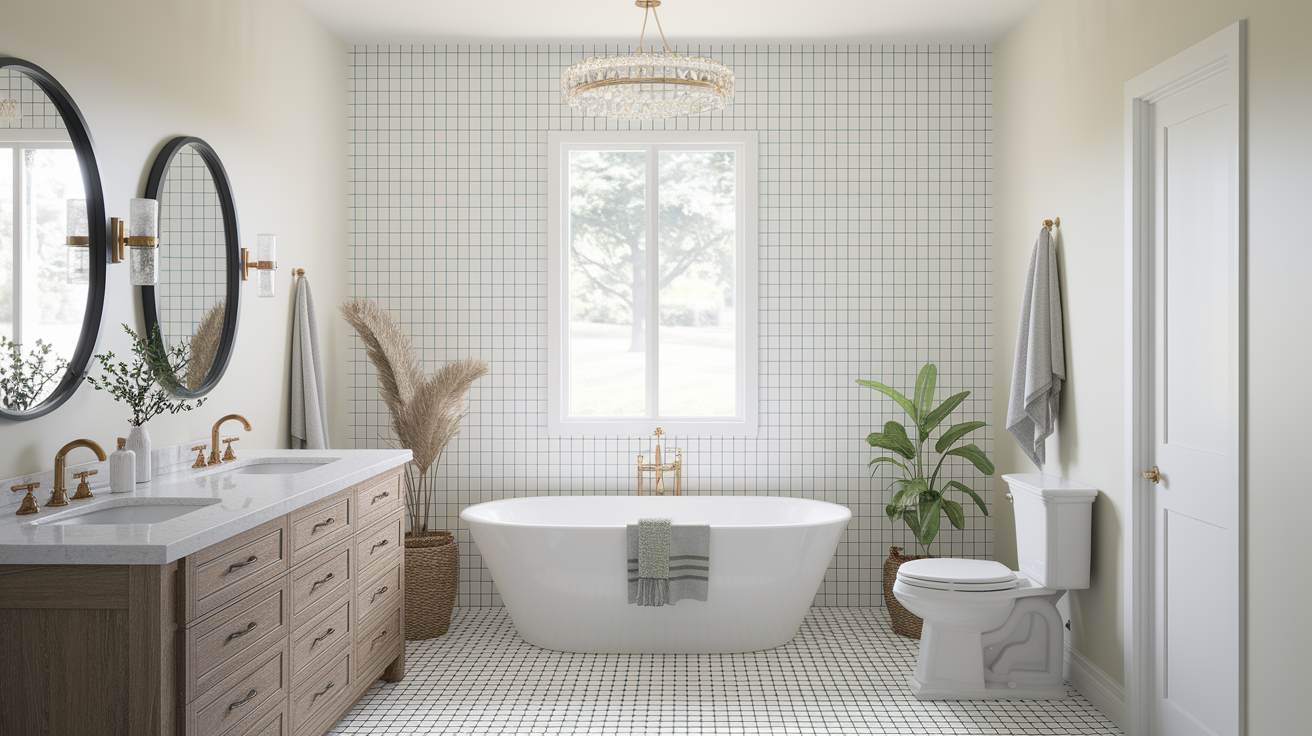
Bathroom renovations in a BRRRR project deliver outsized returns when you execute them correctly. Unlike cosmetic touch-ups in a primary residence, rental bathroom upgrades need to balance three competing priorities: durability to survive tenant turnover, cost containment to preserve your refinance math, and finish quality high enough to lift appraised value and justify higher rents. The most successful BRRRR bathroom rehabs don’t chase trends or impress Instagram followers. They install functional, maintainable fixtures that reduce call-backs and increase the property’s bankable value.
The full renovation sequence runs from pre-planning through final inspection. Each phase builds on the last, and skipping steps or reversing order usually costs more in rework than it saves. A well-structured bathroom rehab directly influences how much cash you can pull out at refinance and how quickly you can redeploy that capital into your next deal.
Here’s the complete step-by-step process:
- Plan scope, budget, and target finishes based on ARV goal and neighborhood rent comps
- Demo existing fixtures, flooring, and damaged substrate while protecting adjacent spaces
- Update plumbing and electrical rough-ins to code, installing new lines and circuits as needed
- Install waterproofing membranes and moisture-resistant substrate in wet zones
- Tile shower surrounds and floors, or install prefab surrounds if faster and more cost-effective
- Install fixtures, vanity, toilet, lighting, mirrors, and hardware in logical sequence
- Apply paint, caulk seams, confirm ventilation function, and complete final punch list
Pre‑Renovation Planning and Budgeting for BRRRR Bathrooms

Planning starts with the end in mind. Before you swing a hammer, confirm your target ARV and how much appraised lift you need to hit your refinance goal. If local comps show renovated three-bedroom rentals appraising $15,000 higher with updated bathrooms, and your property needs two bathrooms rehabbed, you can back into a per-bathroom budget that still leaves margin for profit. Don’t guess. Talk to your appraiser early, show them photos of comps, and ask which upgrades move the needle in your market.
Next, walk the existing bathroom and document every issue. Take photos of water damage, cracked tile, poor ventilation, outdated fixtures, and code violations. This list becomes your scope of work and your justification for budget line items. If the subfloor is spongy or the drain lines are cast iron from 1952, add those repairs to your estimate now, not halfway through tile installation when you’re out of contingency funds.
Set a realistic budget tier that matches your target rent and ARV. If you’re rehabbing a Section 8 duplex in a working-class neighborhood, a $12,000 luxury spa bathroom won’t appraise or rent any better than a clean $4,500 install with durable mid-grade fixtures. Conversely, if you’re targeting young professionals in a gentrifying urban market, a bottom-tier builder-grade vanity and a fiberglass shower insert may cost you $150 a month in lost rent.
Key planning decisions to lock in before starting:
- Confirm whether you’re keeping the existing layout or reconfiguring. Moving plumbing and walls adds weeks and thousands to the budget.
- Choose flooring material early so you can order lead-time items and avoid delaying the project mid-stream.
- Select durable, neutral finishes that appeal to the broadest tenant pool and require minimal maintenance between turnovers.
- Budget 10 to 20 percent contingency for hidden rot, outdated wiring, or code upgrades discovered during demo.
- Decide whether you’re pulling permits and factor approval timelines into your holding-cost calculation. Unpermitted work can kill your refinance.
Demolition and Structural Preparation
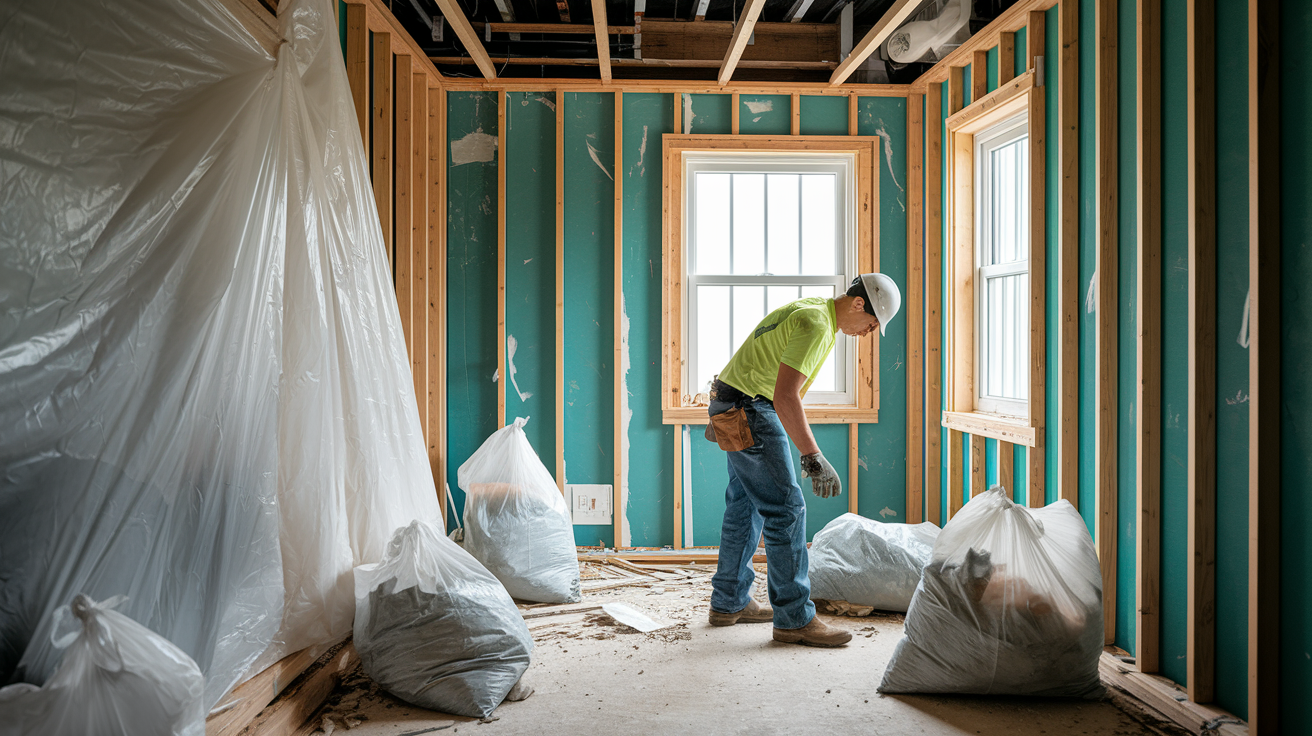
Demo is where you find out what you’re really working with. Start by shutting off water to the bathroom and confirming power is off at the breaker before pulling fixtures. Remove the toilet, vanity, and any freestanding cabinets first, then carefully extract the tub or shower base if you’re replacing it. If the existing footprint is salvageable and you’re keeping the layout, protect surrounding flooring and walls with plastic sheeting and painter’s tape to contain dust and debris.
Pull damaged drywall, backer board, and any water-stained or moldy material down to studs. If you see black mold or soft framing, that’s a structural issue. Call in a contractor or remediation specialist before proceeding. Bag and haul debris promptly. A typical full bathroom generates one to two cubic yards of waste, and leaving it piled in the unit invites theft, pests, and delays from other trades who can’t access their work areas.
Essential prep tasks before rough-in begins:
- Inspect and reinforce floor joists if sagging or damaged. Bouncy subfloors crack tile and loosen fixtures.
- Replace rotted or warped subfloor sections with new plywood or cement backer board rated for wet areas.
- Verify that existing drain lines and vents meet current code, especially if you’re adding fixtures or relocating a toilet.
- Confirm wall framing is plumb and structurally sound before hanging new drywall or backer board.
Plumbing and Electrical Rough‑In for Rentals
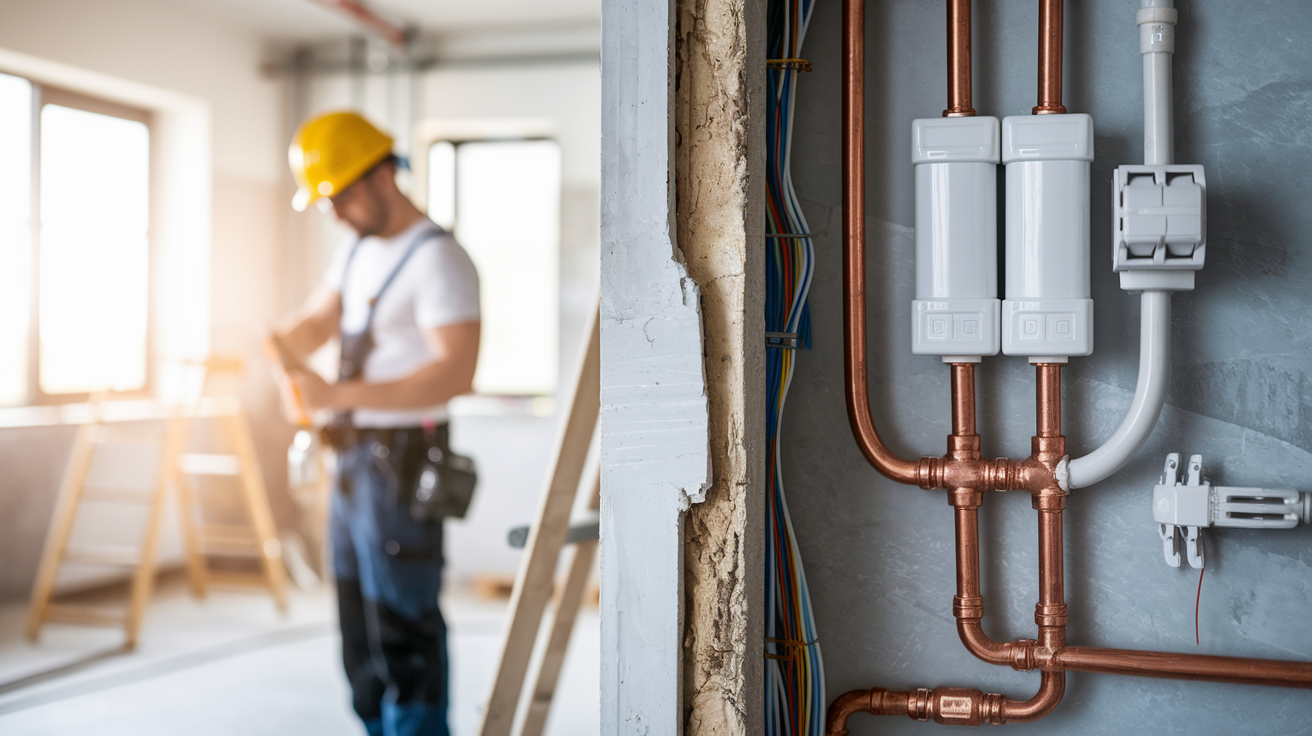
Rough-in is where licensed trades update the guts of your bathroom to support reliable, code-compliant operation. A licensed plumber should install or relocate supply lines, drain lines, and vent stacks. If you’re keeping the existing layout, rough-in is faster and cheaper. Most of the work involves replacing corroded valves, updating fixture traps, and confirming everything is watertight. If you’re reconfiguring, expect the plumber to open walls and floors to run new lines, which adds labor days and material cost.
Electrical rough-in installs new circuits, outlets, switches, and ventilation-fan wiring. Bathrooms require GFCI-protected outlets within six feet of sinks, adequate lighting circuits, and a code-compliant exhaust fan vented to the exterior, not into the attic. If you’re adding a heated towel rail or upgrading to a larger hot-water cylinder to support additional bedrooms, plan those circuits and breaker upgrades during this phase. Hidden issues like outdated wiring, undersized panels, or missing ground wires will surface now. Budget contingency to address them so your refinance appraisal isn’t flagged for safety violations.
Common Code Requirements
Local building codes vary, but most jurisdictions mandate GFCI outlets near water sources, proper venting for exhaust fans, minimum clearances around toilets and showers, and waterproof electrical boxes in wet zones. If you’re adding a second toilet or converting space to create an additional bathroom, expect to pull a permit and schedule inspections. Inspectors will check framing, plumbing rough-in, electrical rough-in, waterproofing, and final fixtures before signing off. Skipping permits to save a few hundred dollars can cost you thousands if your lender or appraiser discovers unpermitted work and refuses to close your refinance.
Waterproofing and Substrate Installation
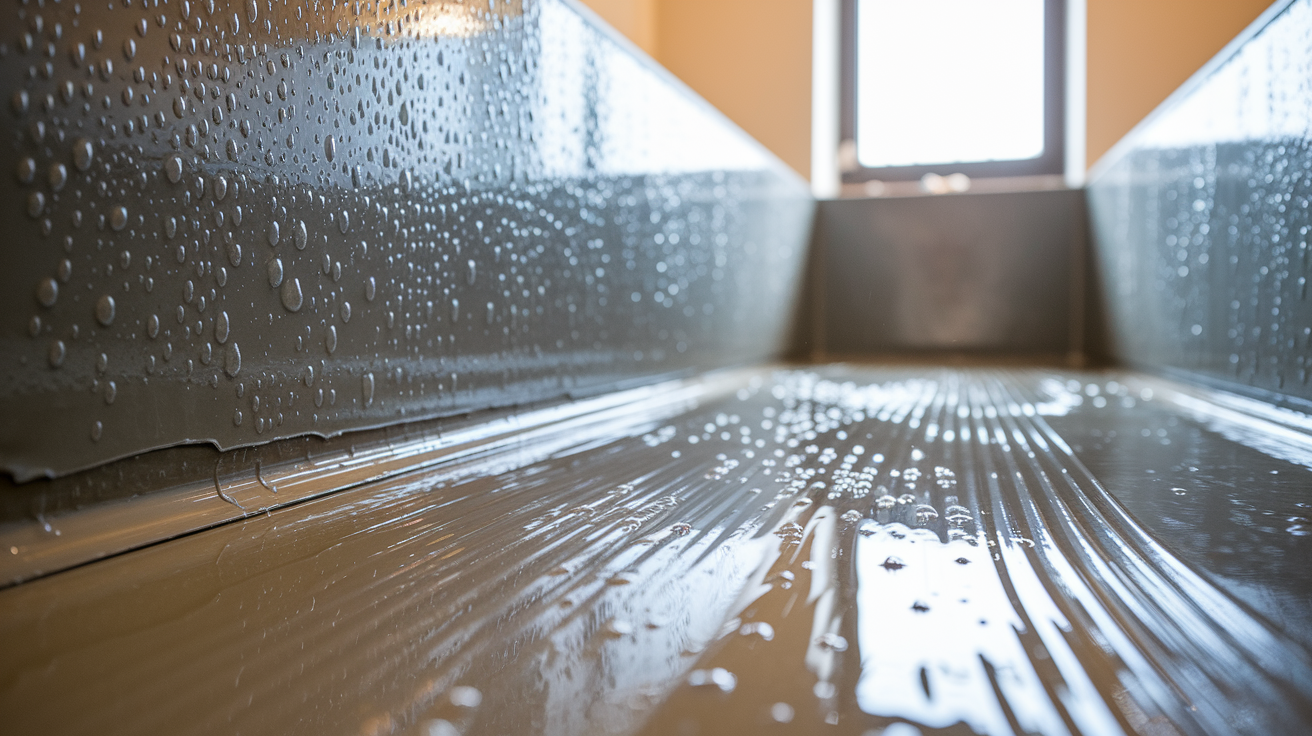
Waterproofing is non-negotiable in rental bathrooms. Tenants rarely report small leaks early, so moisture damage compounds over time and turns into expensive mold remediation or structural repairs. After framing and rough-ins pass inspection, install cement backer board on all walls that will receive tile or be exposed to water. Use moisture-resistant drywall elsewhere. Apply a liquid-applied or sheet waterproofing membrane to shower and tub surrounds, extending coverage at least six inches beyond the shower curb and up the wall to above showerhead height.
For floors, lay a waterproof membrane under tile or luxury vinyl plank. If you’re installing a tile shower pan, use a pre-sloped foam base with integrated membrane or build a traditional mud-bed pan with a PVC or CPE liner. Prefab fiberglass or acrylic shower bases are faster and often more foolproof for landlords without tile experience. They arrive waterproof, install in a few hours, and eliminate the risk of installer error that leads to leaks.
| Area | Material Needed | Key Purpose |
|---|---|---|
| Shower walls | Cement backer board + liquid waterproof membrane | Prevent water intrusion into framing and adjacent rooms |
| Shower floor | Pre-sloped foam pan or mud-bed with liner | Direct water to drain and seal subfloor from moisture |
| Bathroom floor | Waterproof underlayment or sheet membrane | Protect subfloor from spills, humidity, and fixture leaks |
Tiling and Wall Surface Installation
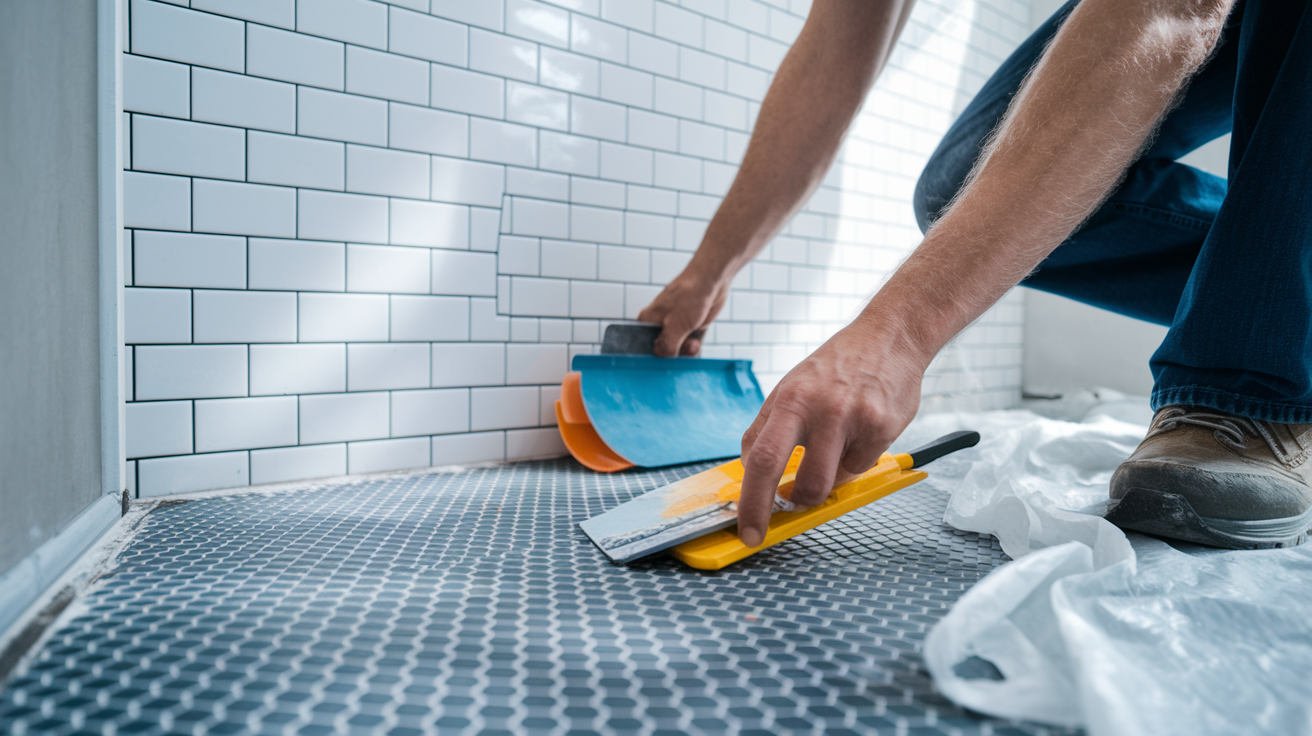
Tile installation combines durability with cost control if you choose materials and layouts carefully. Porcelain tile resists water, wear, and staining better than ceramic, and the price difference is minor when you buy builder-grade field tile on sale. For shower surrounds, running tile halfway up the wall and finishing the upper half with moisture-resistant paint or beadboard can cut material and labor costs by 30 percent without sacrificing function. Full-height tile looks premium but adds days of labor and hundreds in materials. Worthwhile in higher-rent markets, overkill in budget rentals.
Grout choice matters more than most landlords realize. Use epoxy grout or high-quality sanded grout with a good sealer in showers and wet areas. Cheap grout absorbs moisture, cracks, and harbors mold, leading to tenant complaints and costly call-backs. For floors, choose slip-resistant tile with a matte or textured finish. Glossy tile looks sharp in photos but becomes a liability lawsuit waiting to happen when wet.
Set tile with proper thin-set mortar rated for your substrate, allow full cure time before grouting, and clean excess grout promptly. If you’re hiring a tiler, expect to pay around $60 per square meter for labor in most markets. A standard rental bathroom with a tiled shower surround and floor typically uses 20 to 30 square meters of tile, so budget $1,200 to $1,800 for labor alone, plus materials.
Common tile mistakes to avoid:
- Using wall tile on floors or vice versa. Each has different slip and strength ratings.
- Skipping waterproofing under tile because “grout is waterproof.” It’s not.
- Choosing tiny mosaic tiles for large areas, which quadruples labor time and grout maintenance.
- Installing tile before plumbing fixtures are tested, then discovering leaks that require tile removal.
- Failing to match grout color to tile tone, creating a busy, cheap-looking finish.
Installing Fixtures and Hardware
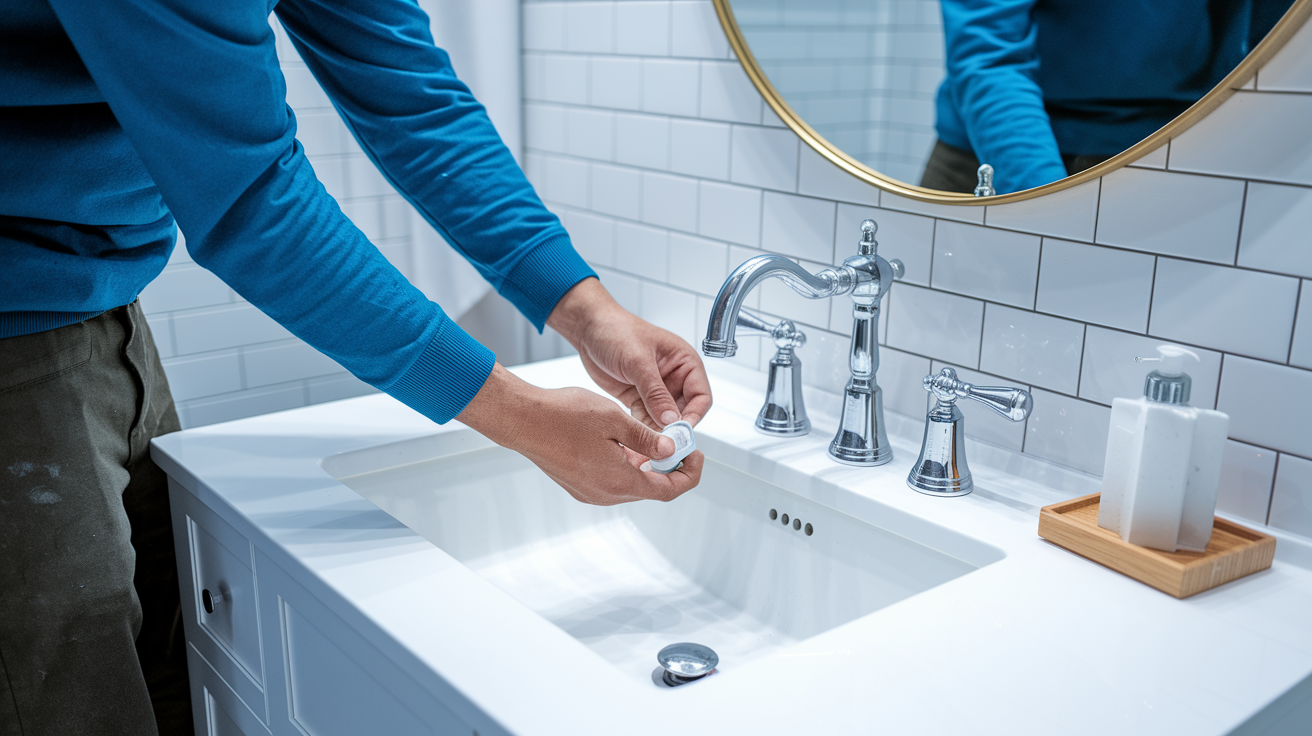
Fixture installation happens after tile and flooring are complete and fully cured. Start with the most disruptive or heavy item first, usually the bathtub or shower base if you haven’t already set it during waterproofing. Acrylic or fiberglass tubs install faster and cost less than cast iron, and tenants won’t notice the difference. For showers, a prefab acrylic surround or tile-ready base with glass doors balances cost and durability. Avoid shower curtains in rentals if possible. They look temporary, hold mildew, and get torn down by tenants.
Next, install the toilet. Choose a standard two-piece toilet in white with a standard round or elongated bowl. Dual-flush models save water and appeal to eco-conscious renters without adding cost or complexity. Avoid trendy colors, wall-hung models, or anything that requires special parts. Tenants break things, and you want replacement parts available at any hardware store.
Install the vanity, sink, and faucet as a unit. Wall-hung vanities look modern and make floor cleaning easier, but they require solid blocking in the wall framing. Traditional floor-mounted vanities are simpler to install and replace. Choose a vanity with drawers or cabinet doors for storage. Renters expect space for toiletries, and undersink storage reduces clutter. Faucets should be solid metal, not coated plastic. A basic chrome or brushed nickel single-handle faucet will outlast any matte black or gold finish, which chips and corrodes within a year of tenant use.
Fixture installation sequence:
- Set and level bathtub or shower base, connect drain, and test for leaks before tiling or finishing surrounds.
- Install backer board and tile or prefab surround panels around tub/shower, ensuring watertight seams.
- Mount vanity, secure to wall studs, connect supply lines and drain trap, and test for leaks.
- Install sink and faucet, apply plumber’s putty or silicone as needed, and check hot and cold water flow.
- Set toilet on new wax ring, bolt to flange, connect supply line, and test flush and fill cycle.
- Install mirrors, towel bars, toilet-paper holder, lighting fixtures, and exhaust fan cover trim.
Finishes, Paint, and Rental‑Ready Touches
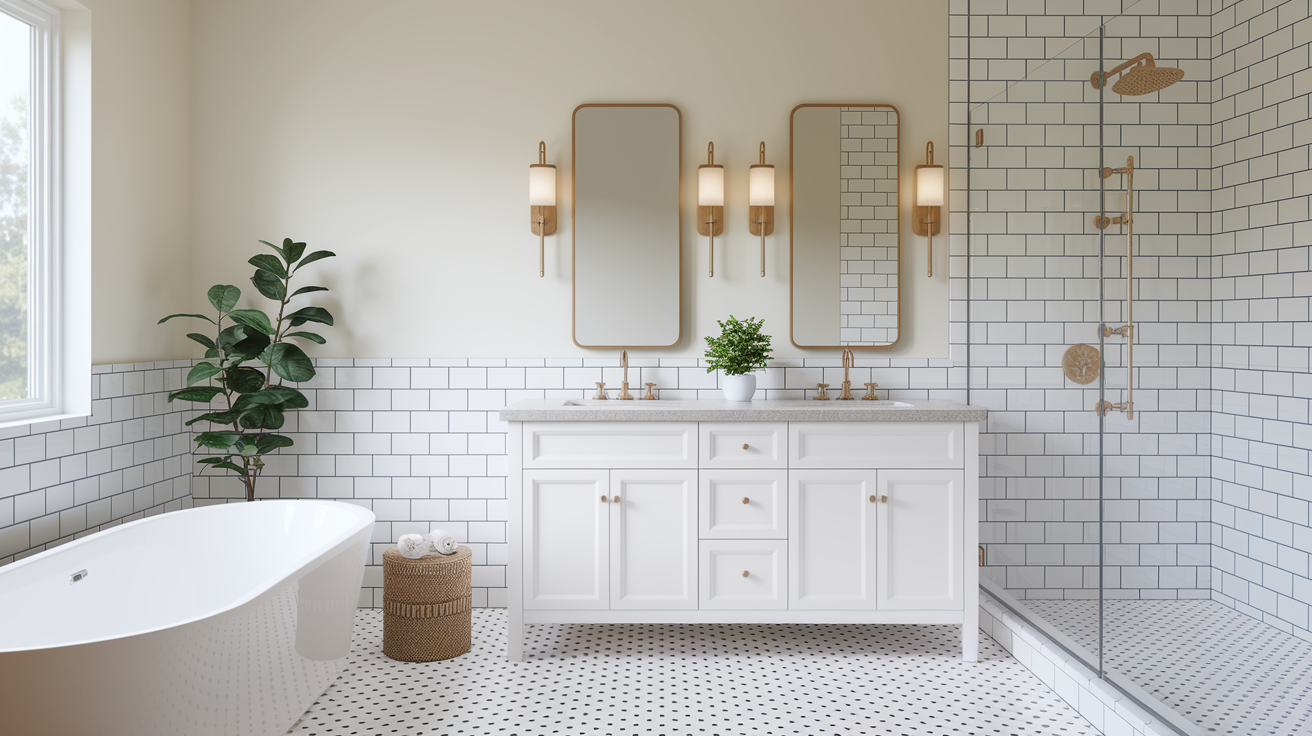
Paint is the final layer that ties the space together and covers minor imperfections in drywall or backer board seams. Use a mold-resistant semi-gloss or satin paint in a neutral color. White, light gray, or soft beige. Semi-gloss is easier to wipe down and resists moisture better than flat paint, which matters in a humid bathroom environment. Cut in edges carefully around tile, fixtures, and trim, then roll walls in even coats. Two coats are usually enough if you’ve primed properly.
Caulk every seam where tile meets fixtures, where the vanity meets the wall, and around the base of the toilet. Use 100 percent silicone caulk in wet areas for maximum water resistance and flexibility. A clean, consistent caulk bead prevents water intrusion and looks professional. Sloppy caulking telegraphs poor workmanship and invites tenant complaints.
Confirm the exhaust fan is wired correctly, vented to the exterior, and operating quietly. Fans that vent into the attic cause mold and code violations. Test all plumbing fixtures under pressure. Run hot water for several minutes, flush the toilet multiple times, and check under the sink and around the toilet base for leaks. Walk the space with a punch-list checklist: touch up paint nicks, tighten loose hardware, clean grout haze, remove debris, and verify all switches and outlets function. The bathroom should feel clean, solid, and tenant-ready before you list the property or schedule the appraisal.
Timeline and Workflow for Fast BRRRR Bathroom Renovations

Speed matters in BRRRR because every extra week on the rehab clock is another week of holding costs, lost rent, and delayed refinancing. A straightforward bathroom renovation with no layout changes typically takes two to four weeks from demo to final walkthrough. If you’re reconfiguring walls, moving plumbing, or dealing with structural repairs, add another two to four weeks. Compress timelines by scheduling trades in tight sequence, ordering long-lead materials early, and keeping the site clean so each trade can start immediately after the previous one finishes.
Staging work in the correct order avoids rework and downtime. Demo first, then rough-ins and inspections, then waterproofing and substrate, then tile and paint, then fixtures and finals. If your plumber shows up before the electrician finishes, someone’s waiting and you’re paying for it. If you tile before the plumber pressure-tests the shower valve and discovers a leak, you’re tearing out fresh tile. Map the sequence backward from your target rent-ready date and build in buffer days for inspection delays and material backorders.
| Phase | Duration | Notes |
|---|---|---|
| Demo and disposal | 1–3 days | Protect adjacent areas; haul debris promptly to keep site accessible |
| Plumbing and electrical rough-in | 2–4 days | Schedule inspections before closing walls; allow buffer for code issues |
| Waterproofing and substrate | 1–2 days | Let membranes cure per manufacturer spec before tiling |
| Tile installation and grout cure | 3–6 days | Factor in set time between thin-set, grouting, and sealing |
| Fixtures, paint, finals | 2–4 days | Test all plumbing and electrical; complete punch list before appraiser walks |
Cost‑Saving Strategies for BRRRR Bathroom Renovations
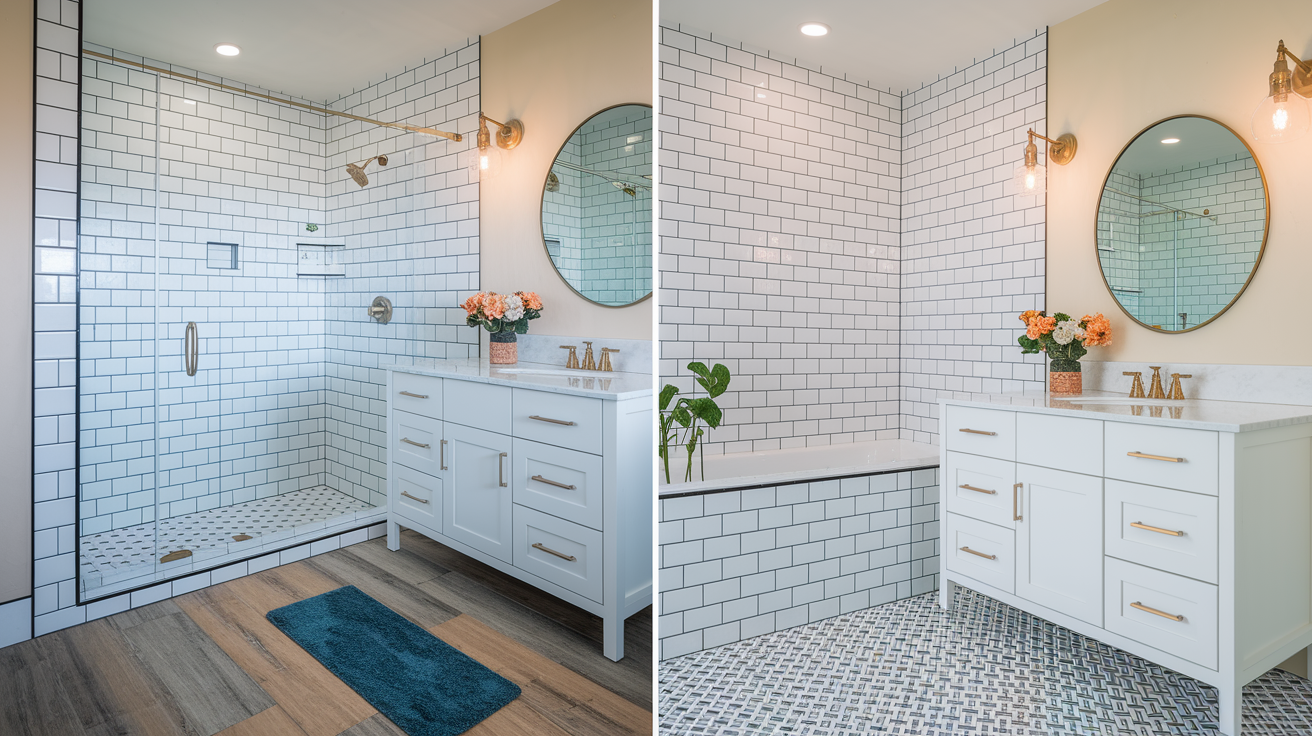
Cutting costs without cutting corners requires discipline and planning. The biggest savings come from avoiding unnecessary layout changes. Moving a toilet or shower drain forces you to open floors, pour new concrete or build new framing, and replace flooring across a wider area. If the existing layout works and the plumbing rough-in is sound, keep it. A like-for-like replacement bathroom can cost half as much as a reconfigured one and finish in half the time.
Buy fixtures and materials opportunistically when you’re not under deadline pressure. Big-box stores and plumbing suppliers run clearance sales on discontinued vanities, toilets, and tile several times a year. If you’re planning three bathroom rehabs over the next six months, buy matching vanities and fixtures in bulk when they’re 30 percent off and store them until you need them. The carrying cost of a few hundred dollars in materials is trivial compared to paying full retail under time pressure mid-project.
Seven cost-saving tactics for BRRRR bathroom renovations:
- Stick to the existing plumbing and electrical layout unless moving fixtures is essential to add usable square footage or meet code.
- Use prefab acrylic or fiberglass shower surrounds instead of full tile if your market tolerates them. Install time drops from days to hours.
- Choose luxury vinyl plank or sheet vinyl for flooring instead of tile in lower-rent units. Waterproof, fast to install, and far cheaper.
- Buy builder-grade porcelain tile on sale in neutral colors, avoiding specialty shapes, colors, or finishes that limit future matching.
- Install standard two-piece toilets, single-handle faucets, and basic vanities in white or neutral wood tones to simplify replacement parts.
- Hire one general contractor who can coordinate trades instead of managing each sub separately. Reduces scheduling conflicts and miscommunication.
- Reuse existing vanity or mirror if they’re solid wood and in good shape. A fresh coat of paint and new hardware transforms them for under $50.
Choosing Between DIY and Contractors
DIY saves labor dollars but costs time, and time has a dollar value in BRRRR. If you’re experienced with tile, plumbing, or electrical work and your holding costs are low, DIY can cut 30 to 50 percent off the labor line. But if you’re learning on the job, lack proper tools, or make mistakes that require rework, the savings evaporate quickly. Worse, DIY work that isn’t permitted or doesn’t meet code can torpedo your refinance when the appraiser or lender flags safety issues.
Hire licensed professionals for plumbing rough-ins, electrical circuits, structural repairs, and any work that requires an inspection. These trades affect safety, code compliance, and insurability. Cutting corners here to save a few hundred dollars can cost you thousands in delayed refinancing, failed inspections, or liability when a tenant gets hurt. DIY is viable for demolition, painting, simple fixture installations like toilets and vanities, and finish work like caulking and hardware mounting.
Skills Needed for Common Bathroom Tasks
Demolition requires basic hand tools, safety gear, and the ability to disconnect supply lines and remove fasteners without damaging surrounding surfaces. Painting needs a steady hand, knowledge of surface prep, and patience to apply even coats. Installing a toilet involves setting a wax ring, aligning the flange bolts, and snugging down the nuts without cracking the porcelain. Mounting a vanity requires finding studs, leveling the cabinet, and connecting supply lines and drain traps without leaks. Tile setting demands precision layout, consistent thin-set coverage, proper spacer use, and clean grouting. Electrical and plumbing rough-ins require licensing, code knowledge, and inspection readiness. Unless you hold those licenses, hire out.
How Bathroom Renovations Influence Appraisals and Rent Increases
Appraisers compare your renovated property to recent sales of similar homes in the neighborhood. If most comps have dated bathrooms and yours features updated tile, modern fixtures, and good lighting, the appraiser will adjust your value upward to reflect the improved condition. The size of that adjustment depends on local market conditions, the quality of your finishes relative to neighborhood norms, and how well you document the work with invoices and before-and-after photos.
In practice, a mid-range bathroom renovation in a BRRRR property typically adds $5,000 to $15,000 in appraised value, depending on scope and market. That value increase directly affects how much you can pull out in a cash-out refinance. If you spent $6,000 renovating the bathroom and it appraises $12,000 higher, you’ve created $6,000 in equity and can refinance 75 to 80 percent of that increase, recovering most or all of your renovation capital.
Rent increases follow similar logic. A clean, functional bathroom with modern fixtures, good lighting, and no maintenance red flags lets you charge $50 to $200 more per month than a comparable unit with a worn-out bathroom. The exact increase depends on tenant demand, local rent comps, and whether your renovation solved a functional problem like adding a second toilet in a four-bedroom house or just improved aesthetics. Functional upgrades that reduce tenant friction and increase bedroom-to-bathroom ratios deliver stronger rent lifts than purely cosmetic changes.
Elements that most impact valuation:
- Durable, neutral finishes that appeal to a broad tenant pool and photograph well for listings and appraisals.
- Proper waterproofing and ventilation that signal low future maintenance costs and reduce lender risk.
- Code-compliant plumbing and electrical systems that pass inspection and avoid red flags on appraisal reports.
- Functional layouts that match or exceed neighborhood standards for bedroom-to-bathroom ratios and usable space.
Final Words
Start with an ROI‑focused plan, then move straight through demo, plumbing/electrical rough-in, waterproofing, tiling, fixtures, and final finishes. Each phase aims at durability, faster rent-up, and appraisal lift.
Use the quick screens, timeline tips, and cost-saving tactics in this guide to keep the project on schedule and on budget. Follow these bathroom renovation steps for BRRRR rentals and you’ll improve rentability and refinance value. Small, practical choices now make the long-term return much clearer, and you’ll be glad you did.
FAQ
Q: What is the 70% rule for brrrr?
A: The 70% rule for BRRRR is a buying guideline that says your purchase price plus rehab costs should leave you at or below 70% of the after-repair value (ARV), protecting margin and lender risk.
Q: What is the 30% rule for renovations?
A: The 30% rule for renovations is a guideline to cap rehab spending at about 30% of ARV (or sometimes purchase price) to avoid over-improving and protect projected ROI.
Q: What is the order of steps in bathroom renovation?
A: The order of steps in a bathroom renovation is: plan and permit, demo, rough-in plumbing and electrical, waterproofing and substrate, tiling and walls, install fixtures and hardware, finishes and final punch.
Q: What is the 2% rule in rental property?
A: The 2% rule in rental property is a quick screening that says monthly rent should be at least 2% of the purchase price to suggest decent cash flow; it’s a rough, market-dependent guide.