
What if turning your single-family house into separate rental units could cut your mortgage and lift your cash flow in one project?
Sounds simple, but it’s not.
Zoning, permits, safety rules, layout choices, and real renovation costs usually decide if the plan works or becomes a headache.
This post walks you through the practical steps: how to check legal eligibility, design compliant units, budget realistic numbers, and spot red flags.
By the end you’ll know whether converting your home is a low-regret move for house hacking, and what to do next.
Step 1: Verify Zoning Laws and Legal Eligibility for Multi‑Unit Conversion

Before you start tearing down walls or pricing out contractors, find out if your city will even let you do this. Zoning codes control what you can build and how you can use it. Most single‑family homes sit in R‑1 zones, which usually don’t allow multiple dwelling units unless there’s an ADU carve‑out or you can get a variance. Some cities have loosened ADU rules in the past few years, but that doesn’t mean you get a free pass to carve up your house however you want.
Call your local planning department. Tell them what you’re trying to do and ask whether it’s allowed by‑right or if you’ll need a conditional use permit. You might find out your lot’s too small, your setbacks don’t work, or the city caps unit density per acre. If you’re in a historic district or have an HOA, those restrictions layer on top of zoning. Ignoring this step means fines, forced removal of your work, and a nightmare when you try to sell.
Even when zoning looks promising, read the details. Some places allow ADUs but cap size at 800 square feet, require owner occupancy, or mandate parking spaces per unit. Others ban short‑term rentals entirely, even in legal multi‑unit setups. Pull the zoning map, read the code sections that apply to your property, and confirm everything with a planning staffer before you spend a dime on design or permits.
What you need to verify before moving forward:
- Density limits: How many units your lot can legally support.
- Setback requirements: Minimum distance from property lines for new construction or additions.
- Owner‑occupancy rules: Whether you’re required to live on‑site to operate multiple units.
- ADU and duplex allowances: Size caps, height limits, and design standards for accessory units.
- Parking requirements: Off‑street spaces per unit, and whether waivers apply in transit areas.
Required Permits and Approvals for Multi‑Unit Conversion
Once zoning clears, you’re into permits. Adding separate rental units changes occupancy classification. You’re installing kitchens and bathrooms, reconfiguring electrical and plumbing, and putting in fire‑rated separations. That triggers building permits, electrical permits, plumbing permits, mechanical permits for HVAC, and often a change‑of‑use permit to legally rent the units. Skipping permits is risky. Inspectors can shut you down, lenders won’t finance or refinance unpermitted work, and you’re personally liable if something goes wrong.
Expect a multi‑stage approval process. You’ll submit construction drawings to the building department for plan review, which can take anywhere from four weeks to six months depending on your city’s backlog and your project’s complexity. After approval, you get permits that authorize construction. Inspectors will visit at key stages (rough framing, rough electrical, rough plumbing, insulation, final) before issuing a certificate of occupancy. If you’re adding square footage or changing the building footprint, expect extra scrutiny on foundation work, structural beams, and fire separation. Some cities require fire‑marshal sign‑off when you’re creating multiple dwelling units under one roof.
Budget time for plan corrections, inspector availability, and re‑inspections if something fails.
Planning the Layout and Designing Separate Rental Units
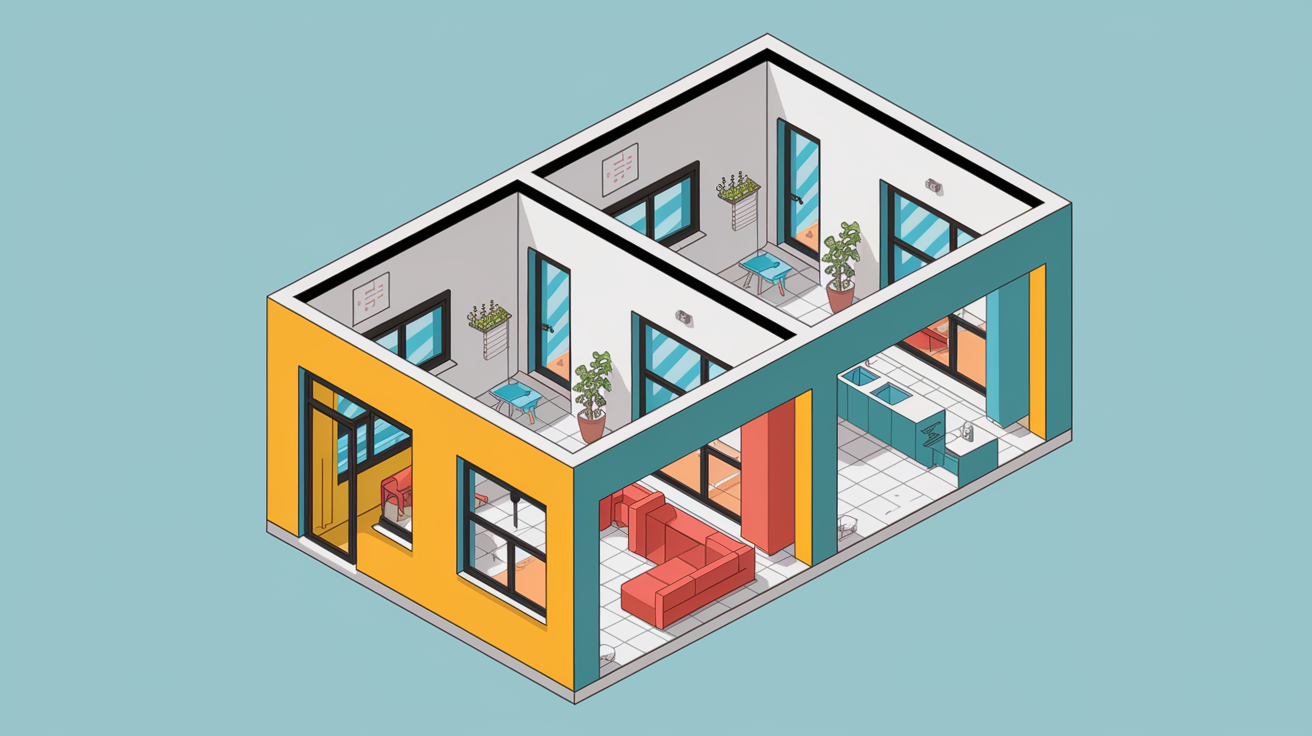
A good conversion starts with a floor plan that meets code and works for actual tenants. You’re not just chopping up space. You’re creating independent households that need privacy, safety, and function. Each unit needs a sleeping area, a bathroom, a kitchen, and at least one exterior door that serves as a fire exit. Codes typically specify minimum room sizes, ceiling heights, and natural light requirements. If your home has a walkout basement or side entrance, those become natural separation points. If not, you may need to add an exterior staircase or reconfigure interior access so tenants don’t share a common hallway without fire doors.
Key Layout Priorities
Each unit needs its own entrance, ideally with zero overlap. Front‑and‑rear door splits work for traditional duplexes. Side entrances or separate outdoor stairs suit basement or upper‑level units. Soundproofing matters more than people think. Shared walls should get insulation batts rated for sound, resilient channels, and double drywall if budget allows. Carpet or acoustic underlayment on upper floors cuts down footfall noise.
Kitchen and bathroom placement should minimize plumbing runs. Don’t stack wet rooms on exterior walls in cold climates. If you’re splitting a single water heater and furnace into multiple systems, plan for separate thermostats, ductwork branches, and possibly a second HVAC unit or mini‑split. The goal is operational independence. If one tenant turns off their heat or skips a utility bill, the other unit isn’t affected.
Watch minimum square footage rules. Some cities require at least 500 square feet per unit, others 400. Bedrooms often need 70 to 80 square feet and an egress window with a specific opening size. Kitchens must include a sink, stove, and refrigerator. Kitchenettes with only a microwave and mini‑fridge may not qualify as a separate dwelling unit. When in doubt, ask the building department for their unit‑definition checklist before finalizing your design.
Meeting Building Codes and Safety Standards
Code compliance isn’t optional. Multi‑unit conversions trigger stricter rules than simple remodels. Life‑safety standards focus on egress, fire separation, and emergency notification. Every sleeping room must have a code‑compliant egress window or door (typically a window with at least 5.7 square feet of opening, minimum 20 inches wide, and a sill height no more than 44 inches above the floor). Each unit also needs a clear path to an exterior exit. If you’re splitting a house vertically, you may need fire‑rated doors (often 20‑minute or 1‑hour rated) between units and in shared stairwells or hallways.
Fire separation usually means fire‑rated drywall assemblies between units. Two layers of 5/8‑inch Type X drywall on each side of a wall, or an equivalent engineered assembly that meets the local 1‑hour fire rating. Check whether your jurisdiction requires fire stops in wall cavities, fireblocking at floor levels, and fire‑rated penetrations for plumbing and electrical runs that pass through separation walls. Smoke detectors and carbon‑monoxide detectors are mandatory in each unit, often hardwired with battery backup. Some codes also require interconnected alarms so a fire in one unit triggers alerts in both.
Electrical and plumbing upgrades round out the safety picture. If you’re adding a full kitchen and bathroom, your existing 100‑amp or 150‑amp service panel may be undersized. 200 amps is a common baseline for multi‑unit homes. You’ll need dedicated circuits for appliances, GFCI protection in wet areas, and proper grounding throughout. Plumbing work must meet fixture‑unit capacity rules, provide adequate venting, and prevent backflow. Mechanical systems (heating, cooling, ventilation) must meet energy‑code minimums and provide fresh‑air exchange. Inspectors will verify all of this, so hire licensed trades and keep your permit placard visible on‑site.
Renovation Costs and Budget Breakdown

Conversion costs vary widely based on your home’s condition, scope of work, and local labor rates. Expect to invest anywhere from $25,000 for a simple interior split to $150,000 or more for a full basement finish or detached ADU. The biggest line items are kitchens, bathrooms, structural modifications, and upgraded mechanical systems.
Every added kitchen means cabinetry, countertops, a sink, a range, a refrigerator, plumbing rough‑in, electrical circuits, and finishes. Costs range from basic builder‑grade ($8,000) to mid‑range semi‑custom ($20,000) to high‑end ($40,000+). Bathrooms follow a similar spread. A basic three‑piece bath with standard fixtures and tile might run $6,000 to $12,000, while a larger or upgraded bath can push $20,000 to $25,000.
| Cost Category | Typical Range | Description |
|---|---|---|
| Structural & Framing | $5,000–$50,000 | New walls, load‑bearing modifications, stairs, foundation work, or beam installation. |
| Electrical Upgrades | $2,000–$12,000 | Panel upgrade to 200A, new circuits, separate meters, lighting, and outlets. |
| Plumbing Systems | $3,000–$15,000 | New supply lines, drains, vents, water heater, and fixture rough‑in and finish. |
| Kitchen & Bathroom | $14,000–$65,000 | Combined cost for one kitchen ($8k–$40k) and one bathroom ($6k–$25k) per unit. |
| Permits & Inspections | $500–$5,000 | Building, electrical, plumbing, mechanical permits, plan‑review and inspection fees. |
| Finishing & HVAC | $8,000–$30,000 | Flooring, drywall, paint, doors, windows, insulation, mini‑split or furnace, ductwork. |
Always add a contingency buffer of 10 to 20 percent on top of your total estimate. Older homes hide surprises (outdated wiring, undersized drain lines, settling foundations), and permit inspectors sometimes flag issues that weren’t on your original punch list. If your architect’s estimate is $60,000, budget $66,000 to $72,000 so you don’t scramble mid‑project.
Financing and Funding Options

Most house‑hacking conversions get funded with a mix of personal equity and borrowed money. If you already own the property, a home equity line of credit (HELOC) or cash‑out refinance can unlock renovation capital at lower interest rates than personal loans or credit cards. HELOCs work like a credit card secured by your home. You draw what you need, pay interest only on the outstanding balance, and repay over time. Cash‑out refinancing replaces your existing mortgage with a larger loan, giving you a lump sum for construction while potentially resetting your rate and term.
Renovation loans are another option. Programs like FHA 203(k) or Fannie Mae HomeStyle let you finance both the purchase (if you’re buying) and the renovation costs in a single loan, with the final value based on the post‑conversion appraisal. Owner‑occupant rules often apply (you must live in the property and meet loan‑to‑value limits), but the upside is access to lower down payments and better rates than investor loans. If your credit or income doesn’t fit conventional programs, some local housing authorities offer grants or low‑interest loans for ADU construction or multi‑family conversions, especially in areas facing housing shortages.
Private lenders and hard‑money loans are faster but pricier, with higher rates and shorter terms. They’re useful for bridge financing if you plan to refinance into permanent debt after conversion.
Common financing methods for house‑hacking conversions:
- HELOC (Home Equity Line of Credit): Revolving credit secured by home equity, flexible draw schedule and interest‑only payment option during the draw period.
- Cash‑Out Refinance: Replace existing mortgage with a larger loan, receive the difference in cash for renovations, lock in a new fixed or adjustable rate.
- Renovation Loan (203(k) or HomeStyle): Single loan combining purchase and rehab costs, based on after‑repair value, requires owner occupancy and detailed construction budget.
- Local Grants or Incentive Programs: City or county ADU incentives, housing trust funds, or forgivable loans for affordable‑unit creation. Check eligibility and reporting requirements.
Estimating ROI and Long‑Term Profitability

Return on investment hinges on how much rent you collect versus what you spend on renovation, financing, and ongoing operations. Start with projected monthly rent for the new unit. Pull comps from rental listing sites, talk to local property managers, and adjust for unit size and condition. Multiply by 12 to get annual gross rent, then subtract realistic expenses: property taxes, insurance, utilities (if you’re covering them), maintenance reserves, vacancy allowance, and any new or increased mortgage payments tied to renovation loans. What’s left is your net cash flow. Dividing that by your total cash invested (down payment plus renovation costs not financed) gives you a rough cash‑on‑cash return.
Risk factors matter. If the rental market softens, your $1,200‑per‑month projection might drop to $1,000, shrinking or eliminating positive cash flow. Vacancy is real. Budget for at least one month vacant per year, more if your market is competitive or seasonal. Maintenance costs climb with multi‑unit properties because you’re supporting two kitchens, two HVAC systems, and twice the tenant turnover.
Property taxes may increase after conversion if the assessor reclassifies your home from single‑family to multi‑family. Insurance premiums typically rise when you add rental exposure. Model a few scenarios: base case with steady rent and low vacancy, pessimistic case with 10 percent vacancy and higher expenses, and optimistic case with rent growth and low turnover. If you stay cash‑flow positive in the pessimistic scenario, you’re on solid ground.
Rent pricing should reflect market reality, not wishful thinking. Charge too much and you’ll sit vacant. Charge too little and you leave money on the table and attract tenants who stretch to afford it. Use a blend of per‑square‑foot rent comparisons and recent lease comps in your neighborhood. If similar one‑bedroom units rent for $1,100 to $1,300, price yours at $1,200 and adjust after the first showing cycle. Your mortgage offset is part of the ROI equation. If the new rental income covers half your mortgage, you’re effectively living cheaper while building equity in a more valuable asset.
Managing the Property After Conversion
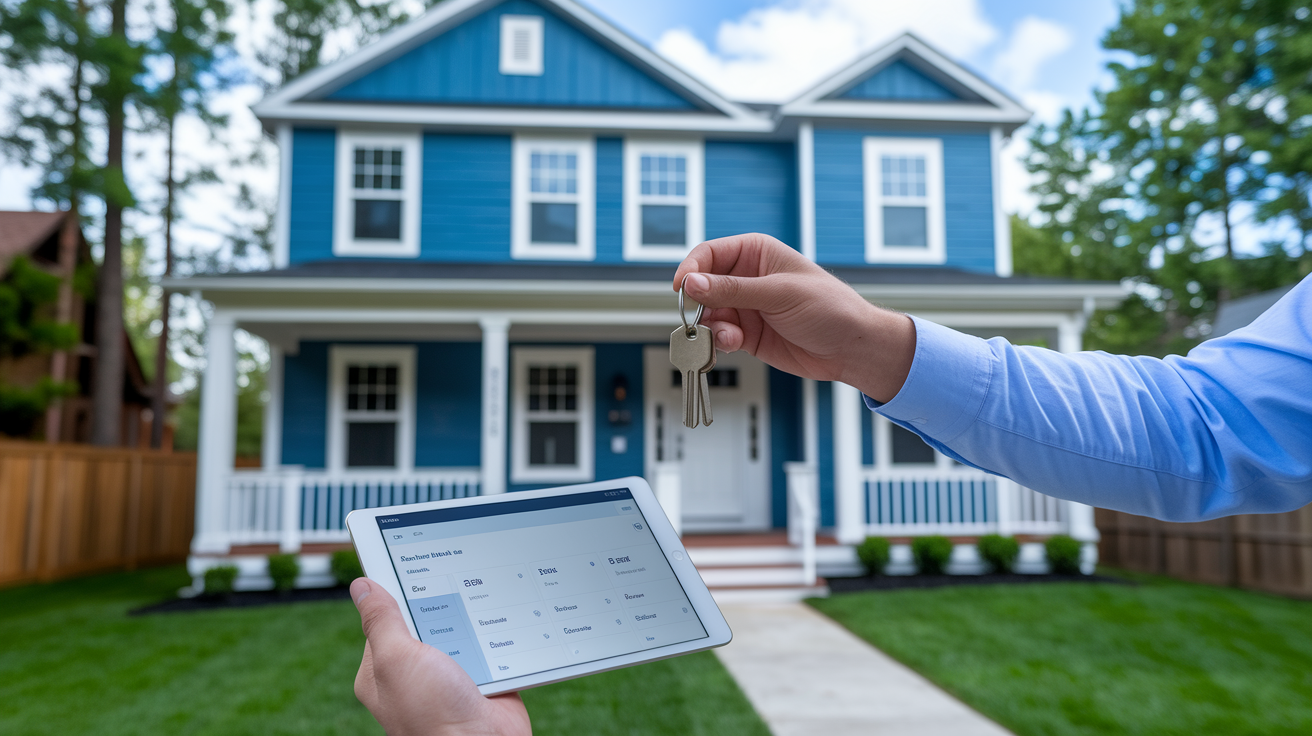
Once the certificate of occupancy is in hand, you shift from builder to landlord. Property management starts with tenant screening. Run background checks, verify income and employment, check references, and confirm rental history. A solid tenant saves you headaches and money. A bad one costs both.
Draft a clear lease agreement that spells out rent amount and due date, late fees, maintenance responsibilities, utilities allocation, and house rules. If utilities aren’t separately metered, decide whether you’ll cover them and raise rent accordingly, or bill tenants a flat monthly fee with annual true‑ups. Separate meters are cleaner and fairer, but retrofitting them adds cost.
Ongoing management tasks break into four buckets:
- Tenant Communication and Lease Enforcement: Respond to maintenance requests promptly, enforce rent collection policies, document all interactions, and renew or terminate leases according to local landlord‑tenant law.
- Maintenance and Repairs: Budget 5 to 10 percent of gross rent annually for routine upkeep, address emergency repairs (heat, water, safety) within 24 hours, schedule preventive maintenance on HVAC, plumbing, and appliances.
- Financial Tracking and Tax Compliance: Separate rental income and expenses in accounting software or spreadsheets, save receipts for repairs, improvements, and operating costs, report rental income and claim allowable deductions on Schedule E.
- Regulatory Compliance and Inspections: Register rental units if required by city ordinance, maintain smoke and CO detectors, comply with lead‑paint disclosure, fair housing rules, and local habitability standards, allow code‑enforcement or fire‑safety inspections as mandated.
If self‑managing feels overwhelming, property management companies typically charge 8 to 12 percent of gross monthly rent plus leasing fees for tenant placement. That cost eats into cash flow but buys you time and reduces landlord stress. Either way, keep a reserve fund (three to six months of mortgage payments) for major repairs, tenant turnover, or unexpected vacancies.
Step‑By‑Step Process for Converting a Single‑Family Home Into Rental Units
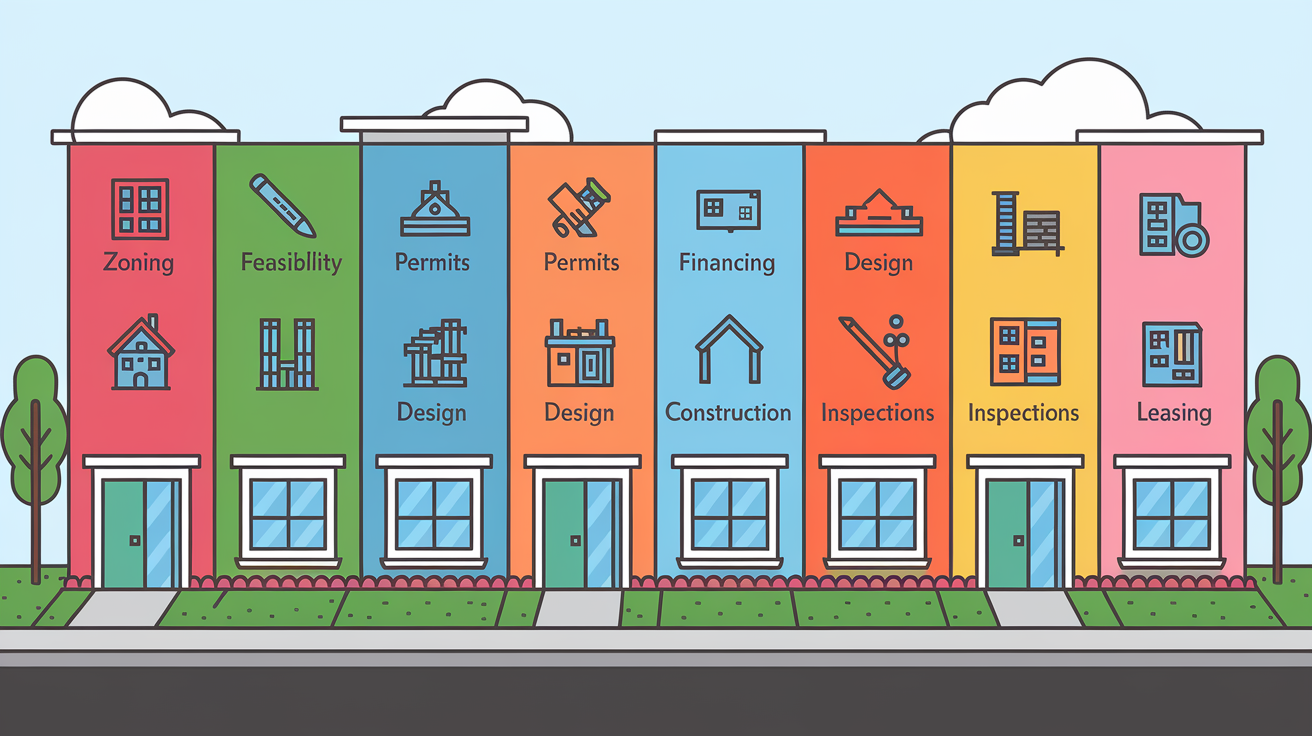
- Confirm Zoning and Legal Allowances: Contact the local planning department, verify your property’s zoning classification, and confirm whether multi‑unit use is allowed by‑right or requires a variance or conditional permit.
- Conduct Preliminary Feasibility and Budget Research: Measure existing square footage, sketch rough unit layouts, estimate renovation costs using contractor quotes or cost‑per‑square‑foot benchmarks, and compare projected rents to your total investment.
- Hire an Architect or Designer for Compliant Plans: Work with a licensed architect or design‑build firm to create permit‑ready drawings that meet code minimums for egress, fire separation, unit size, plumbing, electrical, and mechanical systems.
- Submit Permit Applications and Await Approval: File building, electrical, plumbing, and mechanical permits with detailed plans, structural calculations if needed, and energy compliance documentation. Respond to plan‑review comments and obtain approved permits.
- Secure Financing and Line Up Licensed Contractors: Finalize funding through HELOC, renovation loan, or cash reserves. Obtain bids from licensed general contractors or trade‑specific subs. Verify insurance and references before signing contracts.
- Execute Construction with Milestone Inspections: Complete demolition, framing, rough‑in work (plumbing, electrical, HVAC), insulation, drywall, and finishes. Schedule and pass inspections at each stage. Address any corrections or deficiencies immediately.
- Pass Final Inspections and Obtain Occupancy Certificates: Request final building, electrical, plumbing, and mechanical inspections. Receive certificate of occupancy or compliance. Confirm separate addresses or unit designations with the city and postal service.
- Prepare Units for Leasing and Tenant Placement: Install appliances, clean thoroughly, photograph units for listings, draft lease agreements, set rent based on market comps, and begin marketing to prospective tenants through listing sites, social media, or a property manager.
Real‑World Case Studies of Successful House Hacking Conversions
Case Study A: Basement Apartment in a Suburban Single‑Family Home
A homeowner in a mid‑sized Midwest city purchased a 1,900‑square‑foot single‑family house for $280,000 with a walkout basement that had rough plumbing stubs and exterior access. Local zoning allowed ADUs up to 800 square feet with owner occupancy. The owner hired an architect for $2,500 to design a compliant 650‑square‑foot one‑bedroom unit, then spent $48,000 on construction: $12,000 for a full kitchen with appliances, $9,000 for a bathroom with tile and fixtures, $8,000 for electrical panel upgrade and circuits, $6,000 for a mini‑split HVAC, $5,000 for drywall and flooring, $3,000 for permits and inspections, and $5,000 for exterior stairs and a separate entrance.
After six months of work and permitting, the basement unit rented for $950 per month. Annual gross rent of $11,400 minus 30 percent operating expenses and 8 percent vacancy yielded approximately $7,000 in net annual income. The conversion paid for itself in roughly seven years, ignoring appreciation and mortgage principal reduction, while cutting the owner’s effective housing cost nearly in half.
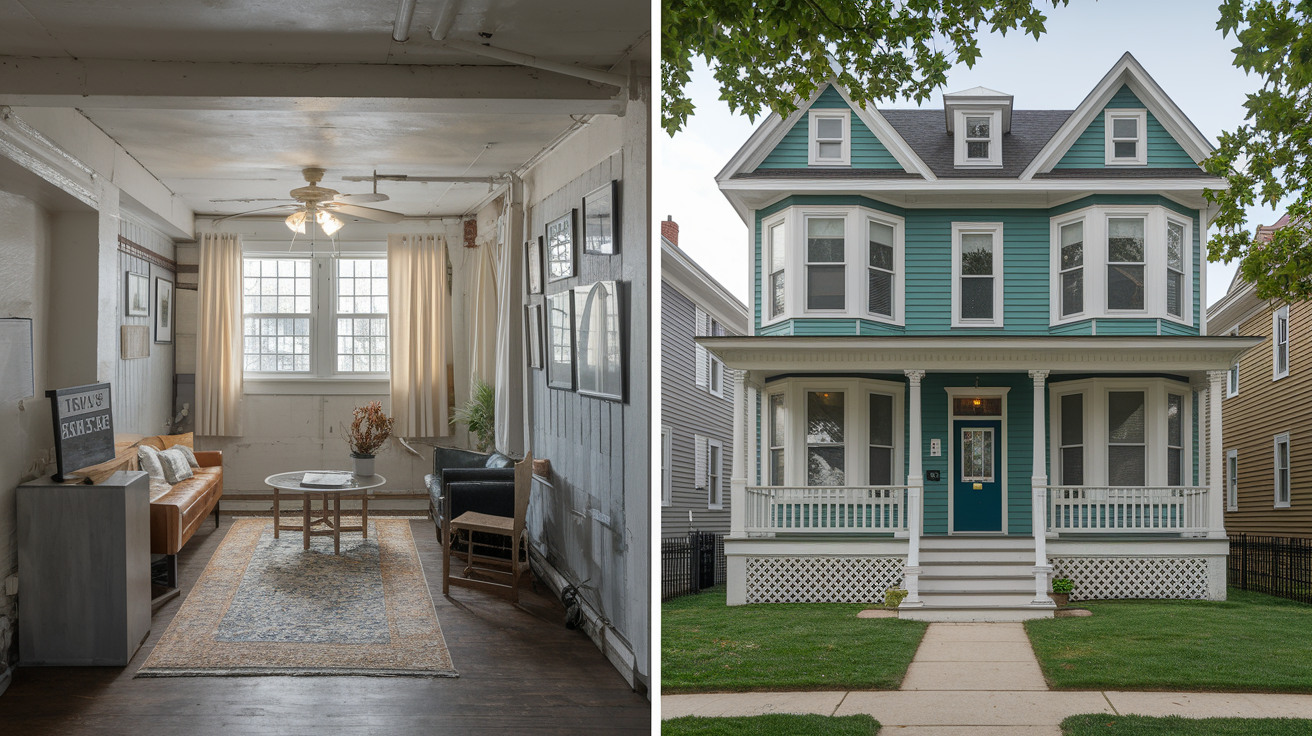
Case Study B: Duplex Conversion of a Large Urban Victorian
In a West Coast city with strong ADU allowances, a buyer acquired a 2,400‑square‑foot Victorian for $620,000. The home had two stories, high ceilings, and a side‑yard large enough for separate access. The buyer invested $85,000 to split the house into two units: a 1,200‑square‑foot two‑bedroom upper unit and a 1,200‑square‑foot two‑bedroom main‑floor unit.
Major costs included $22,000 for a second full kitchen, $18,000 for a second bathroom, $15,000 for electrical service upgrade to 200 amps and separate panels, $12,000 for dual‑zone HVAC, $10,000 for soundproofing (insulation, resilient channels, double drywall), $4,000 for permits and architectural plans, and $4,000 for exterior staircase and separate entry. Rent for each unit stabilized at $2,200 per month. Combined annual gross rent of $52,800, less 35 percent operating expenses and 5 percent vacancy, delivered roughly $32,000 in net operating income.
The owner lived in one unit and rented the other, pocketing $26,400 annually while covering most of the mortgage. Property value increased by an estimated $120,000 due to the income‑producing conversion, creating immediate equity and long‑term appreciation upside.
Final Words
You’re in the action: you verified zoning, planned layouts, handled permits, checked codes, mapped costs, looked at financing, ran ROI, and set up management.
This post walked through each step—zoning rules, permit timelines, design priorities, code must-haves, budget ranges, financing options, ROI math, and a clear step-by-step process.
If you’re converting single family home into rental units for house hacking, begin with the zoning check, a realistic renovation budget, and a plan for inspections and tenant management.
Take it methodically. Small, clear steps reduce risk, and careful planning makes this a realistic path to steady income.
FAQ
Q: What is the 2% rule in rental property?
A: The 2% rule in rental property says the gross monthly rent should be at least 2% of the purchase price to quickly screen deals for likely positive cash flow and strong rental yield.
Q: What are the tax consequences of converting primary residence to rental property?
A: The tax consequences of converting a primary residence to rental property include taxable rental income, new depreciation deductions, possible depreciation recapture on sale, and a reduced or prorated home‑sale exclusion depending on timing.
Q: Is it better to 1031 exchange a single family house into a duplex?
A: Whether it’s better to 1031 exchange a single family house into a duplex depends on your goals; 1031 allows tax deferral into a duplex, but weigh cash flow, management needs, financing, and strict timing rules.
Q: What is the 3 3 3 rule in real estate?
A: The 3 3 3 rule in real estate is a shorthand that varies by context; a common version for renters: income at least 3× rent, three references, and three months’ rent or reserves.