
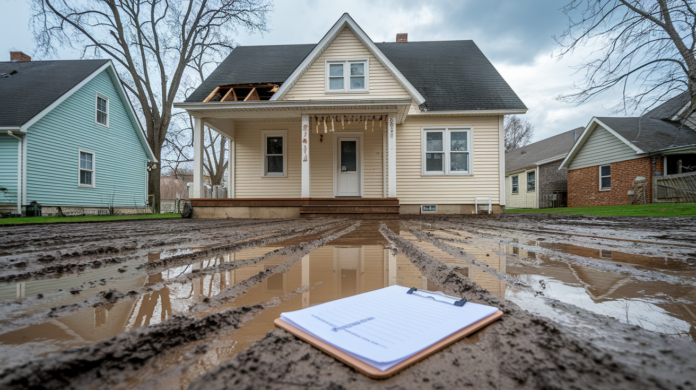
Think a cheap distressed property is a sure win?
Think again.
A low price can hide a pile of repairs, title headaches, and liens that eat your profit.
Before you write a check or submit a bid, run a tight due diligence checklist.
This post walks you through the smart investor steps: structural and roof checks, systems testing, title and lien searches, environmental review, repair cost bids, occupancy checks, and a financial feasibility screen.
Use this checklist to spot deal killers early, build accurate budgets, and decide whether to renegotiate or walk.
Core Checklist for Evaluating a Distressed Property

Before you write a check or submit a bid, you need the full picture. Distressed properties don’t come with warranties, and nobody’s going to forgive you for skipping your homework. Your due diligence checklist becomes your safety net.
Here’s what you need to work through:
- Structural condition – Walk the property and document foundation cracks, sagging floors, roof damage, walls that look out of plumb.
- Roof and foundation – Your two biggest repair risks. Check for missing shingles, water stains on ceilings, cracks in the slab or basement walls.
- Systems and utilities – Turn on faucets, flip breakers, test the HVAC. Confirm that electrical, plumbing, and heating systems work or budget their replacement.
- Title search – Order a full title commitment to verify legal ownership and spot any breaks in the chain of title.
- Liens – Search for tax liens, mechanic’s liens, HOA claims, and court judgments that survive foreclosure or transfer with the deed.
- Environmental risks – Check for asbestos, lead paint, mold, underground storage tanks, flood zone designation.
- Zoning compliance – Confirm the property is zoned for your intended use and pull permits to identify unpermitted additions or code violations.
- Repair cost estimation – Get contractor bids for major systems and structural work, then add a contingency buffer for surprises.
- Occupancy status – Figure out whether the property is vacant, occupied by tenants, or squatters. Estimate eviction costs if needed.
- Financial feasibility – Calculate after repair value (ARV), subtract purchase price, repair costs, holding costs, and closing fees to confirm your profit margin.
Each step addresses a specific risk that can turn a bargain into a money pit. Structural problems drain your rehab budget. Title defects block your closing. Liens attach to you as the new owner. Code violations trigger fines or stop work orders. Skip even one category and you’re betting that the seller’s distress doesn’t include that exact problem. That’s not a bet you want to make.
Structural and Physical Condition Assessment
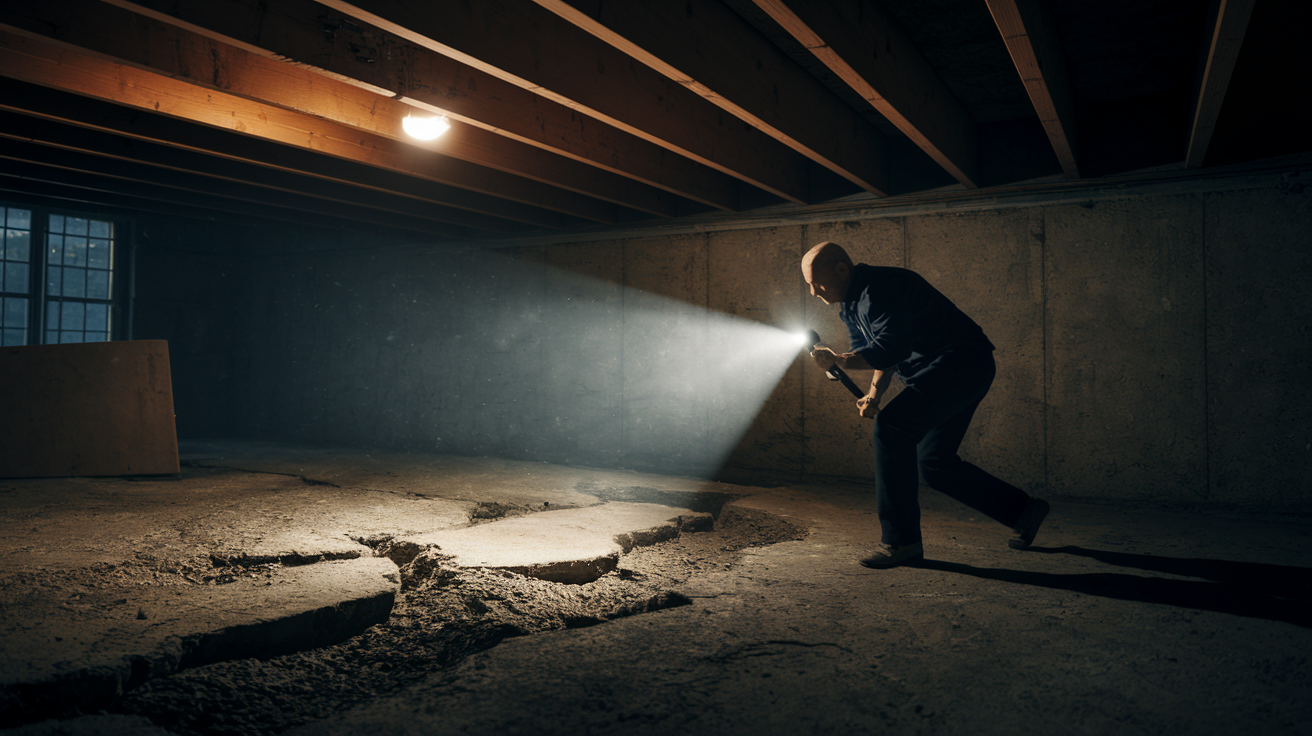
Start with a walk through, even if utilities are off and the property is trashed. You’re looking for red flags that signal expensive or dangerous repairs.
Foundation issues show up as cracks in exterior walls, doors that won’t close, sloping floors, or separation between the wall and the floor. Roof problems appear as missing or curling shingles, sagging sections, water stains on ceilings, or daylight visible through the attic. Both of these systems cost tens of thousands to fix, so catching them early lets you adjust your offer or walk away. Water damage and mold are common in distressed homes that sat vacant through winters or rainstorms. Check around windows, under sinks, in basements, and near HVAC condensate lines. Long term water intrusion weakens framing and creates health hazards that require professional remediation.
Key structural issues to verify before you move forward:
- Foundation cracks wider than a quarter inch or walls that bow inward
- Roof sections that sag, indicating rafter or truss failure
- Floor joists that show rot, insect damage, or large deflection when you walk across them
- Load bearing walls that have been removed without proper headers or engineer approval
- Exterior siding, brick, or stucco that pulls away from the structure
If any of these issues appear during your walk through, bring in a licensed structural engineer or home inspector before you finalize your offer. Their report gives you repair costs you can defend and helps you avoid buying a property that’s too far gone to fix profitably.
Title Verification and Ownership Clarity

A title search tells you who legally owns the property and whether anyone else has a claim that could block your purchase or survive the transfer. Distressed properties attract title problems because owners in financial trouble often can’t or won’t resolve disputes, pay off old mortgages, or clear estate issues.
Common title defects include breaks in the chain of title (missing deeds or signatures), unreleased mortgages from refinances that happened years ago, mechanic’s liens filed by contractors who weren’t paid, divorce decrees that give an ex spouse an interest, and probate cases where heirs haven’t formally transferred the property. In foreclosure situations, junior lienholders and second mortgage holders may still have claims if the foreclosing lender’s lien was recorded after theirs. You need to know the recording dates and lien priority before you bid.
Order a title commitment from a reputable title company as soon as you’re under contract, or even earlier if the seller will cooperate. The commitment lists every recorded document, easement, restriction, lien, and exception. Read through all of them. If you see anything you don’t understand or any claim that wasn’t disclosed, ask your attorney or title agent to explain the risk and the cost to clear it. Many title issues can be resolved before closing. Some can’t, and those are deal killers.
Liens, Judgments, and Outstanding Obligations
Liens are financial claims that attach to the property, not the person. When you buy the property, certain liens transfer to you as the new owner, and you’re responsible for paying them off or negotiating settlements.
Real estate tax liens survive foreclosure in Florida. If the seller is behind on property taxes, the county can issue a tax certificate, and if taxes remain unpaid for two years, a tax deed sale can wipe out your interest. Community Development District (CDD) assessments are also first priority liens that survive foreclosure. If the seller hasn’t paid CDD fees, you inherit the debt. Mechanic’s liens, filed by contractors or suppliers who weren’t paid for work or materials, can cloud title and block your ability to sell or refinance until they’re released. HOA and condo association liens for unpaid assessments also transfer in many cases, and Florida law may make you liable for a portion even if the association didn’t properly foreclose.
The four lien types you must search before closing:
- County real estate tax liens – Check with the county tax collector for unpaid taxes and outstanding certificates.
- CDD assessment liens – Request a payoff statement from the CDD or check whether CDD fees appear on the tax bill.
- Mechanic’s and materialman’s liens – Search recorded documents in the county clerk’s office for construction related claims.
- HOA and condo association liens – Order an estoppel letter from the association showing past due assessments and any pending violations.
Factor lien payoffs into your purchase price and closing costs. If the total debt exceeds your profit margin, negotiate with the lienholder for a discount or walk away from the deal.
Environmental and Hazard Assessments
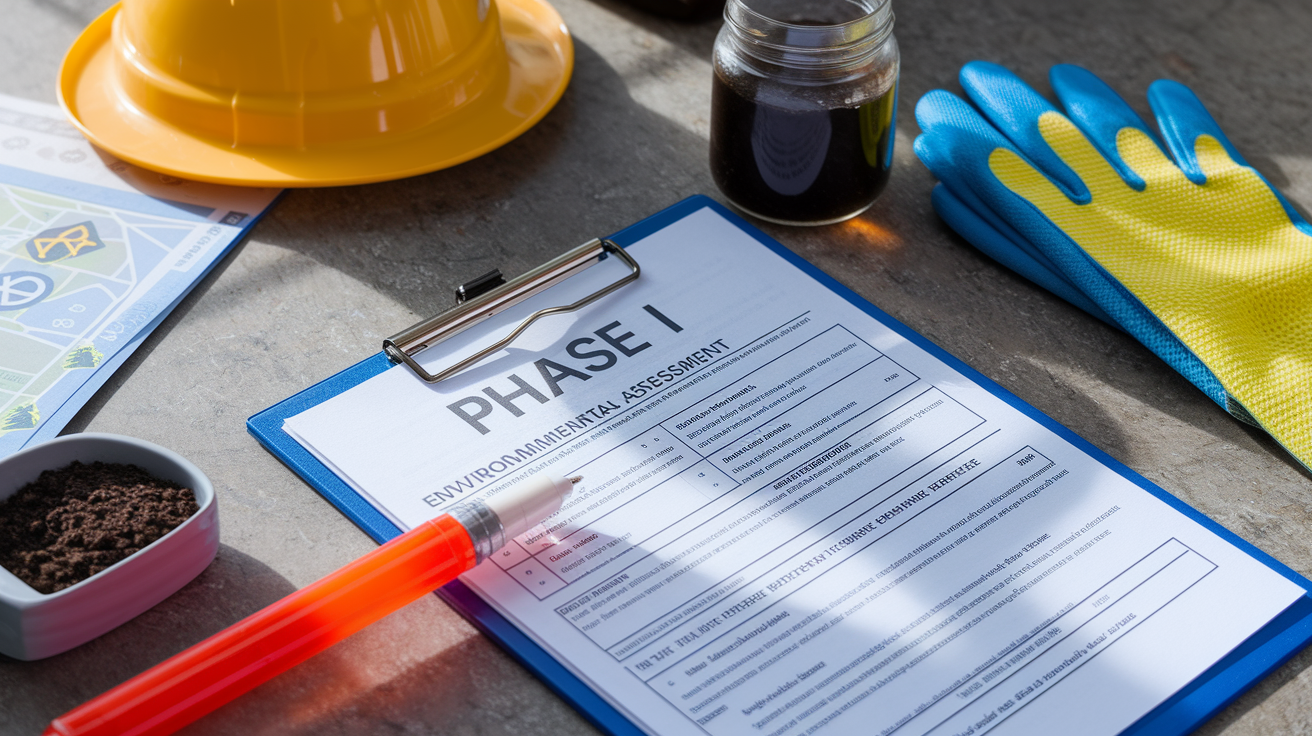
Older or neglected properties carry contamination risks that a standard home inspection won’t catch. If you’re buying a distressed property built before 1978, assume it contains lead paint. If it was built before the 1980s, asbestos insulation or floor tiles are likely. Both materials are legal to leave in place as long as they’re not disturbed, but renovation work triggers abatement requirements and disposal costs.
Mold from long term water intrusion isn’t just cosmetic. It requires professional remediation, especially if it’s spread into HVAC ducts or behind walls. Soil contamination and underground storage tanks are risks if the property was ever used for commercial or industrial purposes. Flood zone designation affects your insurance costs and renovation options.
A Phase I Environmental Site Assessment reviews property history, identifies recognized environmental conditions, and preserves your “innocent purchaser” defense under federal law. If contamination is later discovered, that defense can protect you from liability for cleanup costs. Phase I reports typically cost between $1,500 and $3,000 and are worth ordering on any property with a commercial past, visible contamination, or location in an industrial area.
Check local environmental agency records for violations, required remediation, and cleanup orders. Some counties maintain online databases. If the property is in a flood zone, confirm current flood maps with FEMA and budget for flood insurance premiums that can run hundreds of dollars per month.
Estimating Repair and Rehabilitation Costs

Your repair budget determines whether the deal works. Underestimate costs and your profit disappears. Overestimate and you lose the property to a more aggressive bidder who ran tighter numbers.
Start by walking the property with a licensed contractor who specializes in distressed rehabs. Get line item bids for every major system and structural repair. Don’t rely on cost per square foot rules of thumb, because distressed properties rarely fit neat averages.
| Category | Typical Issues | Cost Consideration |
|---|---|---|
| Roof | Missing shingles, leaks, sagging sections, rotten decking | Full replacement often required; $8,000–$25,000+ depending on size and pitch |
| Foundation | Cracks, settling, water intrusion, structural movement | Minor crack repair $1,500–$5,000; full foundation work $10,000–$50,000+ |
| Electrical | Outdated panels, knob and tube wiring, code violations, insufficient capacity | Panel upgrade $1,500–$3,000; full rewire $8,000–$15,000 |
| Plumbing | Galvanized pipes, leaks, sewer line damage, fixture replacement | Partial repipe $3,000–$8,000; full repipe $6,000–$12,000; sewer line $3,000–$10,000 |
| HVAC | Non functional system, outdated equipment, ductwork issues | New system $4,000–$8,000; duct replacement adds $2,000–$5,000 |
| Interior finishes | Drywall damage, flooring removal, kitchen and bath gut, paint | Cosmetic rehab $15,000–$40,000; full gut $40,000–$80,000+ depending on square footage |
Once you have bids for each category, add a 10 to 20 percent contingency buffer for surprises. Distressed properties always hide something behind the walls or under the floors. If your contractor finds additional framing damage, hidden mold, or a failed septic system after demo starts, that contingency keeps you solvent. Total your repair budget, then add holding costs (property taxes, insurance, utilities) and closing costs (title insurance, transfer taxes, lender fees) to calculate your all in cost before you subtract from ARV to find your profit.
Verifying Utilities and Mechanical Systems

Distressed properties often have utilities shut off for months or years. That means you can’t fully test systems during your walk through, but you can still gather evidence and plan your budget.
Check the electrical panel for rust, burnt breakers, or outdated fuses. If the panel is a Federal Pacific or Zinsco brand, budget for replacement regardless of condition because both are known fire hazards. Look for exposed wiring, missing junction box covers, and outlets that are loose or burned. For plumbing, turn on every faucet if water is on. Look under sinks for leaks and corrosion. If water is off, inspect visible pipes for galvanized steel (which rusts from the inside) or polybutylene (which fails and leaks). Check the water heater’s age and condition. Most last 10 to 12 years, so if the sticker shows it’s older, plan to replace it.
Major system checks to complete before closing:
- HVAC – Confirm the furnace and air conditioner turn on; check the age of both units and inspect ductwork for disconnections, mold, or damage.
- Plumbing – Test all fixtures, check for leaks, and verify water pressure; inspect the sewer line with a camera if the property is older than 30 years.
- Electrical – Test all outlets and switches; confirm the panel has sufficient capacity for modern loads (at least 100 amps, preferably 200).
- Water and sewer – Verify the property is connected to municipal systems or confirm the well and septic are functional and permitted.
If systems are non functional or outdated, add replacement costs to your rehab budget. HVAC, electrical, and plumbing failures aren’t cosmetic. They’re deal changers, so verify their condition before your earnest money becomes non refundable.
Zoning, Permits, and Code Compliance

Zoning determines what you can legally do with the property. If you’re planning to convert a single family home into a duplex, rent out rooms individually, or operate a short term rental, confirm that the zoning allows it before you close. Many distressed properties are in older neighborhoods with restrictive zoning that prohibits multifamily use or commercial activity.
Pull the property’s permit history from the local building department. This search reveals unpermitted additions, garage conversions, electrical work, or plumbing installations that weren’t inspected. Unpermitted work can trigger stop work orders during your renovation, block your ability to get a certificate of occupancy, or require you to tear out completed work and redo it to code. In some jurisdictions, unpermitted work discovered during a sale requires the seller to bring it into compliance or give you a credit, but in distressed sales you often buy “as is” and inherit the problem.
Steps to verify zoning and permit compliance:
- Check zoning designation – Contact the city or county planning department and confirm the property’s zoning district and allowable uses.
- Review permit records – Request a permit history report showing all work permitted since the home was built; compare that to visible improvements and flag any unpermitted additions.
- Identify code violations – Search the code enforcement database for open violations, fines, or required corrections; some jurisdictions publish this online.
If you find unpermitted work or open violations, get bids from licensed contractors to bring everything into compliance. Add those costs to your rehab budget and factor them into your offer. If the municipality has issued a stop work order or placed a lien for unpaid fines, negotiate with the code enforcement office for a settlement or payment plan before you close.
Financial Feasibility and Investment Analysis

A cheap purchase price doesn’t mean a good deal. You make money when you know your numbers and can prove the property will deliver a profit after every cost is paid.
Start by calculating the after repair value (ARV). Pull comparable sales (comps) from the last 90 days in the same neighborhood, filtering for properties with similar square footage, bedroom count, and condition. Adjust for differences in lot size, garage, updates, and location. Your ARV is the price a retail buyer will pay once your renovation is complete. If comps show a tight range, use the midpoint. If the range is wide, use the lower end to stay conservative.
Things you need to validate profitability:
- ARV (after repair value) – The estimated resale price based on recent comparable sales of fully renovated homes.
- Comparable sales (comps) – Sold properties in the same area with similar size, age, and condition; adjust for differences and use recent data (last 60 to 90 days).
- Purchase discount – The gap between your all in cost (purchase price + rehab + holding + closing) and ARV; aim for at least 20 to 30 percent equity after costs.
- Holding costs – Property taxes, insurance, utilities, loan interest, and maintenance during renovation; estimate these monthly and multiply by your expected timeline.
- Exit strategy – Confirm whether you’ll sell, refinance and rent, or hold long term; each strategy has different return requirements and timeline sensitivities.
Subtract your total costs from ARV to find your gross profit. If your renovation takes six months and holding costs run $1,200 per month, add $7,200 to your budget. If your lender charges points or requires interest reserves, add those too. Compare your net profit to the time and risk you’re taking. A $15,000 profit on a six month project that requires $100,000 in capital might look weak compared to safer alternatives. A $50,000 profit on the same timeline and capital starts to make sense. Run multiple scenarios: best case, worst case, and realistic case. If your realistic case profit still works and your worst case scenario doesn’t wipe you out, the deal passes the feasibility test.
Final Words
In the action, this post laid out the full checklist for evaluating a troubled house fast. We covered structural and roof checks, systems and utilities, title and lien review, environmental risk, permits, repair budgeting, and a simple financial feasibility step.
Run a quick screen, then dig deeper where you find red flags. Follow the distressed property due diligence checklist and you’ll reduce surprises, make clearer buy/no‑buy calls, and move forward with more confidence.
FAQ
Q: What are the 4 P’s of due diligence?
A: The 4 P’s of due diligence are Property (condition, systems), People (owners, tenants, vendors), Paperwork (title, liens, permits), and Price/Profit (valuation, repair costs, exit math).
Q: What is the 3 3 3 rule in real estate?
A: The 3-3-3 rule in real estate is a rule of thumb: check 3 comparable sales, get 3 rehab contractor bids, and budget 3 months contingency when screening a rehab or distressed deal.
Q: What should be included in a due diligence checklist?
A: A due diligence checklist should include property condition, title search, liens/judgments, permits/code violations, environmental risks, utility status, repair cost estimates, zoning, occupancy, comps, and financial feasibility analysis.
Q: What are some examples of distressed property transactions?
A: Examples of distressed property transactions are foreclosures (trustee sales), short sales, bank-owned REO sales, tax-lien or tax-deed auctions, probate/estate sales, abandoned homes, and lender-mediated workouts.