

What if a single missed rent check turns your rental into a money pit?
It happens fast: non-paying tenants, a burst pipe, or a market dip can wipe out months of cash flow.
A rental contingency plan is the tool that stops that slide.
This post gives practical, step-by-step protections landlords need now, including reserves, insurance, lease clauses, tenant screening, communication, and maintenance.
Read on to build a plan that protects your income, keeps the property standing, and makes emergency decisions simple.
Immediate Protections Landlords Need in a Contingency Plan

A rental contingency plan is what you pull out when things go sideways. Non-paying tenants, emergency repairs, market crashes, natural disasters. Without one, a single vacancy or burst pipe can flip a cash-flowing rental into a money pit. The goal? Protect your income, keep the property standing, and make sure tenants stay safe. All while staying on the right side of the law.
The core of any contingency plan is spotting the risks you actually face and deciding how you’ll respond to each. Non-payment is usually the first domino. Vacancies kill cash flow faster than almost anything else. Property damage, whether it’s fire, flood, or a dead HVAC in July, demands immediate cash. Economic shifts push rents down and vacancies up. Each scenario needs different defenses, but every landlord needs the same foundational protections in place before trouble shows up.
Build the plan around these six essentials:
- Emergency reserve fund. Dedicated cash to cover missed rent, turnover costs, or urgent repairs without raiding your personal savings or scrambling for a loan.
- Comprehensive insurance. Landlord property coverage plus optional loss of rent, liability, flood, and earthquake policies that match your local risks.
- Tenant screening protocols. A repeatable process to filter applicants on credit, income, background, and references. Cuts down on non-payment and property abuse.
- Lease clauses that address emergencies. Clear language on late fees, grace periods, emergency access, temporary relocation rights, and rent abatement scenarios.
- Communication procedures. Predefined contact lists and message templates so you can notify tenants, vendors, and emergency services in minutes, not hours.
- Maintenance and inspection schedules. Quarterly or seasonal checks on smoke detectors, plumbing, electrical, drainage, and structural components. Catch small problems before they become expensive ones.
These protections layer together. Strong tenant screening reduces non-payment risk. A solid reserve lets you fix problems fast. Insurance transfers catastrophic risk off your balance sheet. Lease clauses set expectations and give you legal footing. Communication keeps everyone on the same page. Maintenance prevents half the emergencies before they happen. Build these six into your plan and you’ve covered most rental property risk scenarios before they ever activate.
Financial Protections Within a Rental Contingency Plan

Cash reserves are your first line of defense when rental income stops. A tenant leaves or stops paying, but your mortgage, taxes, insurance, and utilities don’t pause. A reserve fund covers those fixed costs, turnover repairs, and marketing without panic or borrowing. The standard is three to six months of net cash flow for multi-property portfolios, or six to twelve months if you own a single rental or operate in a volatile local economy.
Here’s how to calculate your reserve target. Add your monthly mortgage payment, operating expenses (taxes, insurance, utilities, HOA fees), and a vacancy buffer. That buffer is typically 8 to 12% of gross rent, or one month’s rent spread across the year. Multiply that sum by your target number of months. For example: $1,200 mortgage plus $400 expenses plus $200 vacancy buffer equals $1,800 per month. A three month reserve is $5,400. Six months is $10,800. Single property landlords should lean toward the higher end. Portfolios with diversified locations or strong tenant quality can operate closer to three months.
| Reserve Type | Recommended Amount |
|---|---|
| Multi-property portfolio reserve | 3–6 months of combined net cash flow |
| Single-property landlord or high-risk market | 6–12 months of net cash flow |
| Per-property maintenance/CapEx fund | 1% of property value annually or 5–10% of annual rent |
| Minimum working reserve (small landlords) | $5,000–$10,000 per property |
Beyond reserves, you’ll want loss of rent or business interruption insurance. This reimburses you when a covered event like fire, flood, or major damage makes a unit uninhabitable. It’s usually added as an endorsement to your landlord insurance policy. Annual landlord insurance premiums typically run $300 to $1,200 or more, depending on location, coverage limits, and property characteristics. Review your policy every year and confirm it includes loss of rent, adequate liability limits, and replacement cost protection. If you’re in a flood zone, buy separate flood insurance. If you’re in earthquake or wildfire territory, consider those endorsements or standalone policies. The premium is tiny compared to an uninsured total loss.
Risk Assessment and Preventative Maintenance Integration
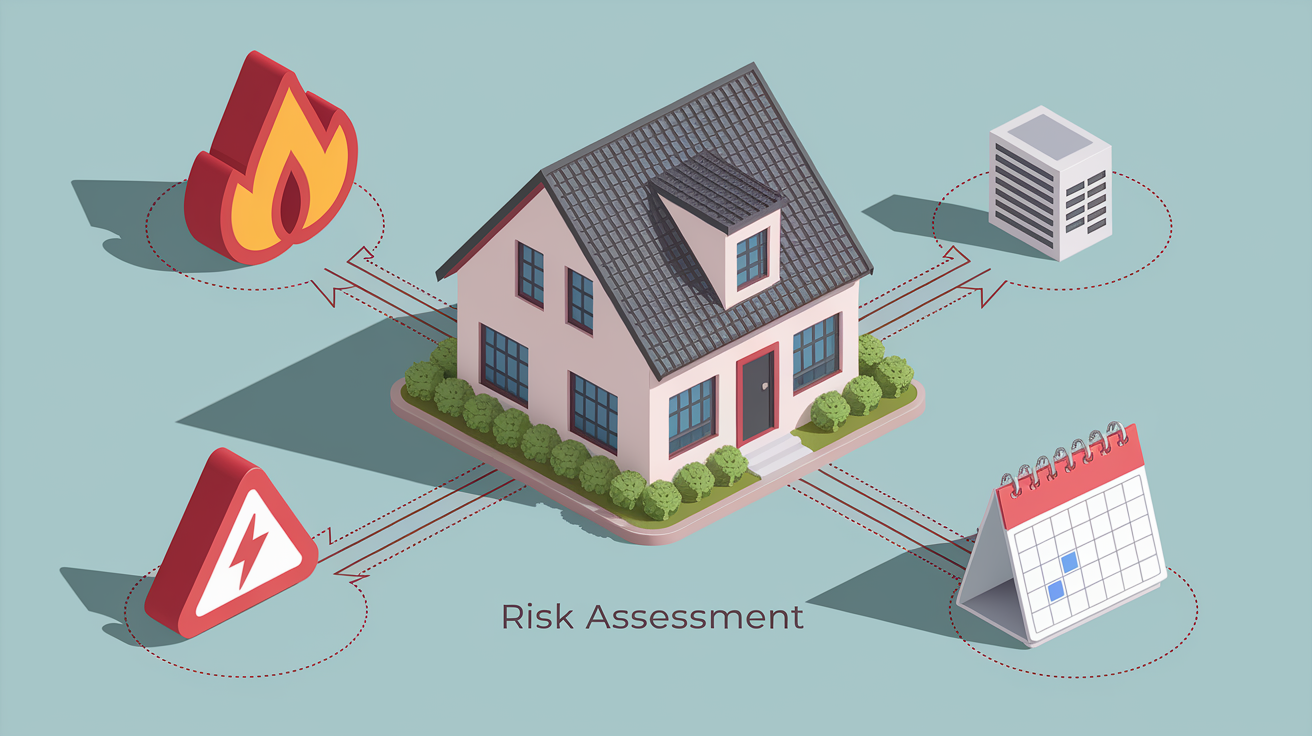
A landlord contingency plan starts with understanding which risks are most likely and which would hurt the most. Risk assessment means listing the hazards specific to your property and market, then building defenses and response plans for each. Natural disasters like hurricanes, fires, floods top the list for physical damage. Human-caused risks like vandalism, security breaches, or tenant disputes are less dramatic but more frequent. Economic risks include job market downturns, falling rents, or rising interest rates that squeeze refinancing options.
The five step risk assessment framework adapted from emergency planning guidance is practical and repeatable. First, list every plausible scenario: fire, flood, hurricane, extended vacancy, tenant default, major system failure (HVAC, roof, plumbing), vandalism, or security breach. Second, analyze the likelihood and potential impact of each. A basement flood might be common but manageable. A fire is rare but catastrophic. Third, review local regulations and building codes. Some hazards trigger mandatory insurance or specific evacuation/safety equipment. Fourth, develop a tailored response plan for each high priority risk: where to get emergency cash, which contractor to call, how to notify tenants, when to file claims. Fifth, monitor and reassess risks periodically. At least annually, or after any incident or major market shift.
Preventative maintenance is the cheapest form of risk reduction. Regular inspections catch small problems before they become emergencies, and they lower insurance claims, tenant complaints, and unplanned capital expenses. Integrate maintenance into your risk assessment by scheduling quarterly or seasonal checks and keeping a written log. Core preventative tasks every landlord should calendar:
Smoke detector and carbon monoxide alarm testing and battery replacement. Quarterly or per manufacturer guidance.
Fire extinguisher inspection and pressure checks. Annually, with professional servicing every few years.
First aid kit restocking and expiration date review. Semiannually.
Drainage system clearing (gutters, downspouts, sump pumps). Before and after rainy seasons.
Foundation and exterior wall inspection for cracks, moisture, or pest entry points. Annually.
Roofing and flashing inspection, especially after severe weather. Annually or after storms.
Electrical panel and outlet checks for scorching, loose connections, or code violations. Annually or when tenants report issues.
Plumbing for leaks, corrosion, water pressure, and main shutoff accessibility. Semiannually.
HVAC filter changes and system servicing. Quarterly filters, annual professional tune up.
Water heater flushing and anode rod inspection. Annually.
Window and door seals, locks, and weatherstripping. Annually or seasonally in harsh climates.
Run stress tests on your cash flow at least once a year. Simulate one to three months of non-payment from your highest rent tenant. Model a 10 to 20% vacancy increase across your portfolio. Calculate how long your reserves would last and whether you’d need to draw on credit, sell assets, or renegotiate loan terms. Stress testing turns abstract risk into concrete numbers and helps you decide whether your reserves are really sufficient or just hopeful.
Lease Language That Strengthens a Rental Contingency Plan

Your lease is the legal foundation for your contingency plan. It defines what you can do when things go wrong, how tenants must cooperate, and what costs they’re responsible for. Standard lease terms cover rent, deposits, and maintenance, but emergency specific clauses clarify expectations during fires, floods, extended repairs, or temporary relocations. Without explicit language, you’re left negotiating under pressure or defaulting to state law, which doesn’t always favor landlords.
Most landlords already include grace periods and late fees, but not all frame them as part of a broader contingency strategy. A typical grace period is three to five days. A late fee might be a flat $50 or 5% of monthly rent, depending on local law. Security deposits commonly equal one month’s rent, subject to state caps. These basic clauses create accountability and a small financial buffer, but they’re not enough for real emergencies.
Add these eight lease provisions to support your contingency plan:
Emergency access clause. Landlord can enter the unit without prior notice in genuine emergencies (fire, flood, gas leak, urgent repair) to prevent property damage or protect tenant safety.
Temporary relocation and rent abatement terms. If the unit becomes uninhabitable due to fire, flood, or major repair, rent is abated or reduced proportionally. Landlord and tenant timelines for repair or lease termination are specified (e.g., 30 or 60 days to restore habitability or allow termination).
Force majeure or disaster clause. Defines which events (natural disasters, pandemics, government orders) can suspend certain lease obligations and how notice, communication, and rent adjustments will be handled.
Renter’s insurance requirement. Tenant must maintain renter’s insurance with minimum liability and personal property coverage, naming landlord as interested party. Proof required at lease signing and renewal.
Tenant obligation to report hazards. Tenant must notify landlord within 24 to 48 hours of any condition that poses safety risk or threatens property (leaks, mold, electrical issues, broken locks).
Maintenance and repair responsibilities matrix. Clear allocation of which repairs landlord covers (structural, systems, appliances) and which tenant handles (minor fixtures, tenant-caused damage, consumables).
Prohibition on short term subletting or Airbnb. Prevents unauthorized occupancy changes that complicate emergency contact and liability.
Legal fee recovery and non-waiver language. If landlord must pursue eviction or enforce lease terms, tenant pays reasonable attorney fees and court costs. Landlord’s acceptance of late rent or failure to enforce one breach doesn’t waive future enforcement.
Every clause must comply with state and local law. Some jurisdictions cap late fees, restrict emergency access rights, or mandate specific notice periods for rent abatement. Use lawyer reviewed lease templates as a baseline, then customize for your property and risk profile. If you’re adding new clauses mid lease, present them as an addendum and get tenant signature. Unilateral changes typically aren’t enforceable without mutual agreement or lease renewal.
Emergency Response and Recovery Protocols
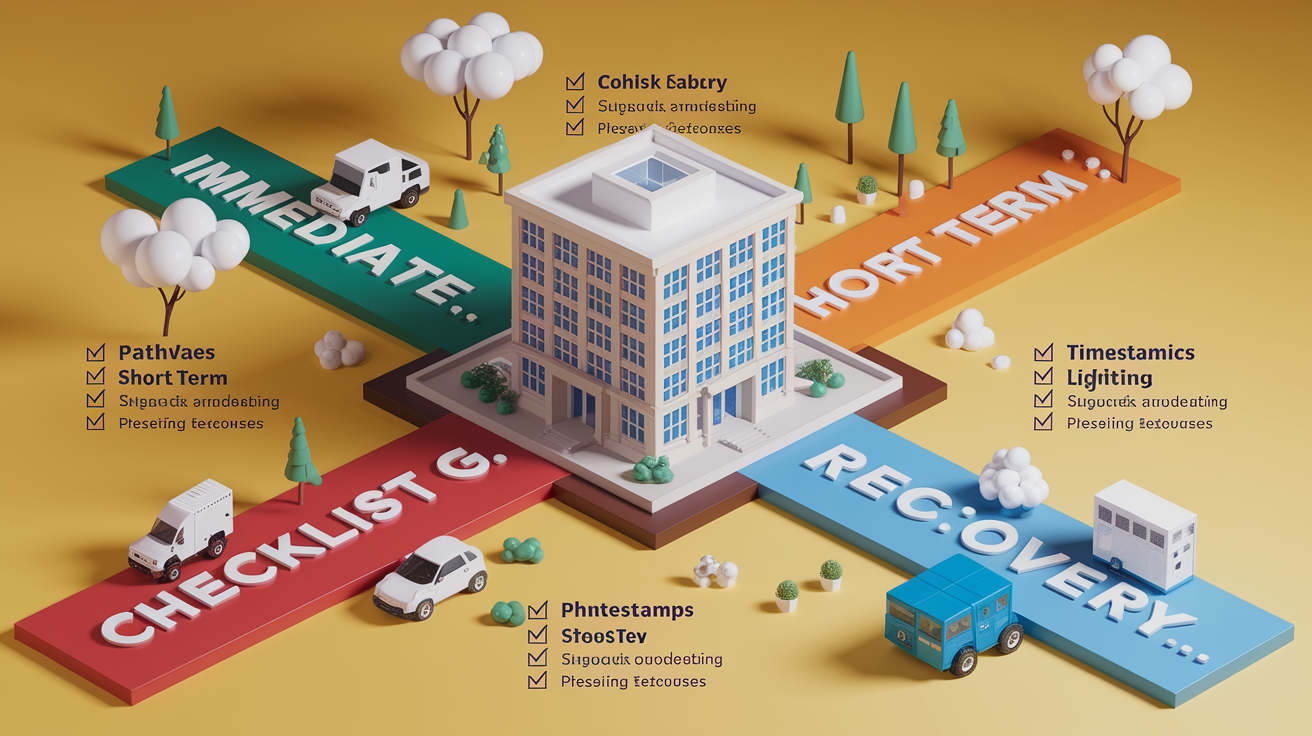
When an emergency hits, your first 24 hours determine whether you contain the damage or let it spiral. A documented response protocol removes guesswork and ensures every stakeholder (landlord, tenant, contractor, insurer) knows their role and timeline. The goal is to secure the property, protect tenant safety, document everything, and begin recovery as fast as local conditions and resources allow.
Emergency response unfolds in three phases: immediate (0 to 24 hours), short term (24 to 72 hours), and recovery (3 to 30 days). In the immediate phase, your priorities are life safety, property security, and notification. If there’s a fire, flood, or gas leak, tenants evacuate and you contact emergency services. If a pipe bursts or a roof fails, you shut off water or power if safe to do so, then call your emergency vendor. You notify tenants via text, email, or phone, whatever reaches them fastest, and confirm they’re safe. You document the scene with time stamped photos before anyone moves debris or starts repairs.
In the short term phase, you arrange temporary shelter or relocation if the unit is uninhabitable, deploy emergency supplies if tenants are sheltering in place, and schedule damage assessment by contractors or adjusters. You file the insurance claim within the insurer’s required window (often 24 to 72 hours for major losses) and provide all requested documentation: photos, repair estimates, lease agreements, and proof of income loss. You continue daily or twice daily communication with affected tenants, updating them on repair timelines, relocation assistance, and rent abatement decisions.
The recovery phase covers authorized repairs, insurance reimbursement, tenant move back or lease termination, and rent adjustments. You coordinate contractor schedules, pull permits if required, and track invoices against your claim. If repairs stretch beyond 30 days, you document the delay, communicate revised timelines, and work with tenants on extended relocation or lease release. Once the unit is habitable again, you conduct a final walk through, update your maintenance logs, and resume normal rent collection.
Here’s a consolidated 10 step sequence that integrates physical response, tenant safety, communication, and claims documentation:
- Assess life safety and evacuate if needed. If fire, flood, gas leak, or structural collapse, get everyone out and call 911 or local emergency services.
- Secure the property. Shut off water, gas, or electricity if safe. Lock damaged doors or windows. Deploy tarps or sandbags to prevent further damage.
- Notify all affected tenants immediately. Use text, email, or phone to confirm safety, explain the situation, and give next steps (shelter in place, evacuate, or relocate).
- Contact emergency vendors. Call your 24/7 plumber, electrician, water mitigation company, or roofer as appropriate. Keep a prioritized vendor list with after hours numbers.
- Document the damage. Take time stamped photos and videos before cleanup or repairs begin. Photograph structural damage, destroyed belongings, utility shutoffs, and any safety hazards.
- File insurance claim within required timeline. Contact your insurer within 24 to 72 hours for major losses. Provide photos, lease details, and initial damage estimates.
- Arrange temporary relocation if uninhabitable. Work with tenants on hotel vouchers, short term rentals, or family arrangements. Clarify rent abatement and reimbursement terms in writing.
- Deploy emergency supplies. If tenants shelter in place, provide or confirm access to flashlights, batteries, first aid kits, bottled water, and non-perishable food (72 hour supply minimum).
- Begin authorized repairs and track invoices. Once insurer or budget approves, schedule contractors. Keep detailed records of all costs, permits, and completion dates.
- Communicate recovery milestones and adjust rent/lease. Update tenants weekly on repair progress. Finalize rent abatement or lease termination decisions. Conduct move back inspection and resume rent when unit is habitable.
Communication during an emergency requires multiple channels because not every tenant checks email or answers calls. Use at least four methods to ensure message delivery: email, SMS or text alerts, phone calls, and social media updates if you manage a larger property or community. Prewrite message templates for common scenarios (fire, flood, extended outage, mandatory evacuation) so you can send accurate information within minutes. Test your alert system quarterly by sending a drill message and tracking delivery and read rates. Maintain hard copy contact lists in your vehicle or go bag in case digital systems fail during a power outage or network overload.
Communication Channels Breakdown
Email works well for detailed instructions, timelines, and documentation (repair schedules, lease amendments, claim updates) but it’s not always seen immediately. Use it for formal notices and follow up summaries. SMS or text alerts are the fastest way to reach most tenants in real time. Keep messages under 160 characters and include a callback number or link for more detail. Phone calls are essential for high stakes situations (immediate evacuation, injury, or life safety threats) and for tenants who don’t use email or text reliably. Script your key points and confirm understanding before hanging up. Social media (Facebook groups, property pages, or direct messages) can supplement other channels for multi-unit properties, especially if you’ve already built an online community. Post updates publicly and respond to individual questions privately to avoid misinformation.
Vacancy Mitigation and Revenue Continuity in a Contingency Plan

Vacancies are inevitable, but how fast you fill them determines whether turnover is a minor blip or a major income hit. The goal is a seven to fourteen day turnaround from tenant move out to new tenant move in. Every extra week costs you a week’s rent, plus ongoing carrying costs. A proactive vacancy mitigation strategy means keeping a show ready checklist, running accelerated marketing, and offering small incentives when speed matters more than maximizing rent.
Set aside a vacancy reserve equal to 8 to 12% of annual rent, or at least one month’s rent per property per year. Re-leasing costs (marketing, cleaning, minor repairs, and lease up) can run anywhere from 25% to 100% of one month’s rent, depending on unit condition and local competition. If your unit needs paint, carpet, or appliance replacement, budget toward the higher end. If it’s already in good shape, a professional clean and fresh photos might be all you need.
| Mitigation Strategy | Expected Impact |
|---|---|
| Maintain “show-ready” standards year-round (fresh paint, working fixtures, clean photos) | Reduces turnaround to 7–10 days; attracts more applicants |
| Offer short-term lease premium (1–3% higher rent for 6-month or month-to-month terms) | Fills vacancy faster when long-term demand is soft; provides flexibility |
| Deploy multi-channel marketing immediately (MLS, Zillow, Facebook Marketplace, Craigslist, local groups) | Maximizes applicant pool; compresses decision timeline to under 14 days |
Accelerated leasing incentives work when the carrying cost of an extra month vacant exceeds the value of holding out for full rent. A $100 rent reduction for the first month or a waived application fee can close a deal a week earlier and net you more than waiting. Run the math: if your monthly rent is $1,500 and your all in carrying cost is $1,200, one extra week vacant costs you $375 in lost net income. A $100 first month concession that fills the unit a week sooner saves $275. The numbers vary by property, but the principle holds. Speed often beats maximizing price.
Tenant Screening and Deposit Policies That Reduce Emergency Exposure

Strong tenant screening is the single best way to avoid activating your contingency plan in the first place. A tenant who pays on time, reports maintenance issues early, and treats the property with care rarely triggers emergency protocols. A tenant with poor credit, unstable income, or a history of evictions increases your odds of non-payment, property damage, and legal disputes. Screening isn’t about perfection. It’s about filtering out high probability problems before they move in.
Use a repeatable screening process for every applicant. Start with a credit check: a minimum score of 600 to 650 is a common threshold, though you can adjust based on local market and your risk tolerance. Require proof that the tenant’s gross monthly income is at least 2.5 to 3 times the monthly rent. This ensures rent stays affordable even if unexpected expenses arise. Run a criminal background check and an eviction history search. One eviction isn’t always disqualifying, but a pattern of non-payment or lease violations is a red flag. Verify current employment with a pay stub or employer contact, and call at least one previous landlord to confirm payment history and property condition at move out.
Your six point screening criteria checklist:
Minimum credit score of 600 to 650 (or higher in competitive markets).
Rent to income ratio of 30 to 40% or lower (tenant income at least 2.5 to 3× monthly rent).
Clean eviction history or a strong explanation and verifiable recovery for any past eviction.
No recent criminal convictions for violent crimes or property damage (adjust per fair housing law and local ordinances).
Verified current employment or stable alternative income source (Social Security, pension, verifiable savings).
At least one positive landlord reference confirming on time rent and good property care.
Security deposits provide a financial cushion for damage and unpaid rent, but they’re not a substitute for screening. Most states allow one month’s rent as a deposit, though some cap it lower or require interest payments. Clarify in your lease exactly what the deposit covers (damage beyond normal wear, unpaid rent, cleaning, lease break penalties) and your timeline for itemized deductions and refunds (typically 14 to 30 days post move out, depending on state law). A well documented move in and move out inspection, with photos and tenant signatures, protects both parties and reduces deposit disputes.
Implementation Timeline and Activation Triggers for a Rental Contingency Plan
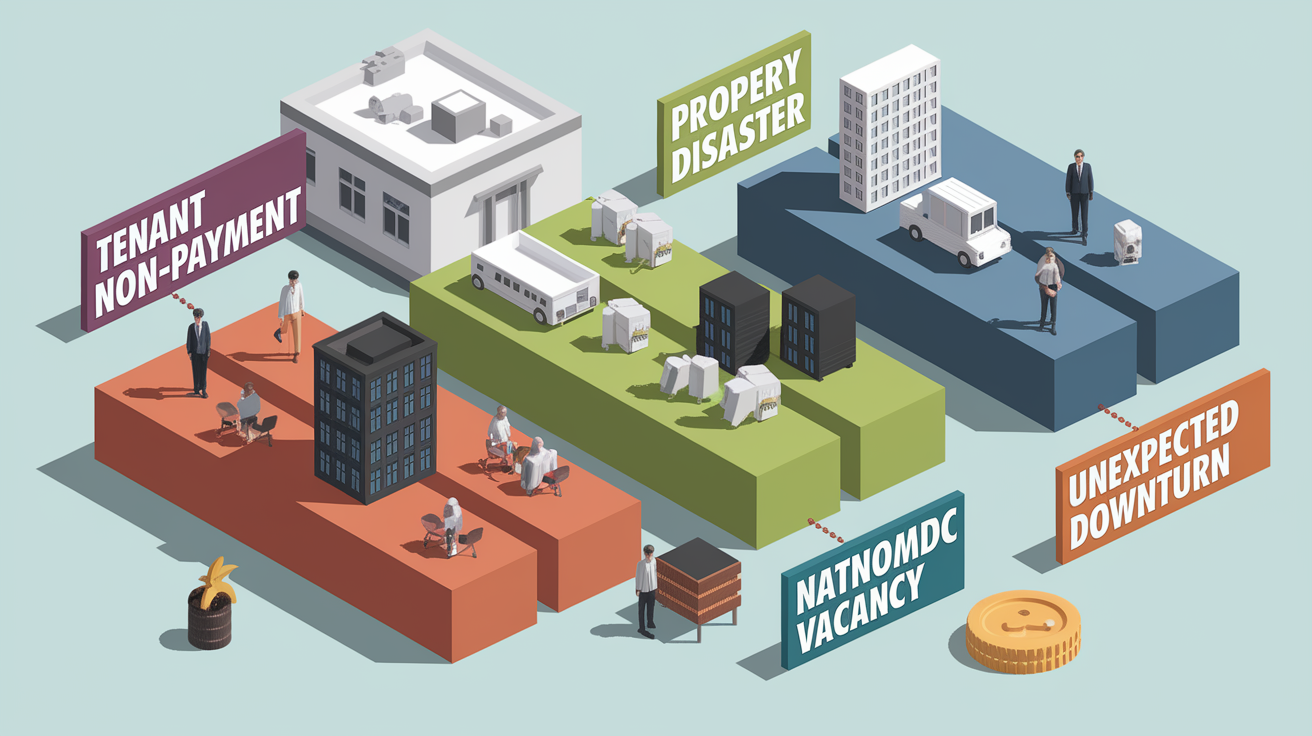
A contingency plan is only useful if you know when to activate it and what to do first. Clear activation triggers remove hesitation and ensure you respond fast when conditions deteriorate. The most common triggers are tenant non-payment beyond the grace period, property damage that makes a unit uninhabitable, natural disaster or severe weather warnings, sudden vacancy with no backup applicants, or a local economic shock that signals rising vacancies or falling rents.
Define your triggers in writing and attach a timeline to each. For non-payment, your trigger might be “rent unpaid 10 days after due date and no communication from tenant.” Your first action is a formal written notice. Your second is consulting your eviction attorney if payment isn’t received within the cure period. For property damage, the trigger is “any event that compromises habitability…no heat, no water, structural damage, hazardous conditions.” Your first action is tenant notification and emergency vendor dispatch. Your second is insurance claim filing if damage exceeds your deductible.
Five common activation triggers and immediate next steps:
- Tenant non-payment beyond grace period. Send formal late notice (written, dated, delivered per state law). Initiate pay or quit or eviction preparation steps if no response within cure window (typically 3 to 10 days).
- Property damage rendering unit uninhabitable. Notify tenant immediately. Secure property (shut off utilities if needed). Contact emergency contractor and insurance within 24 hours. Arrange temporary relocation.
- Natural disaster or severe weather warning. Send evacuation or shelter in place instructions. Confirm tenant safety. Deploy emergency supplies. Inspect property as soon as safe. Document damage and file claims.
- Unexpected vacancy with weak applicant pipeline. Launch accelerated marketing across all channels. Offer short term lease or small incentive. Review rent pricing against current comps. Consider tenant placement service if self marketing fails within 14 days.
- Local economic downturn or mass layoffs. Stress test cash flow assuming 10 to 20% rent reduction or 60 to 90 day vacancy increase. Review reserves. Pause discretionary spending. Tighten screening. Monitor competitor pricing and vacancy rates weekly.
Review your contingency plan after every incident, even minor ones. If a pipe burst cost you a week of vacancy and $2,000 in repairs, update your vendor list, check your plumbing inspection schedule, and confirm your insurance deductible and loss of rent coverage. Conduct a full annual review to refresh contact lists, update reserve targets, and adjust risk priorities based on new data. Local crime trends, weather patterns, rental market conditions, or changes in your own financial position.
Staff, Vendor, and Property Management Roles in a Rental Contingency Plan

If you self manage, you’re the entire response team. If you use a property manager or have staff, assign specific emergency roles in advance so everyone knows who does what when the plan activates. The five role framework adapted from emergency response planning fits rental operations: Incident Commander, Communication Commander, Scene Supervisor, Building Utilities Managers, and Route Guides. Not every landlord needs all five, but defining at least two or three roles prevents confusion and speeds response.
The Incident Commander is the decision maker, typically the property owner or lead manager, who activates the plan, authorizes spending, and coordinates all other roles. The Communication Commander handles tenant notifications, vendor dispatch, and insurer contact. This might be an assistant manager or answering service. The Scene Supervisor is the boots on the ground person who secures the property, meets contractors, and documents damage. Often the maintenance tech or a trusted vendor. Building Utilities Managers know where shutoffs are located and can cut power, water, or gas safely. This can be the same person as the Scene Supervisor or a dedicated building engineer for larger properties. Route Guides help tenants evacuate or relocate safely and confirm headcounts. In small properties, this role collapses into the Communication Commander.
Even solo landlords need a vendor network that acts as an extended team. Build a prioritized emergency contact list with at least one 24/7 option for each critical trade: plumber, electrician, locksmith, water mitigation or fire restoration company, and roofer. Vet contractors on four filters before an emergency forces your hand:
24/7 availability or documented emergency call back time. Confirm they answer after hours or return calls within 1 to 2 hours.
Licensing, insurance, and references. Verify current license, liability coverage, and at least two landlord or property manager references.
Transparent pricing and written estimates. Ask for flat emergency call fees and hourly or per job pricing. Avoid vendors who won’t quote over the phone or provide written estimates.
Local presence and response time. Prioritize contractors within 15 to 30 minutes of your property. Distant vendors can’t arrive fast enough to prevent secondary damage.
Keep vendor contact cards in your phone, your vehicle, and a printed emergency binder. Share the list with your property manager or co-owner. Update it annually and delete vendors who’ve retired, moved, or delivered poor service. A strong vendor roster is as important as cash reserves when disaster strikes.
Final Words
When a pipe bursts at 2 a.m., your emergency reserve, lease clauses, and vendor list decide how fast you recover.
This post walked through immediate protections, financial reserves and insurance, risk assessment plus preventative maintenance, lease language that limits liability, emergency response and recovery steps, vacancy mitigation, tenant screening, activation triggers, and who does what.
A clear rental contingency plan for landlords turns chaos into a sequence of steps you can follow. It lowers stress, protects income, and makes crises manageable — you can build this gradually.
FAQ
Q: What is the 50% rule in rental property?
A: The 50% rule in rental property means budgeting roughly half of gross rent for operating expenses (not mortgage). Use it as a quick cash-flow screen, not a substitute for a detailed expense estimate.
Q: What is the 80/20 rule for rental property?
A: The 80/20 rule for rental property means using the Pareto idea: about 20% of units or tenants create roughly 80% of income or problems. Focus on your top performers and biggest risks first.
Q: What are red flags for landlords?
A: Red flags for landlords are inconsistent income, low credit score, prior evictions, fake or missing references, frequent moves, poor communication, a history of property damage, or refusal to sign the lease or get renter’s insurance.
Q: What is the minimum time a landlord can give a tenant?
A: The minimum time a landlord can give a tenant is set by state and local law; common notice periods are 30 days for month-to-month tenancies and 3–5 days for pay-or-quit on nonpayment, so check local rules.