
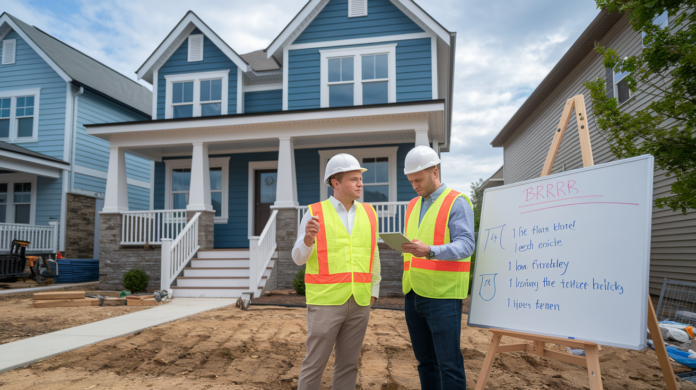
Think a BRRRR rehab is a six-week sprint?
Most timelines you read assume zero surprises, but in reality light cosmetic work often runs 4 to 8 weeks and heavy gut jobs 8 to 16+ weeks.
Each extra week eats mortgage, insurance, taxes, utilities, and lost rent.
This guide walks the project from permits to final inspection, phase by phase, with realistic deadlines, contractor milestones, and quick screens to spot red flags so you can shave weeks off the rehab and protect your refinance.
Complete BRRRR Rehab Timeline Breakdown (From Day 1 to Rent-Ready)
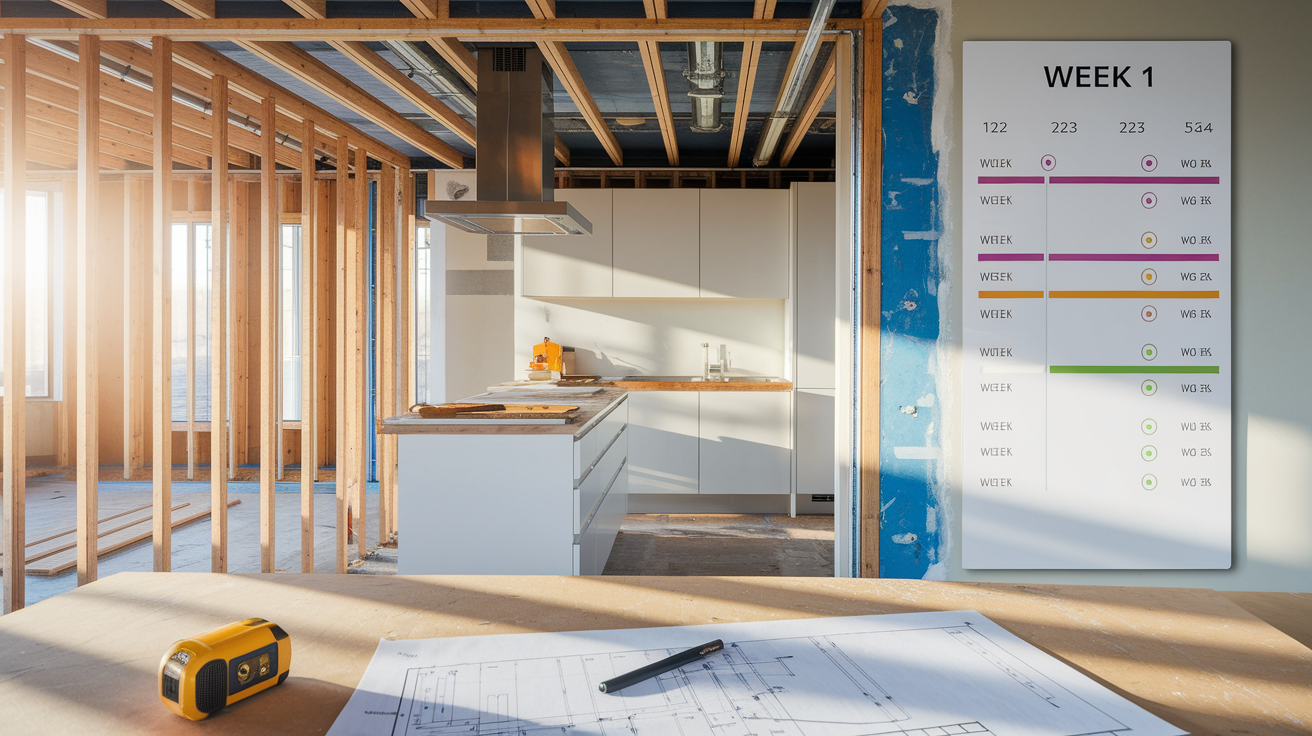
You’re probably wondering how long this thing’s actually going to take. A light rehab? Maybe 4 to 8 weeks if everything goes right. Heavy renovation? You’re looking at 8 to 16 weeks, sometimes longer. And that’s assuming permits show up on time, no surprise violations pop up, and your contractor actually shows when they’re supposed to. Real life usually tacks on a few extra weeks you didn’t budget for.
The rehab sits between purchase and your first rent check. Every extra week burns cash on your mortgage, insurance, taxes, utilities. Breaking it into phases and setting real milestones keeps you from wasting time. Start demo without a plan and you’ll spend days waiting on inspections, hunting down materials, or fighting with contractors about what should happen next.
Here’s the typical flow from start to finish:
- Permits and approvals – Turn in plans, wait for the city, post permits on site. One to three weeks depending on where you’re working.
- Demolition – Cabinets out, old flooring gone, fixtures pulled, drywall ripped where needed. Three to seven days.
- Rough-ins – Electrical runs, plumbing lines, HVAC ducts, any structural framing fixes. One to three weeks.
- Inspections – City checks rough work before you close up walls. One to five days for scheduling and sign-off.
- Insulation and drywall – Hang, tape, mud, sand, prime. One to two weeks.
- Finishes – Paint, flooring, cabinets, counters, trim, fixtures, appliances. Two to four weeks.
- Final inspections and punch list – City final, utilities turned on, contractor walk to fix leftover stuff. Three to seven days.
- Cleaning and staging – Deep clean, yard touch-ups, photos for your listing. Two to three days.
Light cosmetic jobs skip steps 3 and 4. That shaves weeks. Heavy gut jobs add foundation work, new roofs, full system swaps. Those push past 16 weeks easy.
BRRRR Property Assessment & Pre‑Rehab Planning Essentials
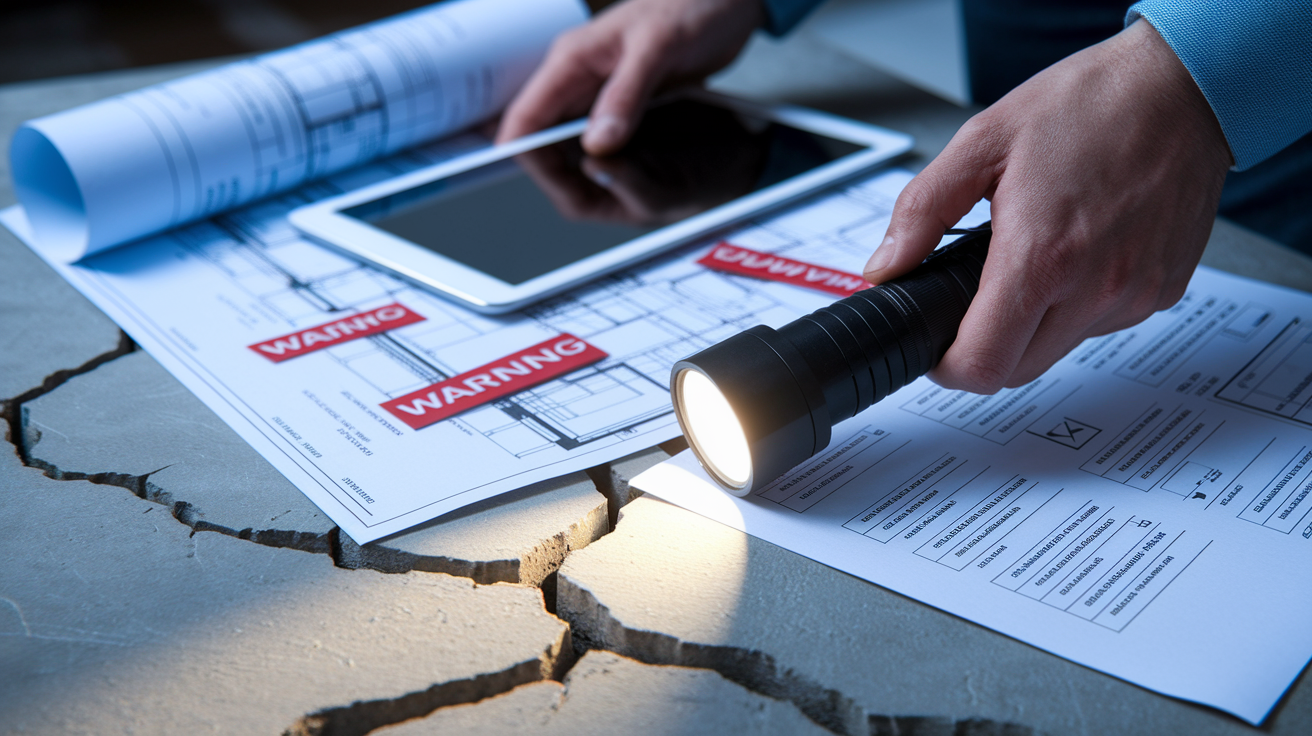
Before you hand over a deposit, walk the property with someone who knows what disaster looks like. A general contractor, home inspector, or an investor who’s seen enough to spot the expensive stuff. You’re hunting for deal breakers. Foundation cracks that need piers. A roof about to collapse. Galvanized plumbing corroded shut. A panel box from 1970 with cloth wiring.
Cosmetic stuff’s easy to estimate. Structural nightmares blow your budget apart.
The 70% rule gives you a quick ceiling for your purchase price. Take the after-repair value, multiply by 0.70, subtract your repair estimate. If ARV is $300,000 and you’re planning $20,000 in rehab, your max offer is $190,000. But that only works if your repair number is honest. Which means actually inspecting the bones before you sign anything.
Walk the property looking for:
Foundation and slab condition. Cracks, settling, moisture.
Roof decking, shingles, flashing. How much life’s left.
Main sewer line scope. Tree roots, bellied pipes, breaks.
Electrical panel and branch wiring. Amperage, grounding, code stuff.
HVAC age and function. Compressor health, duct condition.
Plumbing supply lines and drain stacks. Material type, corrosion, pressure.
Building a BRRRR Rehab Budget & Cost Estimate Framework

Estimating costs before you own the place feels like guessing. But you can get close by walking every room with a contractor and writing down actual line items. Start with the big structural repairs. Foundation, roof, electrical panel upgrades, new HVAC. Then interior surfaces. Drywall, flooring, paint. Then kitchens and baths. Then permits, inspections, and a contingency fund. Usually 10 to 15% of total budget for stuff you didn’t see coming.
Cost per square foot helps when you’re short on time. Light cosmetic updates like paint, flooring, minor kitchen refresh? $15 to $25 per square foot in most markets. Medium rehabs with new systems, full bath and kitchen remodels, some structural work? Around $30 to $50 per square foot. Heavy gut jobs or additions can push past $75 per square foot, especially in high cost markets where labor and permits get expensive.
Don’t forget holding costs while the rehab drags. Most BRRRR investors carry $1,500 to $2,500 a month in mortgage payments (often hard money at 10 to 15% annual interest), insurance, taxes, utilities. If your project runs two months over? That’s an extra $3,000 to $5,000 you didn’t plan for. Speed matters as much as price.
| Category | Typical Cost Range | Notes |
|---|---|---|
| Structural repairs | $5,000–$25,000+ | Foundation, roof, framing; varies by severity |
| Systems (HVAC, electrical, plumbing) | $8,000–$20,000 | Full HVAC replacement around $5,000–$8,000; panel upgrade $2,000–$4,000 |
| Kitchen & bathrooms | $10,000–$30,000 | Mid-grade finishes; high-end can double this |
| Flooring, paint, drywall | $5,000–$12,000 | Laminate or vinyl plank and two coats neutral paint |
| Permits, inspections, contingency | 10–15% of total budget | For unexpected issues and compliance fees |
Contractor Selection, Bid Comparison & Timeline Setting

Get three bids minimum. Even if you think you already know who you’ll hire. Asking multiple contractors to walk the property forces you to tighten your scope of work and catch line items one guy included that another forgot. Compare apples to apples. Same flooring type, same fixture allowances, same paint brand. If one bid comes in 30% lower, something’s missing or they’re assuming you’re supplying materials.
Timeline matters as much as price. A contractor who promises six weeks but has three other projects running will miss every milestone. Ask for a start date, a realistic completion date, and a week by week milestone schedule. Some investors pay a premium, an extra $2,000 to $5,000, to jump the line and shave four weeks off the rehab. Sounds expensive until you remember four extra weeks of hard money interest and holding costs can run $2,500 or more.
Contractor Milestones & Bid Evaluation
Every bid should include a payment schedule tied to milestones, not calendar dates. Common draw triggers: 10% deposit at contract signing, 25% at demo completion, 30% at rough-in inspection approval, 25% at drywall and finishes substantially complete, and 10% final payment after punch list and final inspection. This keeps you from paying for work that hasn’t happened yet and keeps the contractor motivated to hit each phase on time.
Milestone weeks should map to the actual construction sequence. Permits Week 1, demo Week 2, rough-ins Weeks 3 to 4, inspection approval Week 5, drywall and paint Weeks 6 to 7, finishes Weeks 8 to 9, punch list and final Week 10. If your contractor can’t explain the order or skips inspections in the bid, find someone else.
Permitting, Inspections & Code Compliance in the BRRRR Timeline
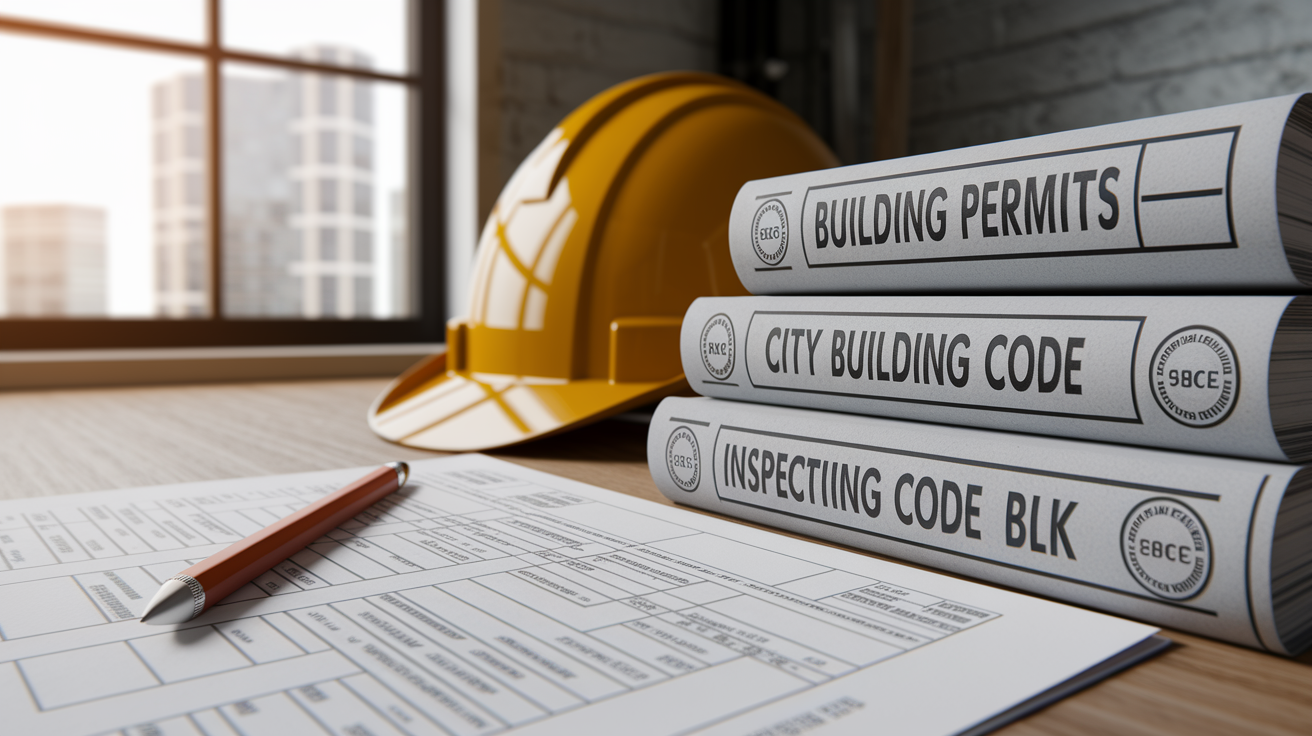
Permitting’s the step most new BRRRR investors underestimate or skip. If you’re replacing an electrical panel, adding a bathroom, moving walls, or upgrading HVAC, your city probably wants a permit. Pulling permits protects you from code violations that surface during the appraisal or when a future buyer orders a title search. It also forces inspections at critical phases. Rough electrical, rough plumbing, insulation, final. So you know the work meets code before you close up the walls.
Permit approval timelines vary wildly. Small towns might approve over the counter in one day. Big cities can take two to three weeks for plan review, especially if your drawings need corrections. Factor permitting into your timeline by applying early. Ideally before you even close on the property if your contract allows inspections and pre-closing coordination with contractors. Waiting until after closing to submit permits can add a month to your rehab.
Code compliance isn’t negotiable. If your inspector calls out outdated wiring or a missing GFCI outlet in the bathroom, you fix it before they sign off. Failed inspections delay your project by days or weeks while you wait for the contractor to make corrections and the inspector to return. Work backward from your target rent date. If you want a tenant in place by July 1, final inspection needs to happen by mid-June, which means rough-in inspections must clear by late May, which means permits should be approved by early May. Build that timeline before you buy.
Materials, Lead Times & Interior Finish Scheduling for BRRRR Projects

Contractor delays get blamed on laziness, but material lead times cause just as many problems. Cabinets, countertops, appliances, windows, custom vanities can take four to eight weeks from order to delivery. If you don’t place those orders until the contractor asks for them, your project sits idle while you wait. Smart investors order long lead items during the permitting phase or immediately after closing, even if installation won’t happen for another month.
Flooring’s the last finish to install, but you should pick the product and confirm availability early. If you’re using luxury vinyl plank or laminate, most distributors stock common colors and can deliver in days. Hardwood refinishing or tile installation takes longer and must be scheduled around other trades. Tile before vanities and toilets go in, hardwood after drywall dust is gone but before trim and baseboards. Sequencing mistakes here can cost you a week of rework.
Long lead items to plan early:
Custom or semi-custom kitchen cabinets. Four to eight weeks.
Granite, quartz, or solid surface countertops. Two to four weeks after template.
Appliance packages if ordering specific models. One to three weeks, longer for backorders.
Replacement windows and exterior doors. Three to six weeks for custom sizes.
HVAC equipment if supply chain’s tight. One to four weeks.
Tile or specialty flooring materials not stocked locally. Two to four weeks.
Managing Draws, Change Orders & Rehab Cash Flow

Most rehab loans (hard money, fix and flip lines, even some HELOC funded projects) use draw schedules instead of handing you the full amount up front. You’ll request a draw after hitting a milestone. Demo complete, rough-ins done, drywall finished. Submit photos and receipts, then wait a few days for the lender to release funds. That means you or your contractor must float costs between draws, so make sure everyone understands the timing before work starts.
Change orders are inevitable. You’ll open a wall and find rot that wasn’t visible during the inspection. The electrical panel needs an upgrade the inspector didn’t mention. The buyer’s appraiser will want a railing added to the back steps. Every change order should be documented in writing with a price, a timeline impact, and a signature from both you and the contractor. Verbal agreements turn into disputes when the final bill arrives and you don’t remember approving an extra $1,200 for a new subpanel.
Keep every receipt, every invoice, every permit, every inspection report in a folder. Physical or digital. When you refinance, your lender will want proof that you spent $30,000 on rehab, not $10,000. The appraiser will ask for before and after photos and a line item cost breakdown to justify the new value. If you can’t produce that documentation, your refinance may fund at a lower amount or get delayed while you scramble to recreate records.
Final Walkthroughs, Punch Lists & Rent‑Ready Certification

Once the contractor says the job’s done, walk the property with a notepad and write down everything that isn’t finished or isn’t right. This is your punch list. Loose outlet covers, paint touch-ups, a drawer that sticks, a toilet that runs, a door that doesn’t latch. Good contractors expect a punch list and budget a few days to close out small items. Bad contractors disappear after you make the last payment, so hold back 10% until every item is fixed and you’ve confirmed utilities are active and the property passes final inspection.
Final inspection is your last code compliance checkpoint. The inspector will check that all work matches the approved permit, outlets are grounded, smoke detectors are installed, handrails meet height requirements, and everything’s safe for occupancy. If the inspector finds violations, you’ll get a correction notice and have to schedule a re-inspection after fixes are made. Don’t schedule your first tenant showing until you have a signed off final inspection in hand.
Rent ready checklist before marketing:
Final inspection certificate posted or filed with the city.
All utilities transferred to your name and active. Electric, gas, water, sewer, trash.
Locks rekeyed and all keys accounted for.
Interior and exterior deep cleaned, carpets shampooed if applicable.
Smoke detectors and CO detectors installed per local code.
How Rehab Impacts ARV, Appraisal & Refinance Timing

The quality and scope of your rehab directly determine your after-repair value, which determines how much cash you can pull out when you refinance. Lenders typically allow cash out refinances up to 75 to 80% of the appraised value, so if your property appraises at $250,000, you can borrow up to $187,500 to $200,000. If you overpaid on purchase or underspent on rehab, that appraised value might come in lower than you planned, leaving you with less cash to recycle into the next deal.
Most conventional lenders require a seasoning period. Usually six months of ownership, sometimes twelve, before they’ll refinance a property you just renovated. That means if you close on January 15 and finish rehab by March 1, you’re still waiting until mid-July to refinance. During that seasoning window, you’re carrying the property on your acquisition loan (often expensive hard money or a bridge loan at 10 to 15% interest), paying insurance and taxes, and collecting rent if you placed a tenant quickly. Every month you wait costs $1,500 to $2,500 in holding expenses, so finishing rehab fast matters, but finishing it well matters more.
Delayed financing is a workaround that lets you buy with cash, rehab immediately, and refinance as soon as the work’s done. Sometimes within 60 to 90 days instead of six months. The tradeoff is that most delayed financing programs cap your loan at 75% of your total cost basis (purchase price plus rehab costs), not 75% of ARV. If you bought for $150,000, spent $40,000 on rehab, and the property appraises at $280,000, a delayed financing loan might only let you borrow up to $142,500 (75% of $190,000), leaving you with less cash out than a traditional refinance would after seasoning.
Preparing an Appraisal Binder
When your refinance appraiser walks through, they need to see proof that you transformed the property, not just cleaned it. Assemble a binder (physical or digital) with your purchase closing statement, itemized receipts for every contractor invoice and material purchase, copies of permits and inspection sign-offs, and before and after photos of every room. Include a comparable sales analysis showing similar renovated homes in the neighborhood that sold for your target ARV. This documentation doesn’t guarantee a high appraisal, but it gives the appraiser the evidence they need to justify your new value to the underwriter.
Case Studies: 30‑Day, 60‑Day & 90‑Day BRRRR Rehab Examples
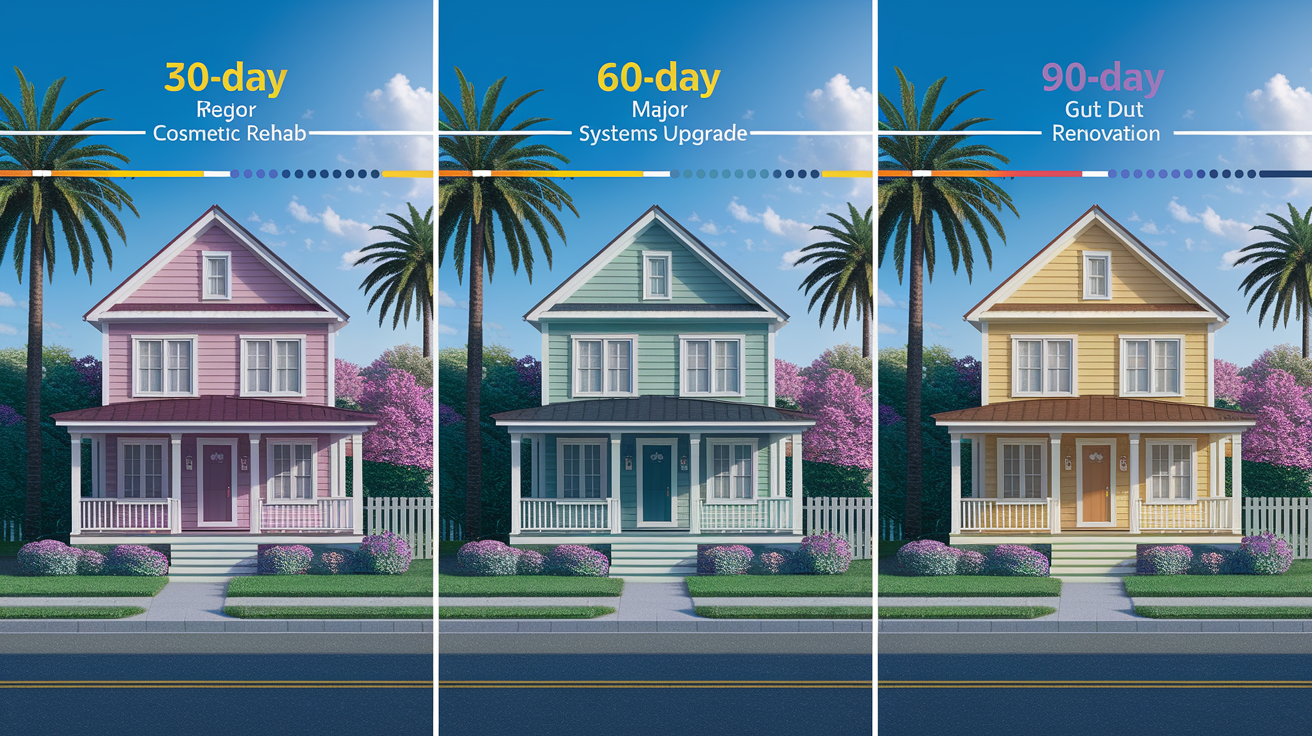
A 30 day rehab is rare, but it happens when the property only needs cosmetic work. Paint, flooring, minor kitchen updates, landscaping. You’re not pulling permits, not opening walls, not replacing systems. A typical 30 day timeline starts with a three day demo (rip out old carpet and baseboards), one week for drywall repairs and paint, one week for new flooring installation, one week for cabinet refresh or hardware swaps and appliance delivery, then three days for cleaning and final touches. This assumes your contractor can schedule all trades back to back without delays.
A 60 day rehab usually involves one or two major system replacements. New HVAC, a full bathroom remodel, or an electrical panel upgrade, plus cosmetic finishes throughout the house. You’ll need permits, which adds a week or two up front. Demo takes a few days, rough-ins and inspections take two weeks, drywall and finishes take another two to three weeks, and you close out with punch list items and final inspection. Material delays or inspection failures can stretch this to 75 or 80 days easily.
A 90 day or longer rehab means you’re gutting the property or tackling structural work. New roof, foundation repairs, full plumbing replacement, layout changes that require engineering drawings. Permitting alone can take three weeks in some jurisdictions. Heavy demo and framing repairs might run two to three weeks. Rough-ins, inspections, and close-up work stretch across a month. Finishes and punch lists add another three to four weeks. If you’re also dealing with mold remediation or lead paint abatement, expect the timeline to push past 100 days.
| Rehab Type | Duration | Key Tasks Completed |
|---|---|---|
| Light cosmetic (30–45 days) | 30–45 days | Paint, flooring, minor kitchen/bath updates, landscaping; no permits required |
| Medium systems upgrade (60–75 days) | 60–75 days | HVAC replacement, one full bath remodel, electrical panel upgrade, cosmetic finishes; permits and inspections required |
| Heavy gut renovation (90+ days) | 90+ days | Structural repairs, new roof, full system replacements, layout changes, mold/lead remediation; extended permitting and multiple inspection phases |
Final Words
Start with permits, then demo, rough-ins, inspections, finishes, and the final walkthroughs. Keep the budget, contractor milestones, materials lead times, and draw schedule in sync so work flows.
Expect 4–8 weeks for light rehabs, 8–16+ weeks for heavy ones, and a realistic 9–12 month full BRRRR cycle from buy to refinance. You can shave weeks by prioritizing long-lead items and paying for faster scheduling.
Use this BRRRR rehab timeline and step-by-step guide as your checklist. Pressure-test the numbers, document everything, and you’ll get to rent-ready with fewer surprises.
FAQ
Q: How long does a BRRRR rehab typically take from start to rent-ready?
A: A BRRRR rehab typically takes 4–8 weeks for light work, 8–16+ weeks for heavy rehabs, and about 9–12 months from buy to refinance because of appraisal and seasoning.
Q: What is the usual sequence of phases in a BRRRR rehab?
A: The rehab sequence follows permits, demolition, rough‑ins (plumbing, electrical, structural), inspections, finishes, then final inspections, with sensible overlaps where allowed to save time.
Q: How can I shorten my BRRRR rehab timeline?
A: You can shorten the timeline by paying contractor premiums, preordering long‑lead items, overlapping trades, firming milestone dates, and securing permits before demo begins.
Q: How do permits and inspections affect the rehab schedule?
A: Permits and inspections affect the schedule because they must be approved and booked between stages; delays here directly push out demo, rough‑ins, finishes, and the rent target date.
Q: What should be included on a contractor bid and milestone schedule?
A: A contractor bid should include a clear scope, materials list, line‑item costs, milestone dates, draw/payment schedule, change‑order terms, and required lien waivers for each payment.
Q: How should I build a rehab budget and contingency?
A: A rehab budget should cover structural work, interior/exterior, permits, inspections, holding costs, plus a contingency of 10–20%, with typical holding costs about $1,500–$2,500 per month.
Q: Which long‑lead materials should I order early to avoid delays?
A: Long‑lead items to order early include windows, kitchen cabinets, HVAC units, countertops, specialty flooring, and appliances to prevent multi‑week hold ups.
Q: How do I manage draws, change orders, and rehab cash flow?
A: Manage draws and change orders with a milestone-tied draw schedule, signed change orders, lien waivers, meticulous expense tracking, and organized receipts for lenders and appraisers.
Q: What pre‑rehab inspections are non‑negotiable?
A: Non‑negotiable pre‑rehab inspections are foundation, roof, plumbing, electrical, HVAC, and environmental hazards like mold or lead to size scope and budget correctly.
Q: How does the rehab affect ARV, appraisal, and refinance timing?
A: Rehab quality impacts ARV and refinance timing; lenders may refinance up to ~80% of ARV, often require 6–12 months seasoning, and expect permits, receipts, photos, and comps.
Q: What should I do at final walkthrough and before declaring the property rent‑ready?
A: The final walkthrough confirms punch‑list completion, passes final inspections, collects before/after photos, secures final draw, and ensures tenant‑ready items plus lease documents are in place.
Q: What’s a quick 10‑minute screen for a BRRRR rehab deal?
A: A quick screen uses the 70% rule (ARV × 0.70 − repairs), checks rent comps, estimates holding costs, and compares that max purchase to the asking price to spot red flags fast.